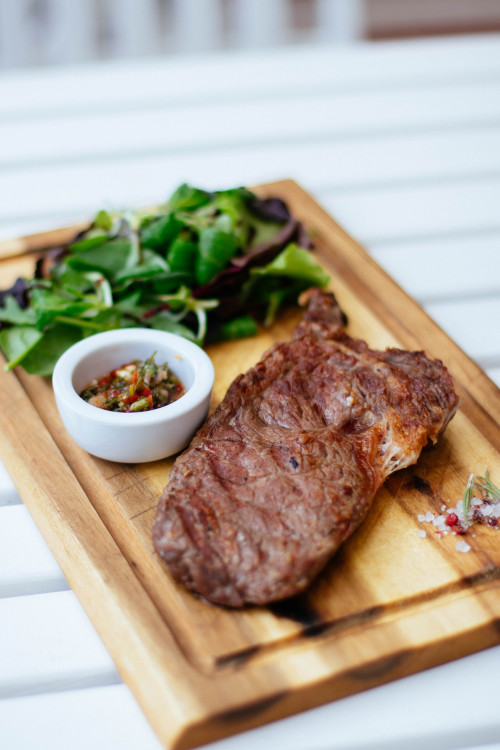
A perfect steak is a dish that most people only enjoy at high-grade restaurants. Though an ideal steak is usually thought to be the handy work of talented and trained chefs, you don’t have to visit expensive restaurants and pay top dollar for amazing steaks on every occasion.
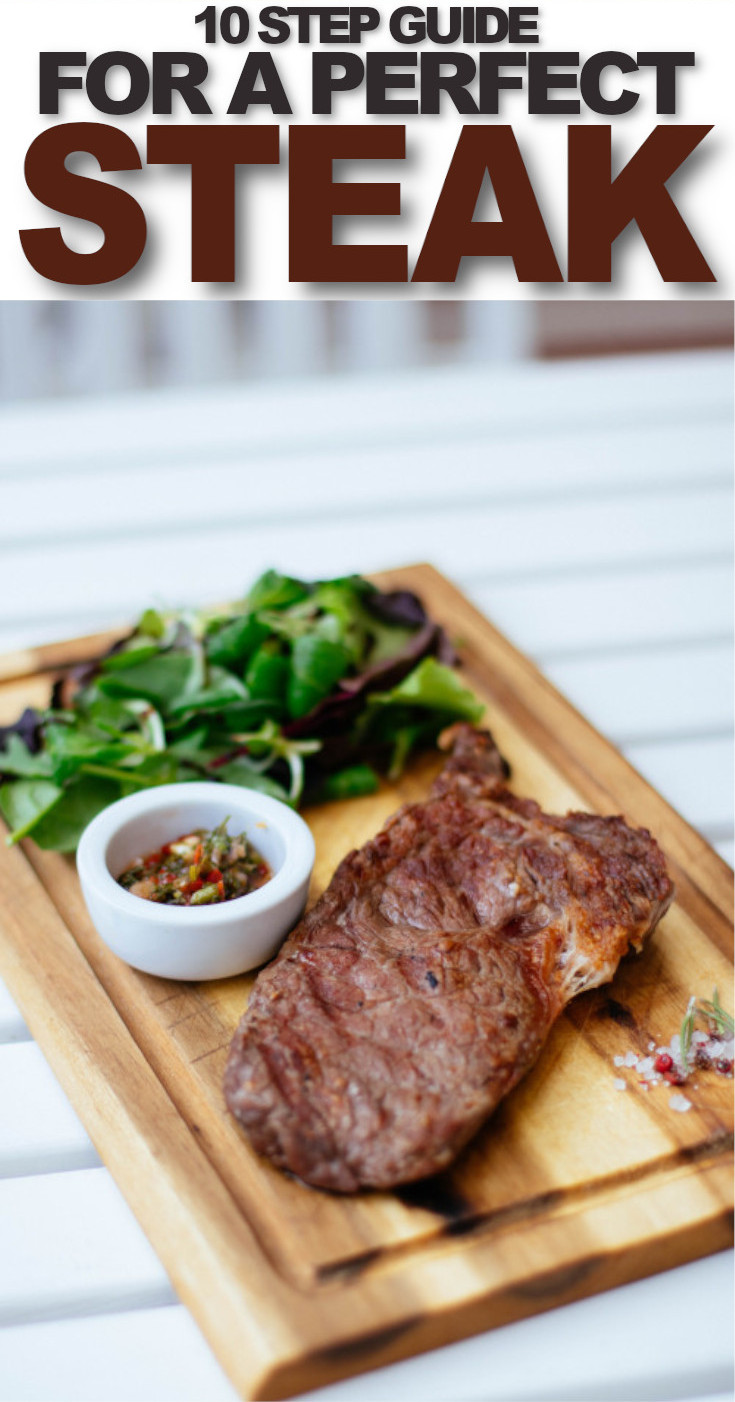
By following the ten simple and easy tips mentioned in this guide, you can effectively make tender, juicy and perfectly medium-rare steaks at home, keep reading to learn more.
Step 1: Let the Steak Come to Room Temperature
Firstly, remember to let the steak rest after taking it out of the refrigerator/freezer. Ideally, you should wait until the meat has reached room temperature, however, if you are in a hurry at least let the meat defrost.
If you cook meat when it is too cold, the outsides will get charred and burnt, while the core will stay grey and undercooked. Moreover, it is difficult to control the temperature of a steak that starts at a freezing point. Therefore, take the steak out of the refrigerator at least an hour before cooking it and let it rest in an open plate.
Step 2: Generously Season the Steak
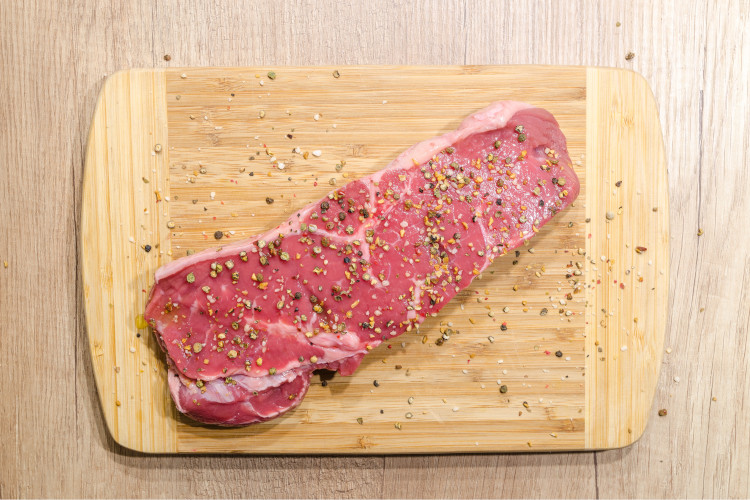
The first thing you need to remember while seasoning a steak is that you will always need more than you think. You should know that almost thirty-five per cent of the steak’s seasoning is wasted as soon as it hits the pan, therefore, after your steak has reached room temperature, dry the excess moisture with some paper towels and season deliberately with salt and freshly ground pepper.
Cover both sides with the seasoning, and let the steak rest for a while, and right before you throw it in the pan, hit it with another sprinkle of salt and pepper.
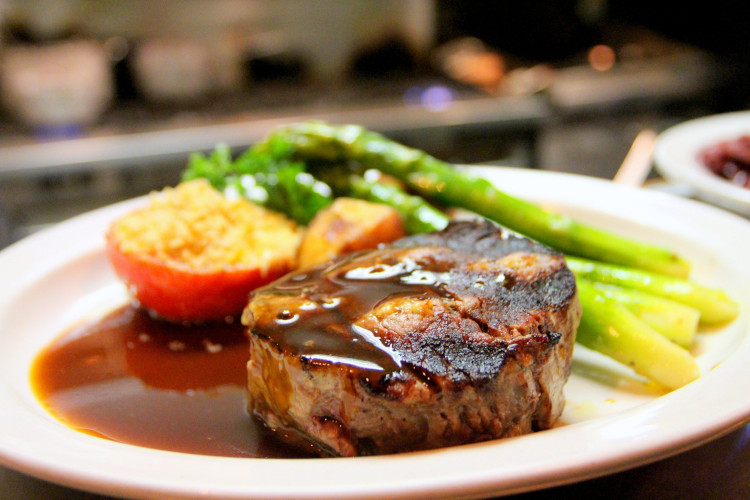
Step 4: Sear the Steak

After you have placed the steak in the pan properly, it is time to sear it. Searing is one of the essential parts of the process, and this is where your steak gets the fantastic flavour. Therefore, get a careful and thorough sear on the top, bottom and sides of the steak.
The perfect indicator that the sear is complete is colour. As the famous chef Gordon Ramsay says, “no colour, no flavour” so make sure that the steak is golden brown on one side before you flip it on the other.
Also, remember not to flip your steak again and again; be patient, and let the steak completely sear on one side before flipping it. The time it takes is different depending on the size of the steak, however, for an average-sized piece, three to four minutes on each side is usually enough.
If you are cooking a large steak like a tomahawk ribeye, you should consider using the reverse searing method. This means that the large steak is placed in the oven for a certain amount of time, depending on its size and then it is seared.
Step 5: Use Aromatics
Everybody wears some fragrance when they get ready. I suggest treating the steak similarly. It would help if you used precise aromatics to enhance the flavour of the steak and accentuate its aroma as well. Moreover, if you are cooking meat from a hunt, it can have a specific gamey smell, the aromatics also fix this issue and make the steak smell delicious.
The commonly used aromatics are garlic, thyme and rosemary. Using these aromatics will make the steak significantly more fragrant and mouth-watering.
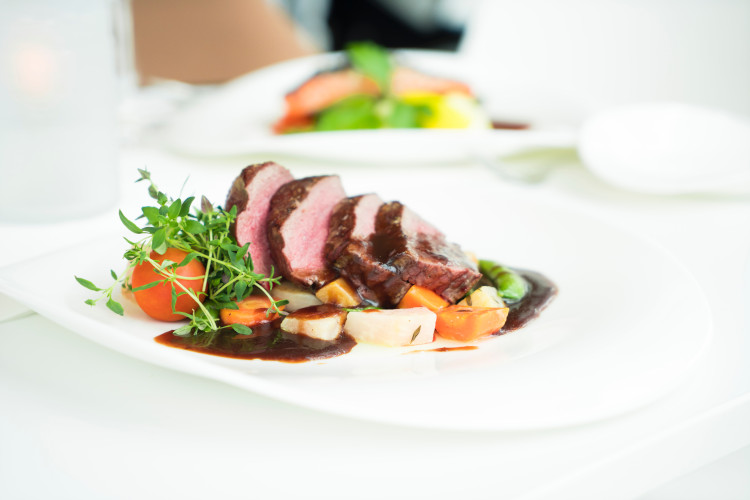
Step 7: Let the Steak Rest
After the steak is complete, don’t just cut into it immediately. This drops the internal temperature of the steak and does not allow it to finish cooking with its residual heat.
For the steak to be perfect, you should let it rest on a wire rack for a while after it is done cooking. Remember to use a wire rack; otherwise, the bottom of the steak can get a bit soggy.
If you let the steak rest, it will be a lot juicier, and more delicious.
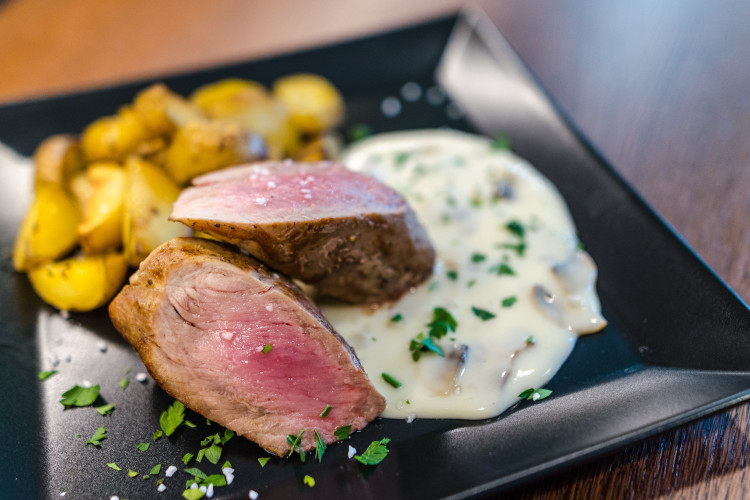
Step 8: Cutting the Steak Properly
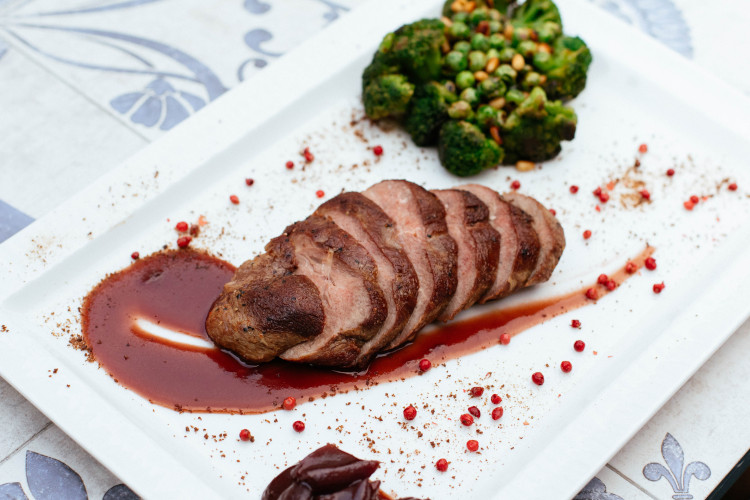
When cutting the steak, most people make the mistake of cutting it too thin. This is not the right way. When you cut the steak, some juices are wasted, and the thinner the pieces are cut, the less juice they hold.
Therefore, remember to cut the pieces at least a half-inch (centimetre and a half) thick for maximum flavor and cut the steak against the grain of the muscle fibres for maximum tenderness.
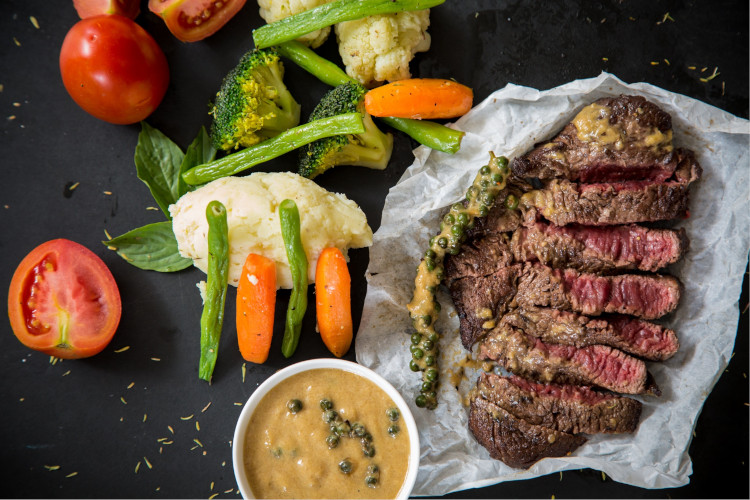
Step 9: Prepare Some Side Dishes

A steak dinner isn’t incomplete if you don’t have any sides to go with it. While the steak is cooling down, you should make some sides like mashed potatoes, roasted radishes, or biscuits. The sides allow you to complement the meaty flavour of the steak with something a little lighter.
Step 10: Finishing Up
A steak on its own is quite delicious when it is adequately prepared, however, you can also make several recipes with your cooked steak to add more complexity to its flavours. One of the perfect Italian steak recipes that you should try out is steak pizzaiola. It is a delicious way to take your steak to the next level.
To sum it all up, not everybody’s preferences are the same; however, if you are a meat lover, you should take your steaks medium-rare. That is how all the Michelin star restaurants make their steaks, and it is the best way to get tender and juicy steak every time. We hope that you find the recipe mentioned above helpful, though there can be slight differences based on the type of meat your cooking, in general, these were the ten necessary steps you need to follow to make the perfect steak at home.
Author Bio: This post is written by Line Arias who has been working as a nutritionist for ten years now. She recently collaborated with health and fitness spa, NYC, and since then, she has been working on weight loss’ meal prep plans.
![]() Did You Give it a Try? We’d love to see how it turned out. Snap a pic & tag it on Instagram with @FlusterBuster
Did You Give it a Try? We’d love to see how it turned out. Snap a pic & tag it on Instagram with @FlusterBuster

 |
 |
 |

I enjoy a good steak every now and then but sometimes my steak comes out tough. These tips are very helpful. I will definitely use some of these tips the next time I make a steak.
Thank you so much for these great tips! I’ve been wanting to fix steak for a while not, but haven’t because I suck at cooking it. Maybe now I can get it right!
It takes practice to learn how to cook a perfect steak. These tips are definitely a great way to get it right the first time.
Thank you sharing these tips at The Really Crafty Link Party. Pinned.
I definitely learned a few things form this post, especially about letting the steak rest and how to cut it. Thanks for sharing with us this week. #HomeMattersParty
Thank you for sharing your tips on Fiesta Friday. I think it will be awhile before I can enjoy a steak dinner at a restaurant.
Hi, I tried it this morning for the first time…what could I say: delicious!! thanks for sharing mike!!
Glad that you liked it, I love a good steak for breakfast!