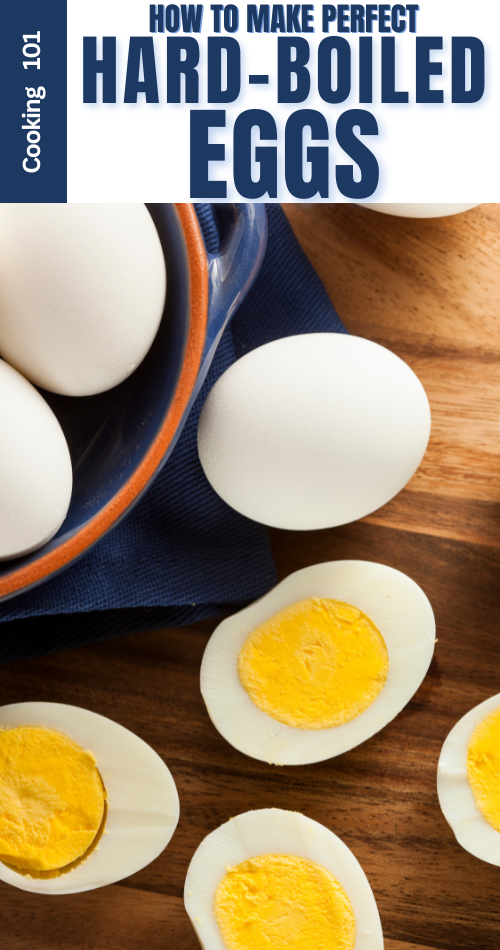
Simple yet satisfying, this foolproof recipe for a hard-boiled egg is perfect for beginners and seasoned cooks alike. Whether you’re prepping for Easter, whipping up a quick snack, or adding protein to your salads, these versatile gems are a must-have in any kitchen.

WHY YOU’LL LOVE THIS HARD-BOILED EGG RECIPE
- Foolproof Simplicity: With the right method, anyone (yes, even beginners) can make perfect hard-boiled eggs.
- Multi-Purpose Delight: Enjoy them on salads, in sandwiches, as snacks, or sliced in ramen. The possibilities are endless.
- Time-Efficient: Cook several eggs at once and enjoy ready-to-go protein for your week.
- Budget-Friendly Protein: Eggs are affordable, packed with nutrients, and super filling.
- Easy to Peel: This method ensures the shells come off without a fight, leaving smooth, delicious eggs every time.
What’s on the Grocery List? Hard-Boiled Egg Essentials
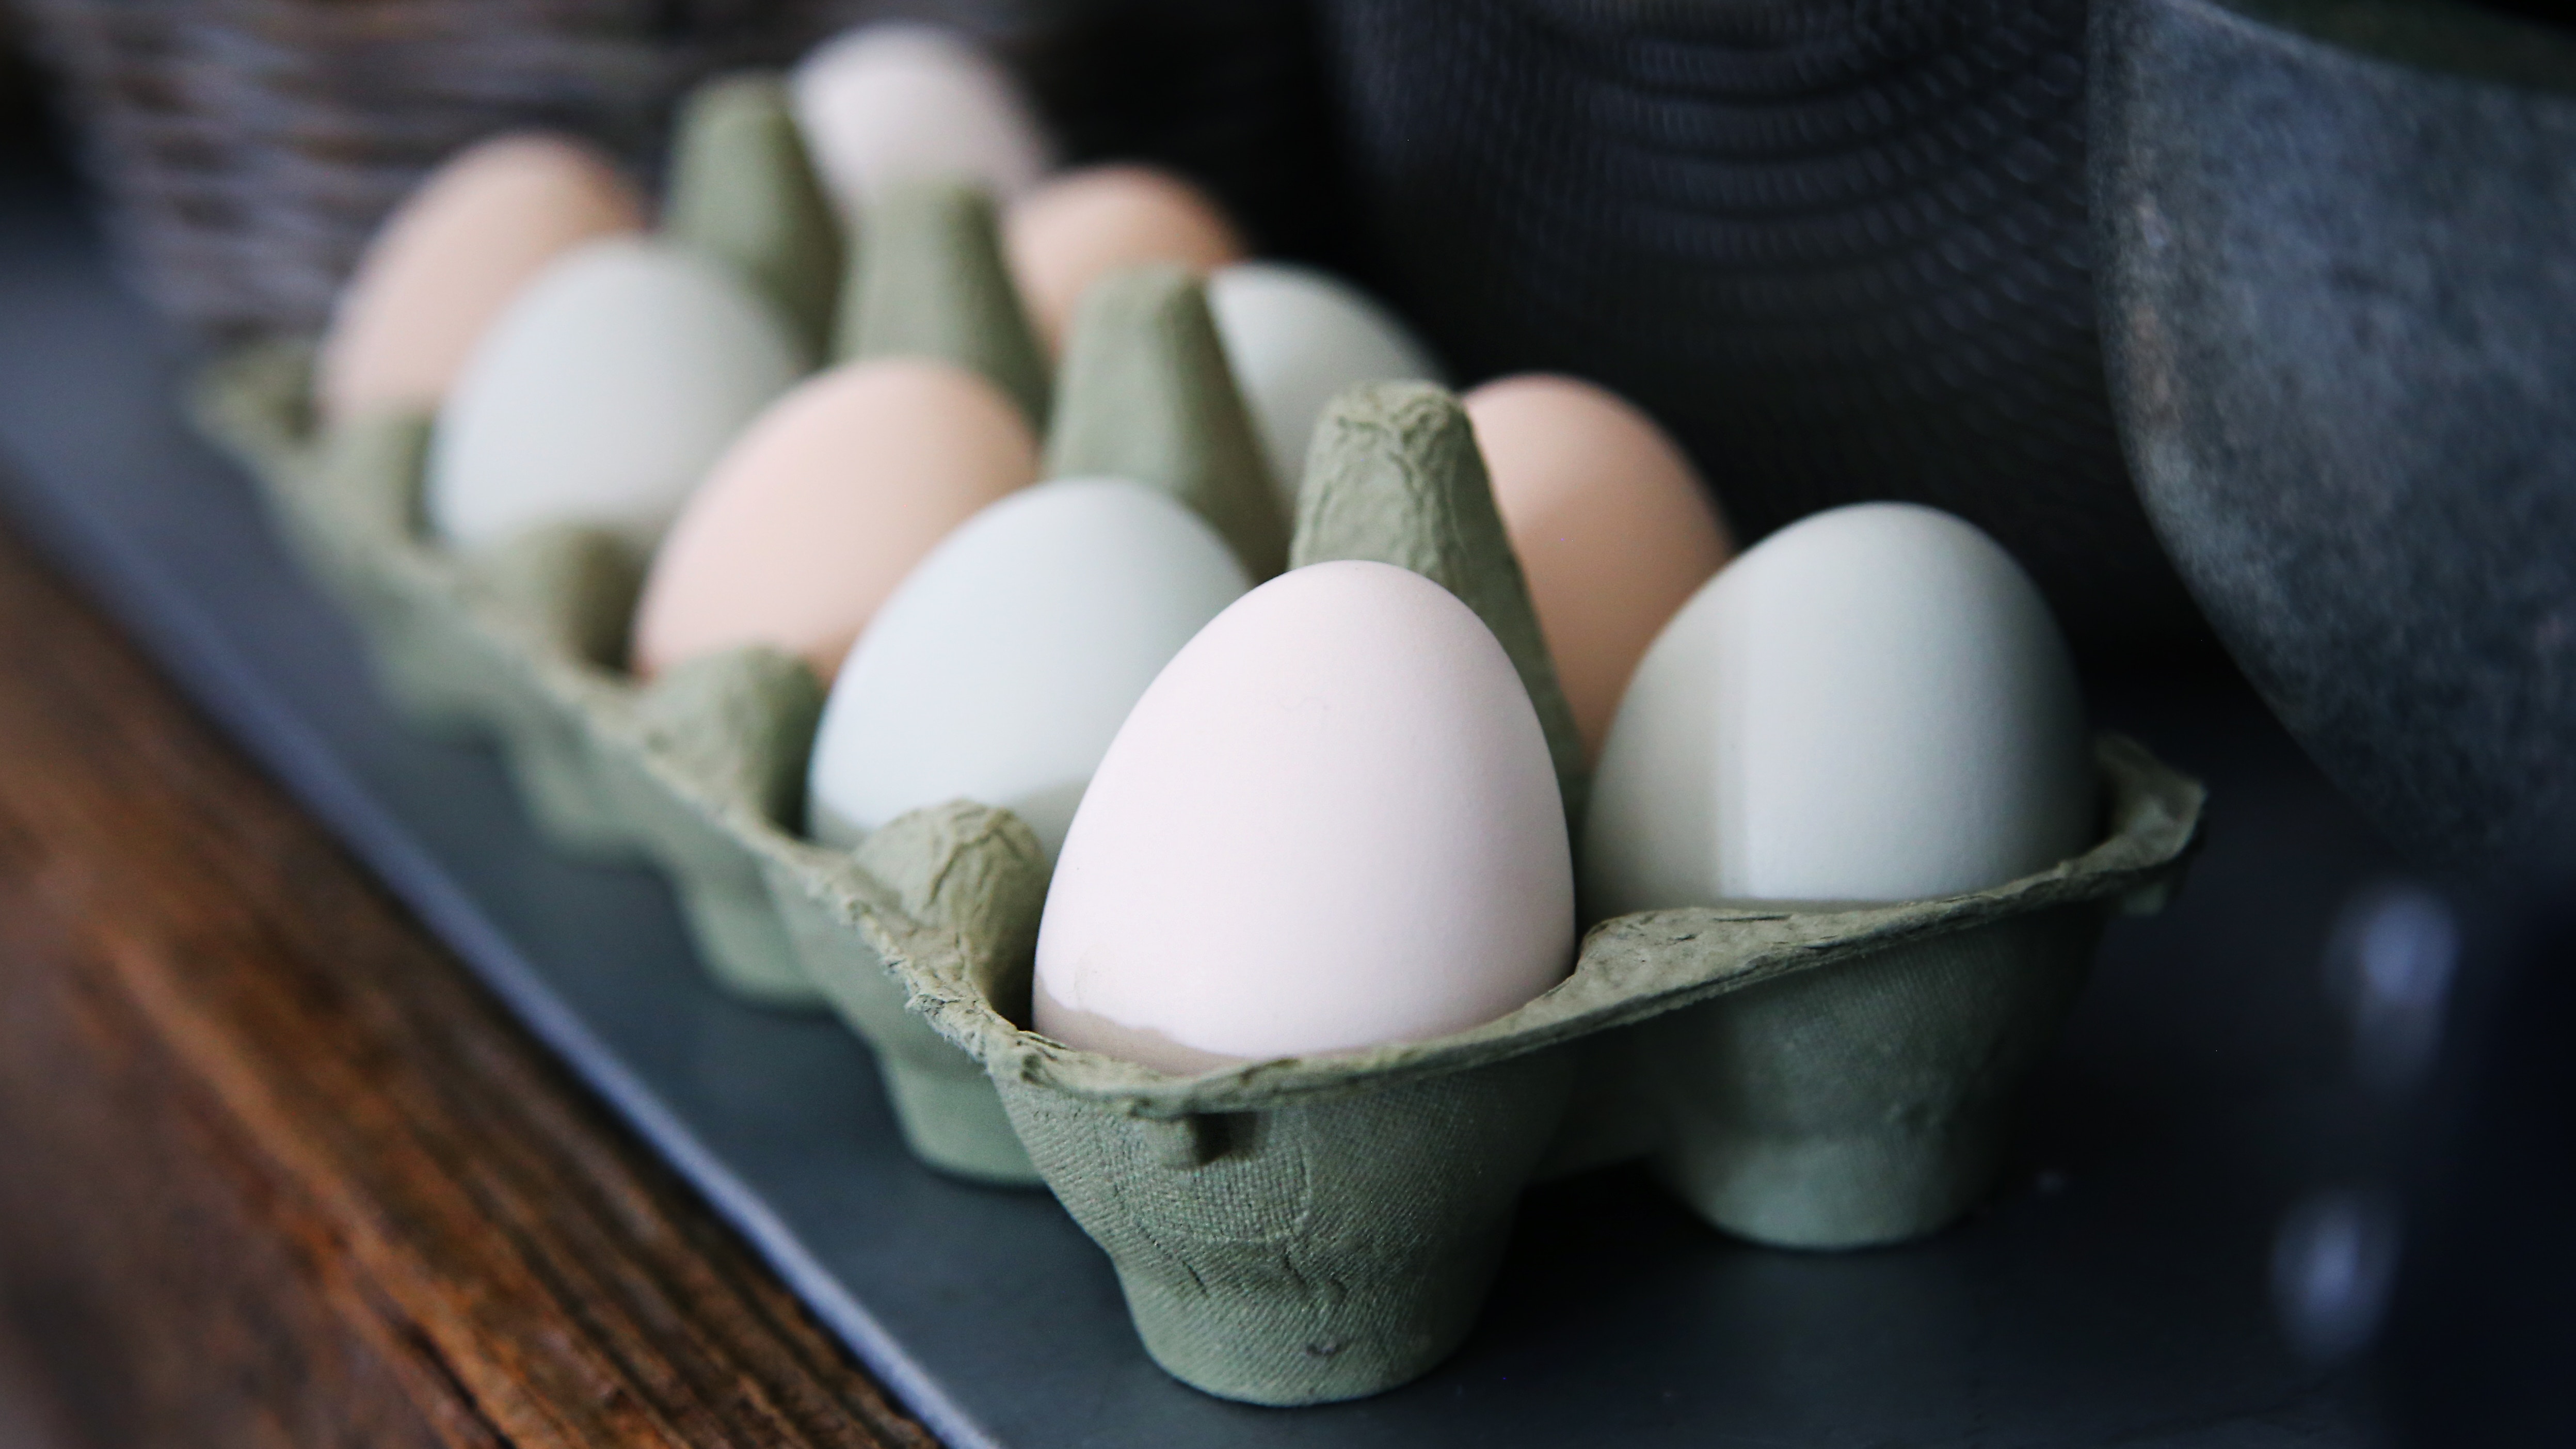
- Eggs: Large eggs are best for consistent cooking. Use eggs that are about a week old, they’re easier to peel than fresh ones.
- Salt: Adds flavor to the water and helps prevent the shells from cracking during cooking.
- White Vinegar: Just a splash helps make peeling much easier.
- Water: Cold water helps prevent the temperature shock that cracks eggs, it’s simple but essential.
Cook It Up: Your How To Guide for a Perfect Hard-Boiled Egg
Must-Have Kitchen Helpers

Egg-stra Fresh: Smart Storage Tips for a Hard-Boiled Egg
Meal Prep
Cook several eggs at once and store them in the fridge for quick snacks or meals. Boiled eggs last up to a week when stored properly.
Storage
Leave the shells on for optimal freshness, but if peeled, wrap them in a damp paper towel and store them in an airtight container.
Perfect hard-boiled eggs don’t have to be elusive. With these easy-to-follow steps and handy tips, even a complete novice can master this kitchen staple. Soon enough, you’ll be enjoying perfectly cooked eggs that peel easily and taste amazing!
 Italian Easter Bread
A light and fluffy bread baked around a brightly colored egg. The bread is slightly sweet, with the fresh flavor of lemon and decorated with colorful sprinkles.
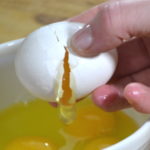
How to Crack an Egg without Shell Shards
Master the simple art of cracking an egg without the mess! These easy tips and techniques will help you crack eggs like a pro, whether you’re baking, cooking, or just making breakfast.
 How to Make Perfect Sunny-Side-Up Eggs
Learn how to make perfectly cooked sunny-side-up eggs with golden, runny yolks and crisp edges every time! With simple tips and techniques, you’ll master this breakfast classic in no time.
 How to Make Perfect Scrambled Eggs
Whip up the fluffiest, creamiest scrambled eggs with these simple tips and tricks! Whether you like them soft and buttery or light and airy, this guide will help you perfect your morning favorite.
RECENT POSTS
 |
 |
 |
 |
These are great tips. For the most part, I don’t have problems producing the perfect boiled egg. Deviled eggs are big in my house, so I’ve had lots of practice. I do run into a problems removing the shell occasionally. Thanks for sharing on Sunday’s Best.
I love deviled eggs, we do a lot of those as well. As for the shells of the eggs, add plenty of salt to the water, use eggs that are 2-3 weeks old and when you peel them be sure to begin peeling from the large end. I rarely have a problem peeling them when I do these 3 things.
I’ve heard using baking soda works, but I’ve never tried it. Deviled eggs are a favorite in our house too.
I have my own process for this and it’s very similiar. The older “recipes” always called for long cook times, but I find about 10 minutes in boiling water and then another 10 in the water off the heat does great for eggs. Who knew it would make such a difference!
Thanks so much for posting this on the Wonderful Wednesday Blog Hop for me to compare notes with!
That’s exactly how my mom does it!
What a great tutorial! Happy Valentine Day and thanks so much for sharing your awesome talent with us at Full Plate Thursday!
Miz Helen
Thank you Miz Helen!
We live at about 3900 feet altitude. Is there any change to length of cooking time at altitude?
Since water takes a little longer to boil at higher altitudes, I would suggest following the cooking directions, but I would only let it sit for maybe 10 minutes instead of 12.
Did not know newer eggs are harder to peel!!! Will def be using an older egg from now on…thank you!
What an amazing and helpful tutorial!! This is exactly what I needed for my meal prep today!
Great tips! We make a batch of hard boiled eggs nearly every week! High protein and a great grab and go snack.
Oh wow! This are really helpful tips. I can’t wait to try it out and achieve a perfect hard boiled eggs as yours. Thanks for sharing!
Oh wow! These are really helpful tips. I can’t wait to try it and achieve a perfect hard boiled eggs as yours. Thanks for sharing!
Good tips to know! Thanks for sharing at the #HomeMattersParty.
Great tips! I always gambled & guessed when they are done – never works out well. Thanks for the tips!
I appreciate all the hints here. I have never used vinegar when I boil eggs but if that will make it easier to peel the eggs I will definitely be using it. Thanks for the tips.
You’re so welcome! The vinegar trick really does help make peeling easier. It is such a simple step with great results. I hope it works well for you. Happy egg boiling!