This post may include affiliate links. Read our disclosure policy for more information.
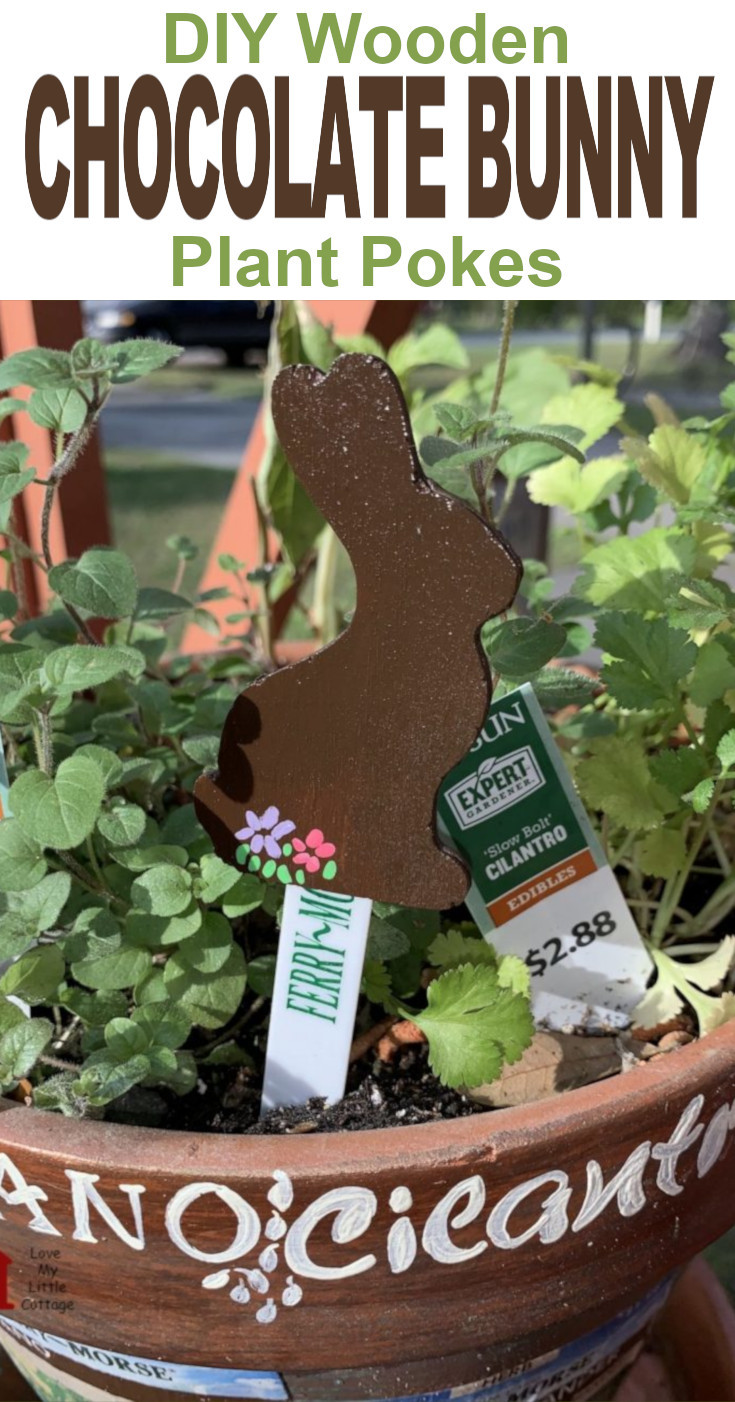
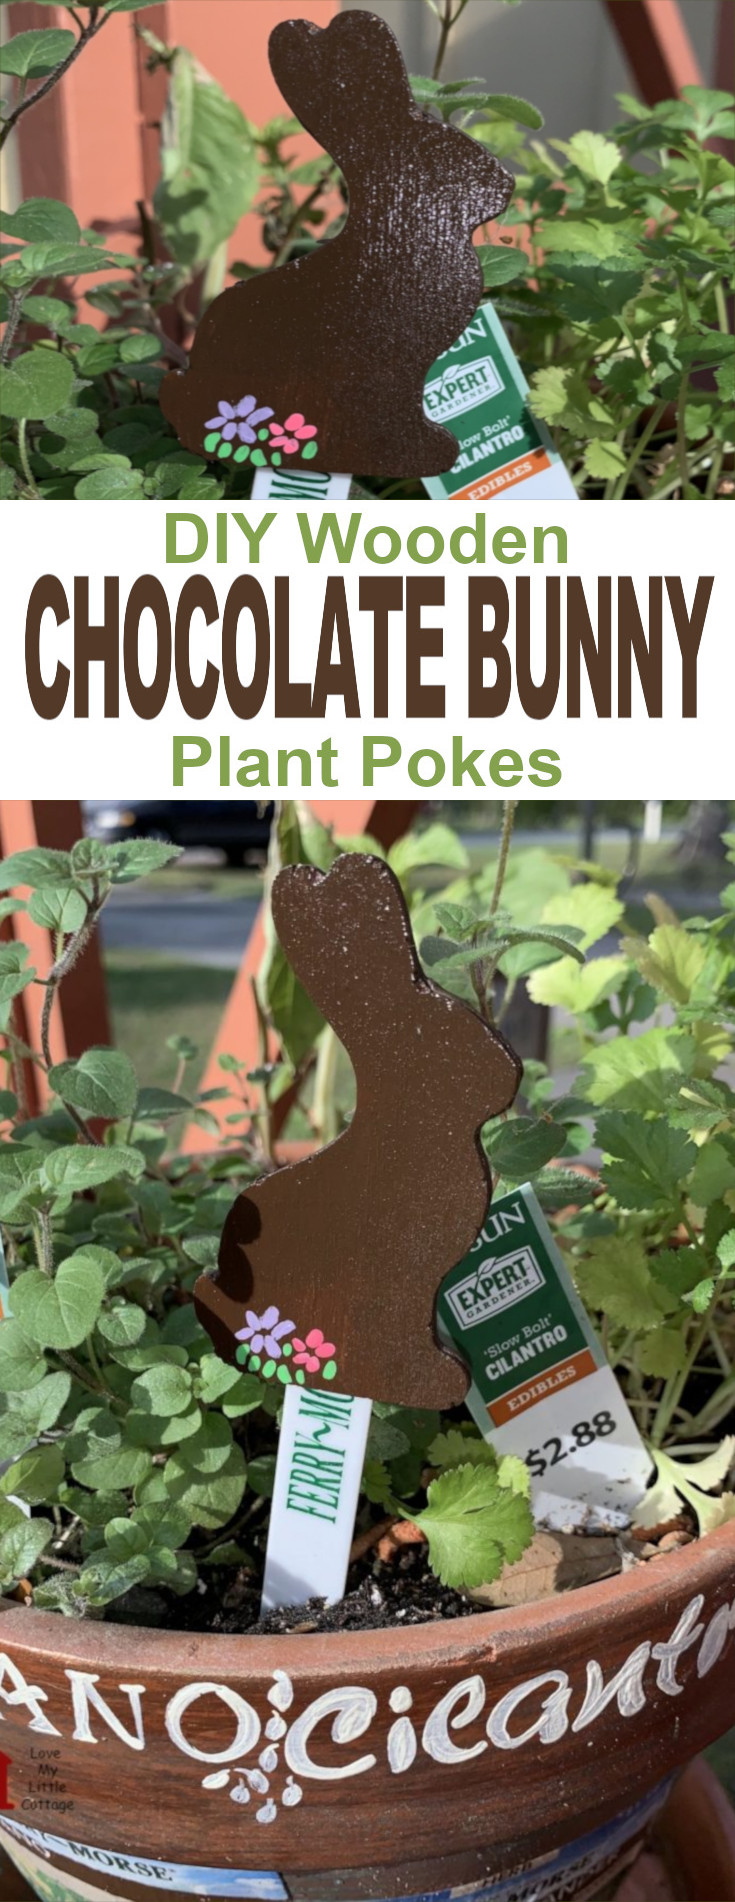
DIY Wooden Plant Pokes – A fun and simple DIY project that both you and the kids will enjoy.
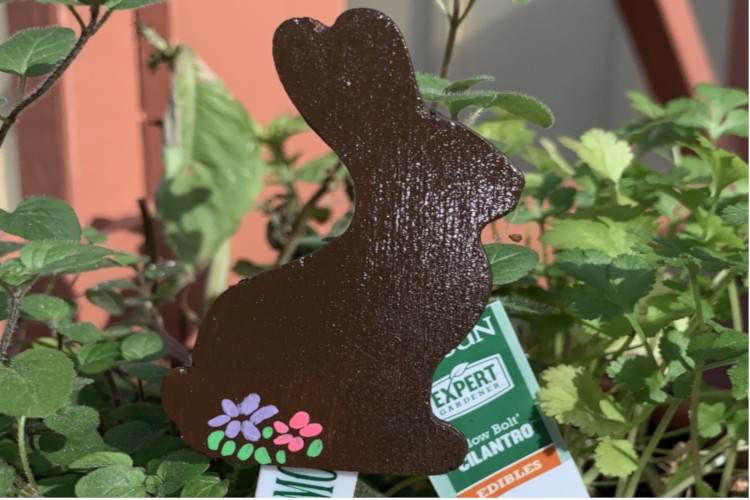
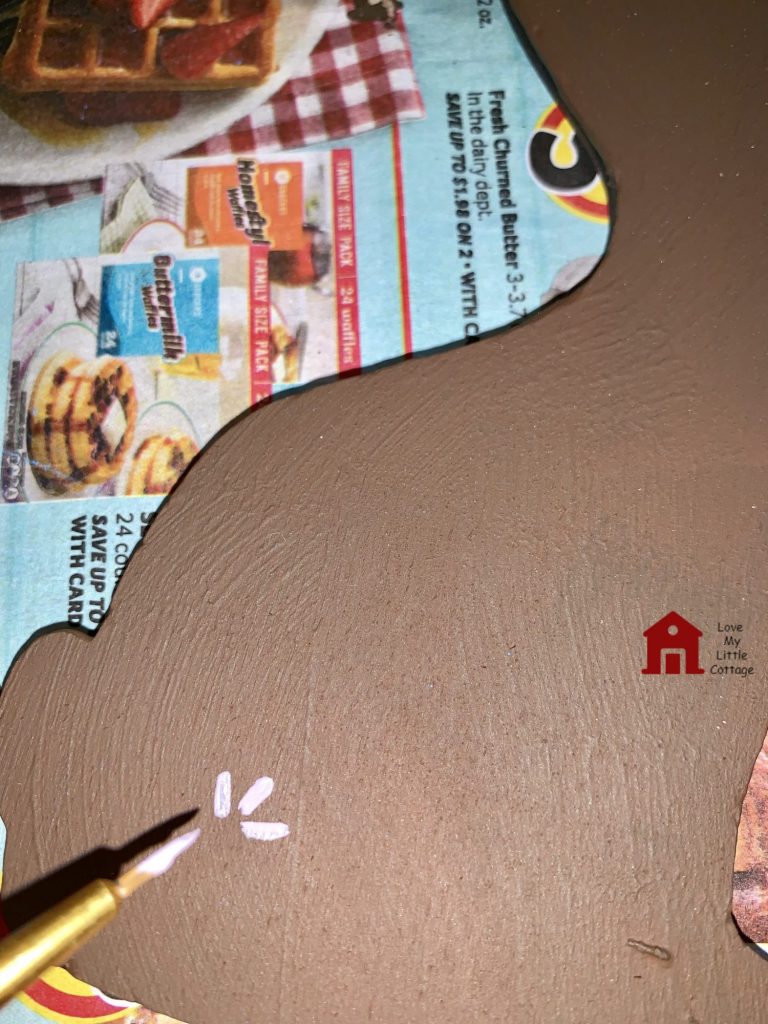
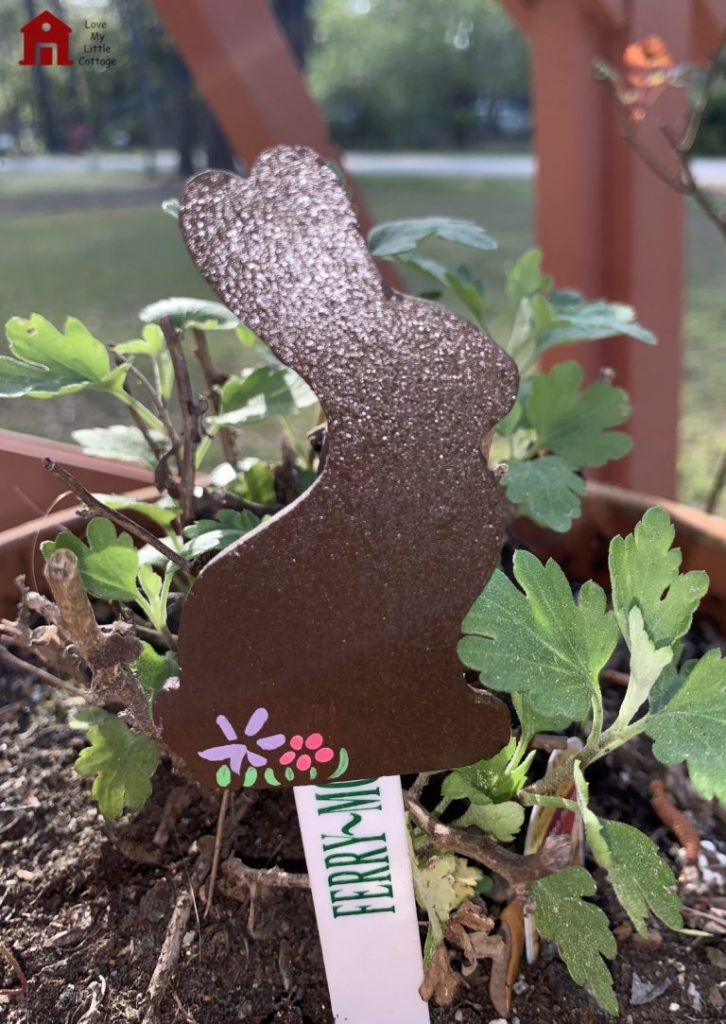
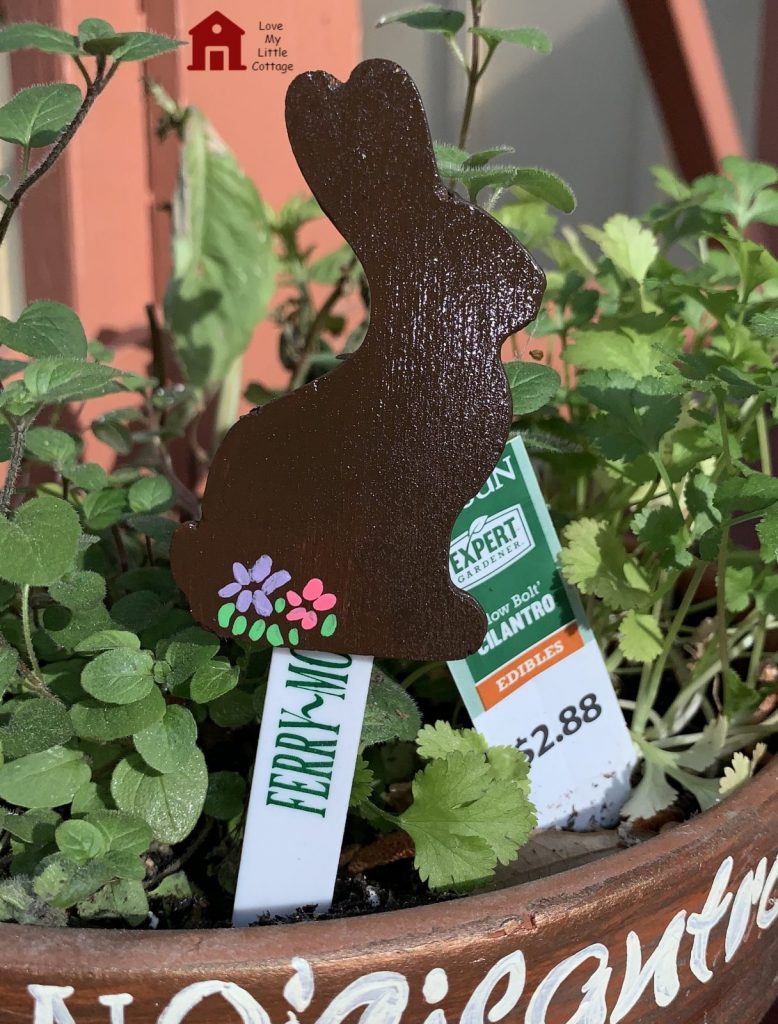
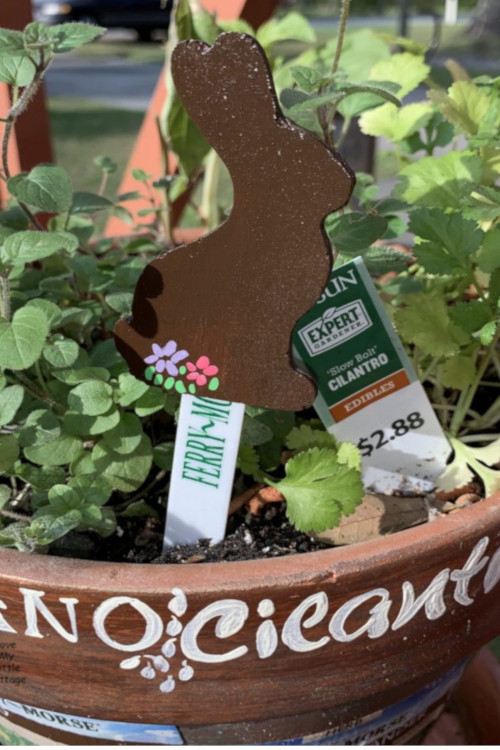
I’ve been charmed and inspired by all the faux chocolate bunnies used in home decor this spring. My fellow bloggers and Pinteresters have invented smart ways to decorate with real chocolate bunnies too. In the spirit of chocolate bunny creativity, I made some Wooden “Chocolate Bunny” Plant Pokes this week. It’s enjoyable to make small, decorative items that will be appreciated by discerning eyes.
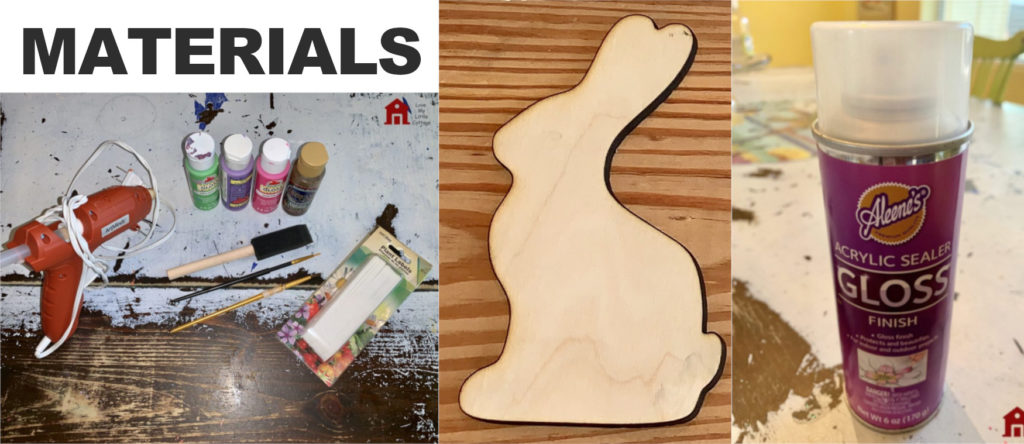
MATERIALS NEEDED:
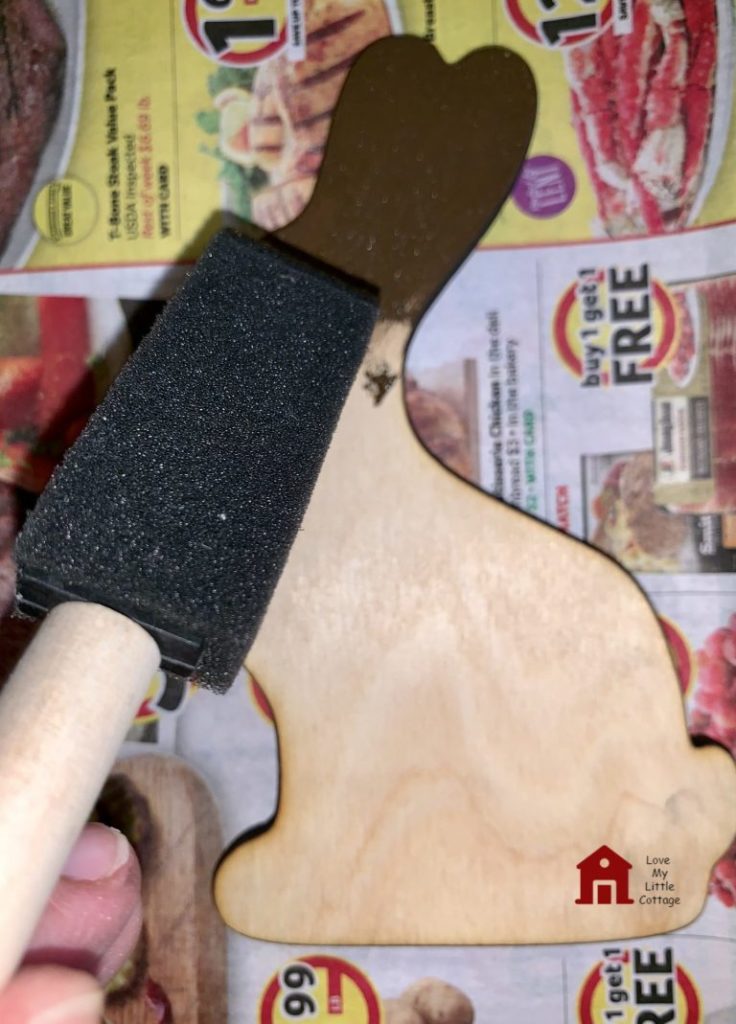
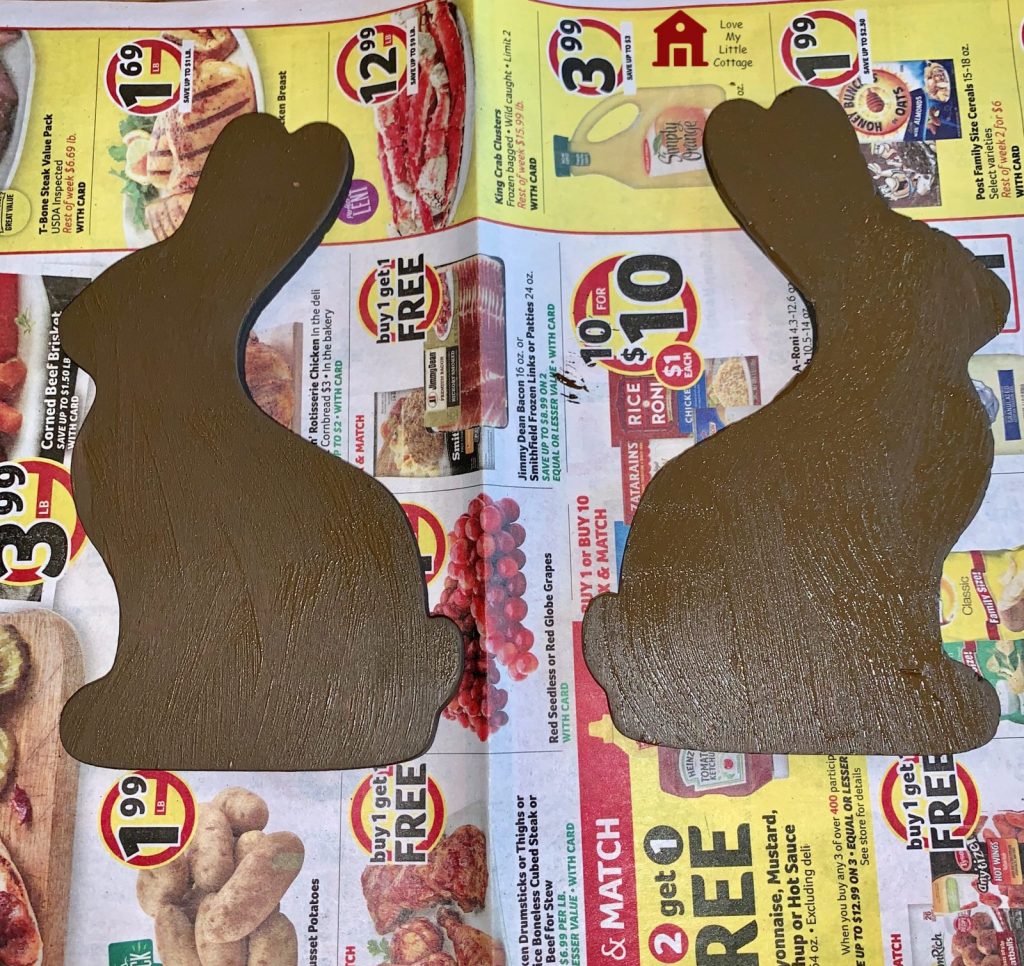
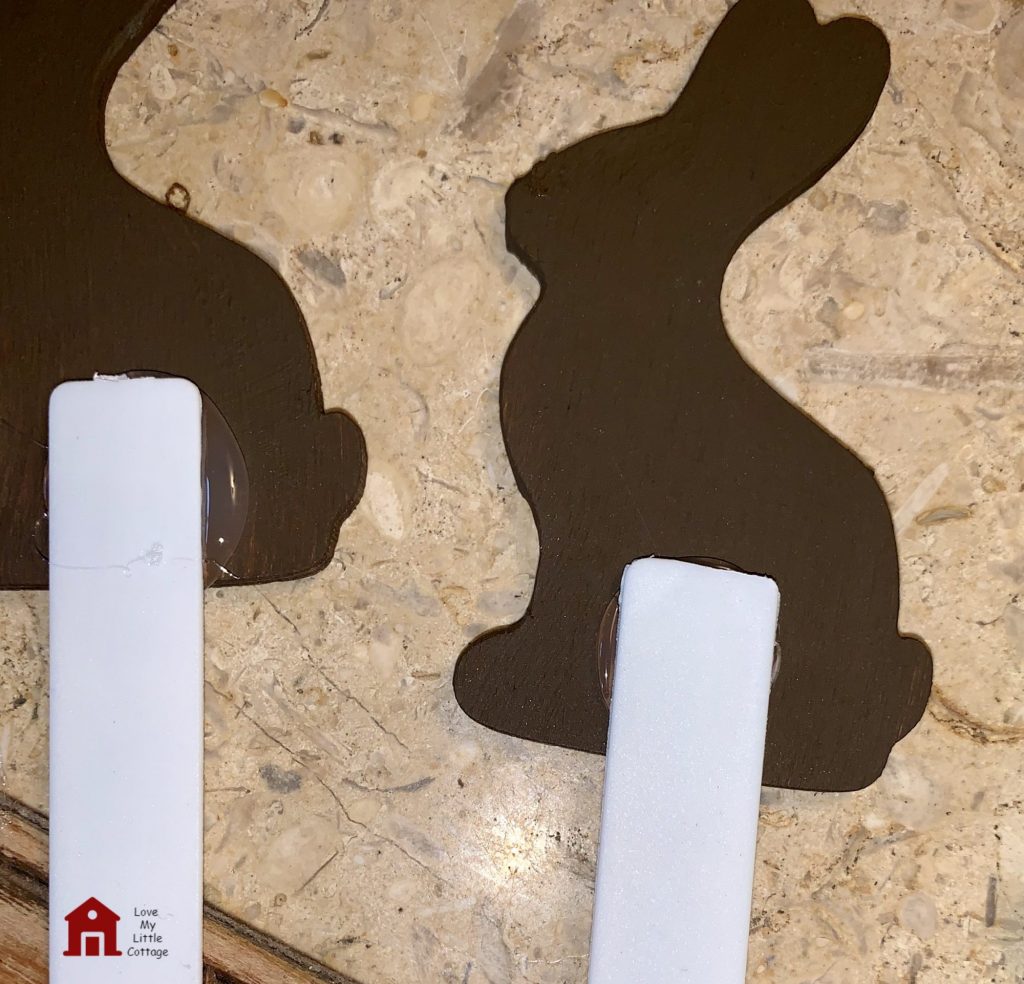
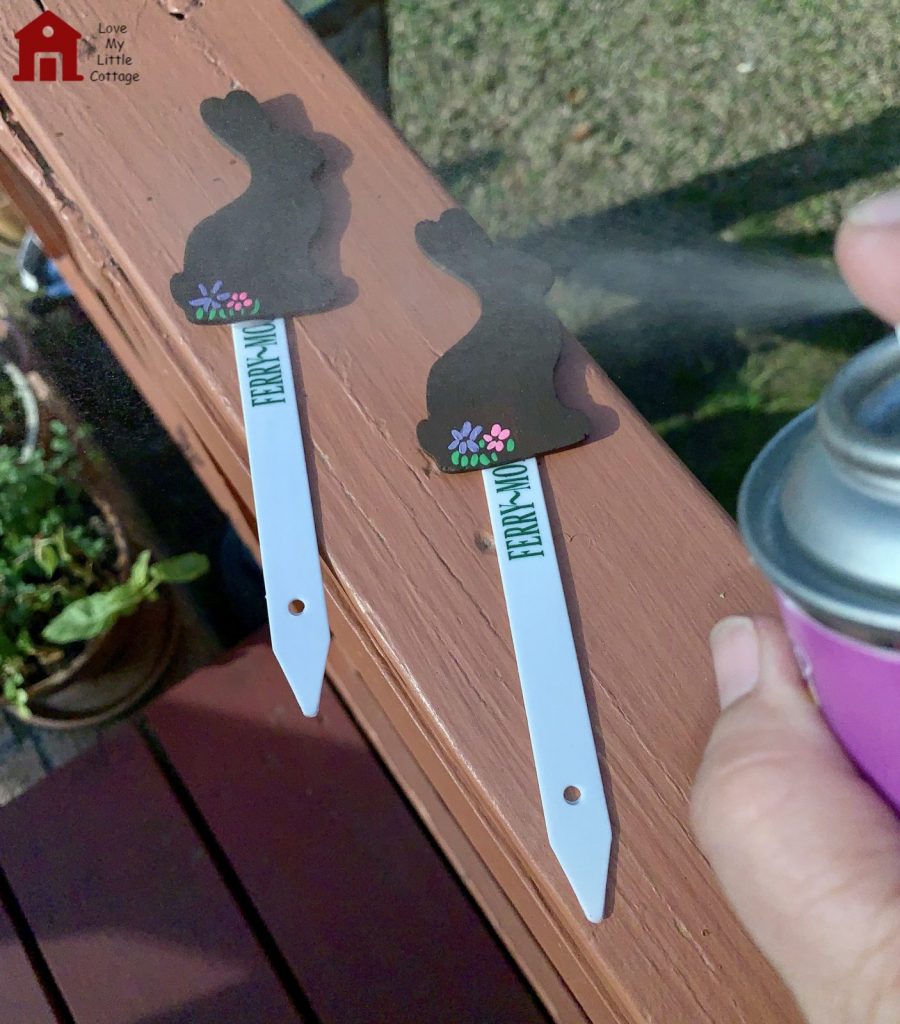
INSTRUCTIONS:


![]() Are you making this? Take a picture and tag it on Instagram with @FlusterBuster and @kristaschubert so we can see how it turned out.
Are you making this? Take a picture and tag it on Instagram with @FlusterBuster and @kristaschubert so we can see how it turned out.

RECENT LOVE MY LITTLE COTTAGE POSTS
-
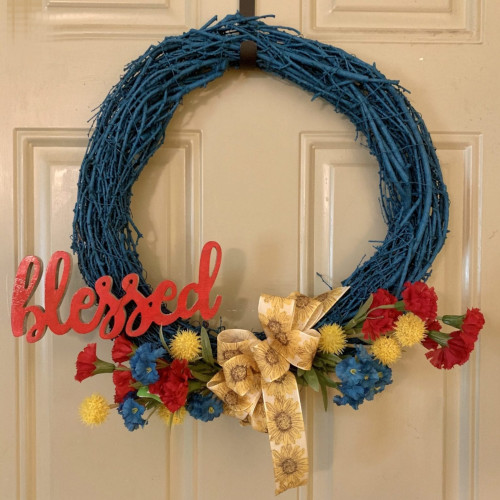
Blessed Spring Wreath -
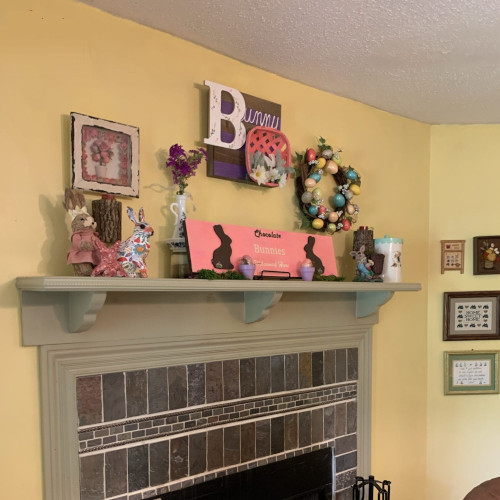
Hippity Hoppity Mantel -
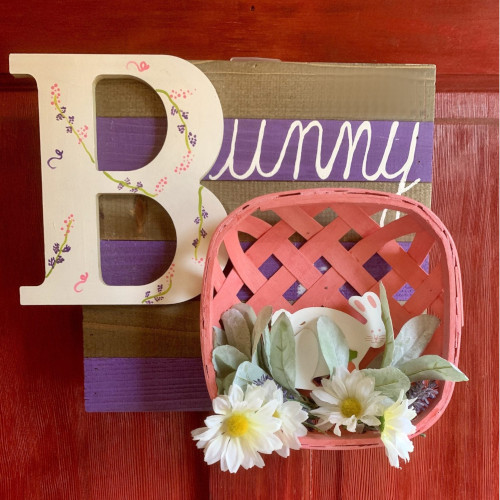
Painted Bunny Door Sign
RELATED POSTS
RECENT POSTS


 t
t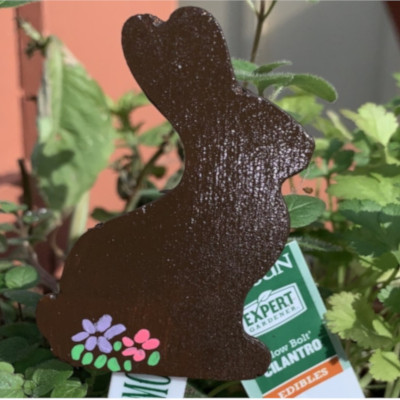
originally posted: 4/5/2019
The flowers on the bunny are so cute. What a great idea to add to an Easter plant. Thanks for sharing at Merry Monday.
Oh, these are the cutest bunnies ever! Great idea for Easter. Thank you for sharing at The Really Crafty Link Party. Pinned.
Thanks for the feature on The Really Crafty Linky Party, Teresa!
Omgee, this is too cute! I love using the bunny as a spring plant marker. Pinned and featuring it on this week’s MM.
Thank you for the feature!
Thanks Erlene! I love Merry Monday.❤️
Totally adorable for this time of the year. Thanks for sharing at #HomeMattersParty
Love this idea. Featuring when my party opens up tonight!
Thanks, Carol, I’m honored!
Yum, he looks like a chocolate bunny. Really cool idea.
Happy Easter, Kippi