I absolutely love the layout of my kitchen, however there are a few things about it that frustrate me. One of them being the lack of drawer space. I have a lot of cupboard space, which is great, but only three drawers. How the heck do you have an organized kitchen with only three drawers? My theory is that the kitchen was designed by a man because every woman knows that you need drawer space.
Currently my drawers are occupied by flatware (drawer 1), cooking utensils (drawer 2) and kitchen towels, oven mitts and dish cloths (drawer 3). My utensil drawer is so full that I had to buy a large crock to place on the counter for my overflow. All of my baking utensils are sitting on a shelf in my baking cupboard taking up valuable cupboard space. I need more drawers!!!!!
This project was not only easy to do but it cost me less than $2.00 and creatively busted my frustration.
Supplies
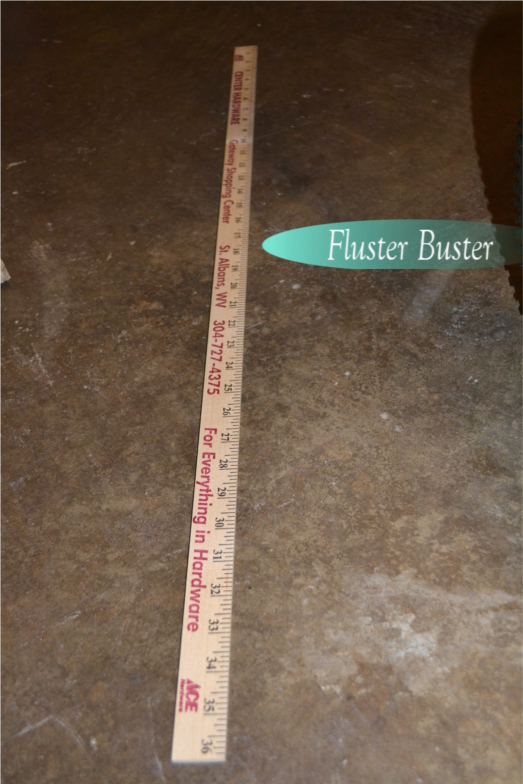
2 – 5-gallon wooden paint sticks (free) or 1 – yardstick
Paint
4 – wood screws
3/4-inch hooks
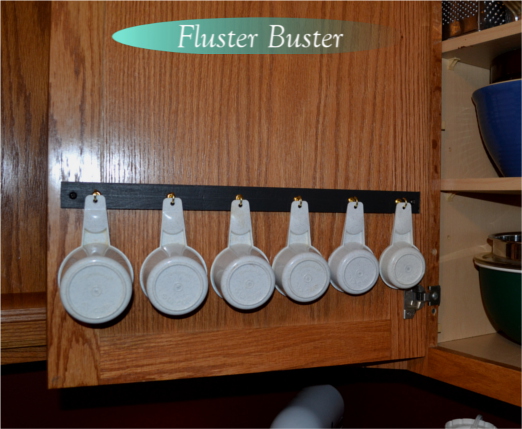
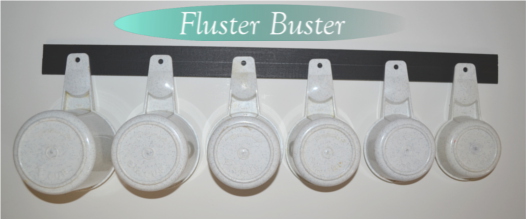
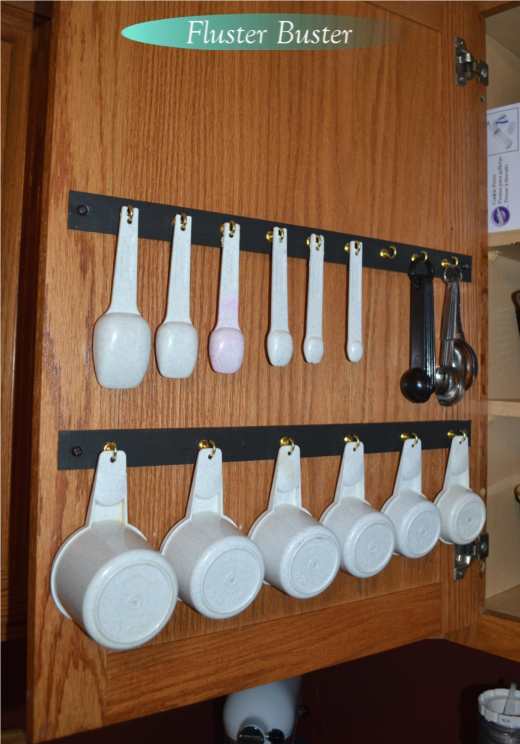
Organizing Measuring Cups & Spoons
Step 1 – Measure
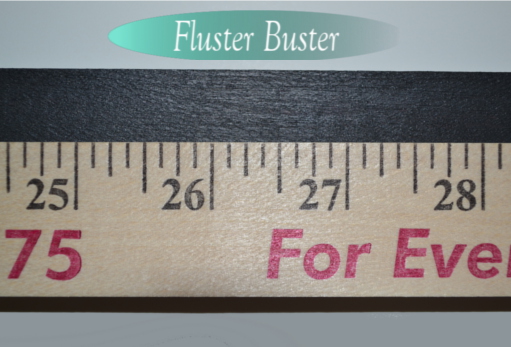
Measure the inside of the cupboard frame (2x for accuracy) and subtract a quarter of an inch. This will give you the measurement that you will need to cut the yardstick. This will keep the yardstick from interfering with the door closing.
Step 2 – Cutting
Taking your measurement, cut the yardstick using a miter box and handsaw.
Step 3 – Sanding and Painting
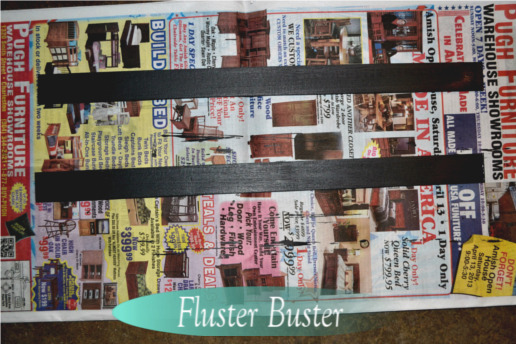
Sand the sticks to give them a smooth finish, concentrating on the end that you cut. Paint the sticks your desired color, being sure to paint the edges. I only painted one side of the stick because the other side was going to be attached to the cupboard. *I didn’t bother priming it because the wood was so porous.
Step 4 – Drilling & Measuring
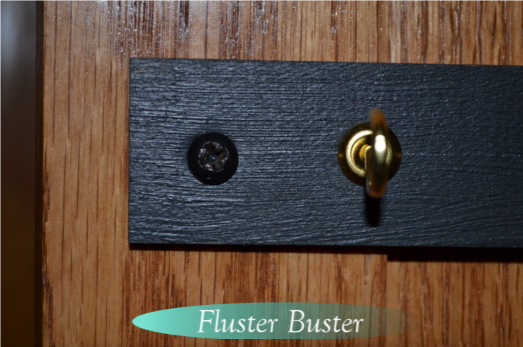
Drill a pilot hole on both ends of the stick. This will keep the wood from splitting when you attach it to the cupboard door. Measure the center (length wise), this will be the line that you will place the hooks on.
Step 5 – Placement
This is important! Lay your cups out, on the stick, in the order that you want to display them in your cupboard. Now make sure that the first and last cup are not overlapping the end of the stick. If it is it will keep your cupboard door from shutting once it has been hung.
Step 6 – Positioning Hooks
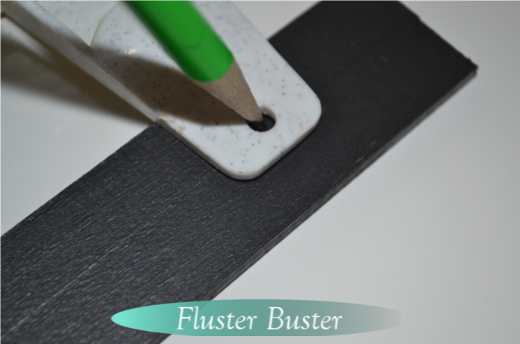
Using a pencil, mark the position of each cup (or spoon) that you have laid out. Then drill a small pilot hole for the hook. Because the wood is so soft the pilot hole will keep the wood from splitting when you attach the hooks.
Step 7 – Fastening
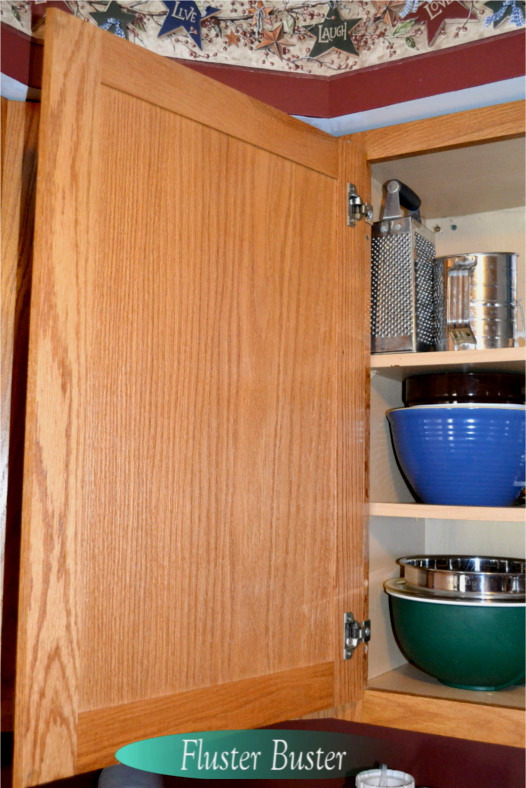
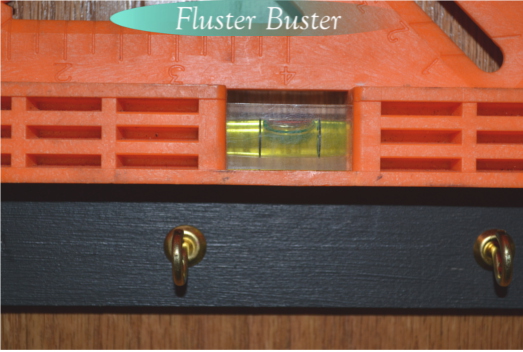
There are a couple of things that you need to keep in mind before you permanently attach the stick to your cupboard. () Be sure that the stick is placed below a shelf. If you place it at the same level as the shelf you won’t be able to close your cupboard door. (2) Center the stick on the cupboard door. If it’s not centered it will keep the door from shutting. (3) Use a level to mark the area that you want to attach the stick. Things just look sloppy and unfinished when their not level. (4) Pre-drill pilot holes in your cupboard door. If you don’t pre-drill you could cause permanent damage to your cupboard doors, making this cheap project an expensive one.
Step 8 – Hooks
Align the pilot hole on the stick with the one on your cupboard door. Attach using your wood screws. * Be sure that your wood screws are long enough to go through the stick but short enough to not go all the way through your cupboard doors. Once the stick is placed add your hooks to the pre-drilled pilot holes that we made earlier.
Step 9 – Enjoy
Pat yourself on the back for doing such a great job and for bringing a little more organization into your life.
[Pinterest Image 735×1102]

Disclosure: Some of the links in this post are affiliate links. If you click on the link and purchase the item, I will receive a commission. I only recommend products or services that I personally believe will add value to my readers. All opinions stated are strictly my own. Read our full disclosure policy for more information.



Great job! Thanks for sharing. Congratulations on being the featured blog on the Talkin' About Thursday Linky Party. I am a new Follower of your Blog.
Clever! I think it would even be fun to just leave the yard stick as is, but then I love rustic.
hugs,
Jann
Thanks for that-I am going to do that this weekend.
I too run out of space in this rental and that would sure help.
What a good idea!
My measuring cups are in drawings, top of the cabinets and in bins. I so need some type of organization and this is definitely a great idea. Now, do I have a yard stick anywhere…. Saw you on Dear Creatives.
Found you through the "Show Off Friday Linky Party". I LOVE what you did here. I did mine a couple of weeks ago BUT….I have metal measuring cups and they CLANK….LOUDLY when we open that (pantry) door….oops! I think I will go in and possibly line the door with fun foam or something.
Carolyn
I agree, any kitchen lacking drawers was not designed by a woman. 🙂 Once upon a time when I was a young married, there were only two drawers in the kitchen. One for silverware the other for kitchen utensils. I love your solution, I might have to implement it for my kitchen. Stopping by from My Turn for Us.
Angela
Oh, my gosh, that is so cute! I have mine dumped in a drawer but I think I will have to steal this idea for my kitchen. It's so much more convenient and pretty!
When we fix up our kitchen I want to do this project! Perfect for storing & not getting in the way! Thanks for linking up & sharing @ DearCreatives.com Hope to see you again soon!
Sometime I do baking a lot. And measuring cup and spoon is the thing that I always misplaced. This is brilliant. I should start making one of this hanging rack for myself!
It’s really convenient!
My tupperware measuring spoons do not have a hole in them. the top is designed to put on ring that is not open.
I drilled holes in the ones that I had.