City girls don’t “put up” food for the winter! Being raised in San Diego I never heard the term “put up” until I moved to West Virginia. What it means is, to prepare food to be stored either by canning, pickling, dehydrating or freezing. I’m sure there are some other methods, I just haven’t been introduced to them, YET!
This week, we had the good fortune to freely pick as much corn as we wanted. One of my father-in-laws friends had some corn in his garden and told us that we could pick it clean. Okay, problem, I’ve never picked corn before and have no idea what to do. So Tuesday morning, my in-laws came by bright and early to pick me and the kids up. They advised us that we had better grab some long sleeve shirts so that we didn’t get cut up. What did I get myself into?
Now what I think of as a garden is a small plot, in your backyard, where you grow a few things for a nice salad. When I saw this mans garden my jaw just about dropped. It looked more like a crop that would be harvested to sell at a large chain of supermarkets. The look on my kids faces when they saw the “garden” was priceless, they thought of a garden the same way I did.
After the shock, we all put on our long sleeve shirts (my kids refused to put theirs on) and each grabbed a 5-gallon bucket. My mother-in-law then instructed us on how to pick corn. (1) Choose ears that are plump and the tassels have turned brown; (2) pull the ears down and twist, to remove it from the stalk. It was actually pretty fun, at first!
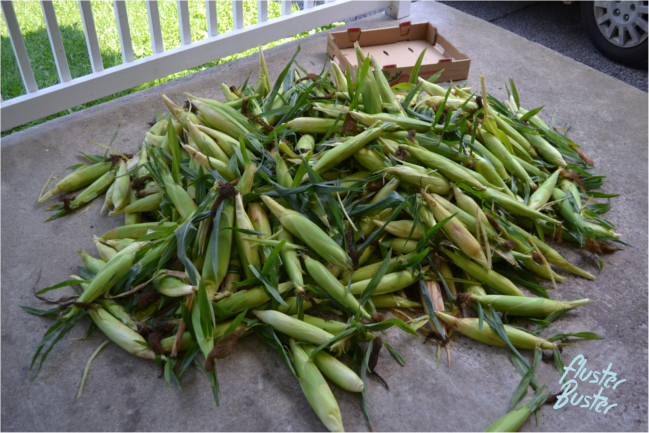
We picked corn for about an hour and a half and ended up with about 40 dozen ears. I am so thankful to my father-in-laws friend and to my in-laws for getting us out there early. It got pretty hot, especially when you’re wearing a long sleeve shirt. I’m sure the kids weren’t feeling the heat like we were, since they refused to wear long sleeve shirts. Despite the little cuts that the got from the sharp edges of the corn leaves, they had a lot of fun and they learned a valuable lesson – when grandma says wear a long sleeve shirt, listen, she knows what she’s talking about.
As we were dropping off some corn to family and friends my kids made the comment that picking corn was easier than they thought. My father-in-law chimed in and said “You’re not done yet”. They both had a puzzled look on their faces, then he went on to explain that the corn needed to be shucked, de-silked, cut, cooked, and froze. They both made a very loud and exaggerated sigh. Priceless.
After sharing some of our loot with family and friends and my in-laws taking some, our family ended up with about 25 dozen ears. Now the real work begins.
How to “Put Up” Corn
Step 1 – Shuck the corn
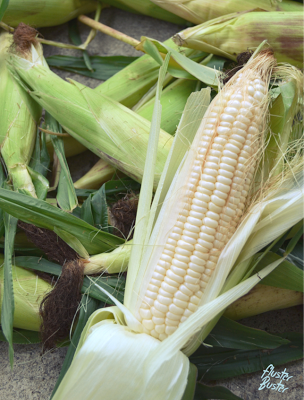
To shuck (or husk) corn means to peel off the outer covering. Starting at the top of the ear are the tassels (brown silk), separate and strip the husk away from the top all the way down to the base. Once all of the husk is peeled away from the cob, snap off the husks and the remaining stalk. This is also a good time to cut off the top portion of the cob where the kernels are not filled out.
Step 2 – Remove the Silk
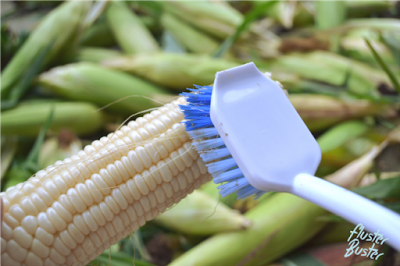
The best way to remove the silk without water logging the corn is to use a scrub brush. It may not remove all of the silk but it will remove a large portion of it. I don’t get to flustered over a little silk in the finished product, it just shows that it didn’t come from a can.
Step 3 – Rinse
Rinse the corn with cold water and remove any discolored kernels or bad portions.
Step 4 – Remove kernels from the cob
Before removing the kernels from the cob, a lot of people will blanch the corn first. My mother-in-law insists that the corn tastes sweeter when you leave out this step.
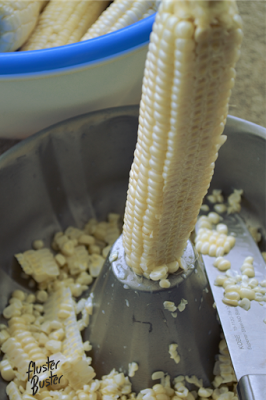
To remove the kernels and keep them from popping all over the place try using a Bundt Pan
. I found this little tip on Pintrest and it works really well. I even taught my corn guru (mother-in-law) this trick and she loves it. Now, stand the corn cob upright, with the tip of the cob placed in the center hole of the pan. Hold the cob in place and run a sharp knife down the length of the cob, the pan will catch all of the kernels. I did two dozen at a time.
Step 5 – Cooking the Corn
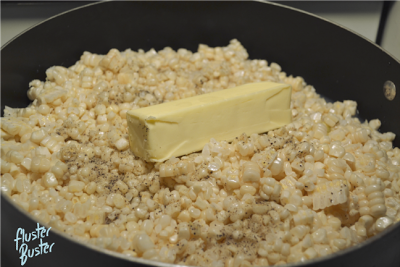
Now that you’ve separated the kernels from 2-dozen cobs, pour the kernels into a large pan.
Add 1 stick butter, 1 tablespoon salt, 1 teaspoon pepper and 1-1/2 cups water. Cover and cook on low for 30 minutes. Remove from heat and let cool.
Step 6 – Labeling
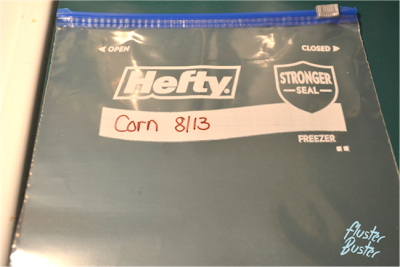
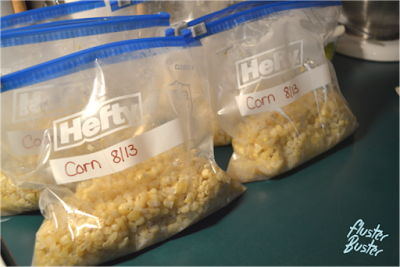
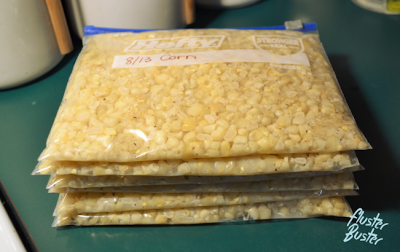
While the corn is cooking begin labeling your containers. Corn can be kept in the freezer for 12 months, so it’s a good idea to put the date on the container as well as what it is – Corn. I used quart size Zip-loc freezer bags because they hold just enough for my family and I like that they lay out flat so that I can save on freezer space.
Step 7 – Filling
Once the corn has completely cooled it’s time to fill your containers. I measure about 2 heaping cup fulls per bag, liquid and all. I end up with 6 bag fulls. If you are using bags lay the bag out flat and work out any excess air, then zip closed.
Step 8 – Freezing
To make sure that no enzymes can contaminate the corn, avoid stacking the packaged corn on top of each other until it is completely frozen.
Step 9 – Cooking
Place the frozen corn in a sauce pan. Add a couple of tablespoons of water and cook over low heat. You can add butter if you like, but I find that the butter that it was originally cooked with is enough. Once it starts to boil continue cooking for a few minutes and then serve.
Although it was a lot of work picking and prepping the corn, it was fun. The kids and I got to spend a lot of quality time together and we learned how to “put up” corn. We ended up with 54 bags of cut corn and 12 bags of corn on the cob. If I ever have the opportunity to do this again I would definitely do it, you just can’t get these flavors or texture from the prepackaged versions at the store.
Have you ever “put up” corn?



I absolutely loved your story! Being a city girl who grew up in a small town in Idaho, I still put up food. But I do it rather differently; I've never heard of cooking fresh corn for 30 minutes. I was taught to blanch it for a minute or two on the cob, throw the cobs into a sink full of cold water to stop any cooking, then cut off the kernels (using the bundt pan trick, which really does make it so much easier!). When the kernels are cool I pack them in the bags, just as you did. To get out as much air as possible from freezer bags, zip them almost all the way closed, leaving just enough room for a plastic straw through which you can suck out much/most of any remaining air, pulling the straw out at the last possible nanosecond as you zip the last bit closed. The plain corn can be used for many different things, and butter can always be added at serving time.
Oh, this brings back memories. We grew corn every year when I was growing up, and I still remember shucking corn when Mom was putting it all up or even just for dinner. I remember my cousins working at shucking a pickup load of corn; they grew a lot of corn. And you're right, there's nothing like the amazing taste and texture of homegrown corn. So good! Sounds like you have plenty to last awhile, that is awesome!
Thanks so much for sharing on Inspire Me Wednesday. Featuring you in next week's issue.
Oh yes I love 'putting up' corn. I have the best recipe for creamed corn that a friend gave me. Not really that creamy but it has the best flavor. Thought I would do a post about it soon also. Your recipe sounds yummy. Going to pin it to try also. Thanks for sharing with SYC. Shucks your sweet! Sorry, just couldn't resist. lol!
hugs,
Jann
I could so empathize with your story! I grew up in San Diego – dad retired to South Carolina and bought a farm – I have fond memories and learned a lot – I still get the question, 'where are you from? You don't have a southern accent'! Loved reading this post! I am delighted that you shared with Home and Garden Thursday,
Kathy