![]()
![]()
![]()
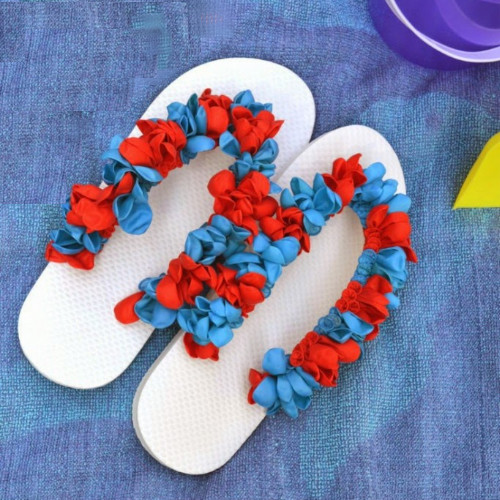
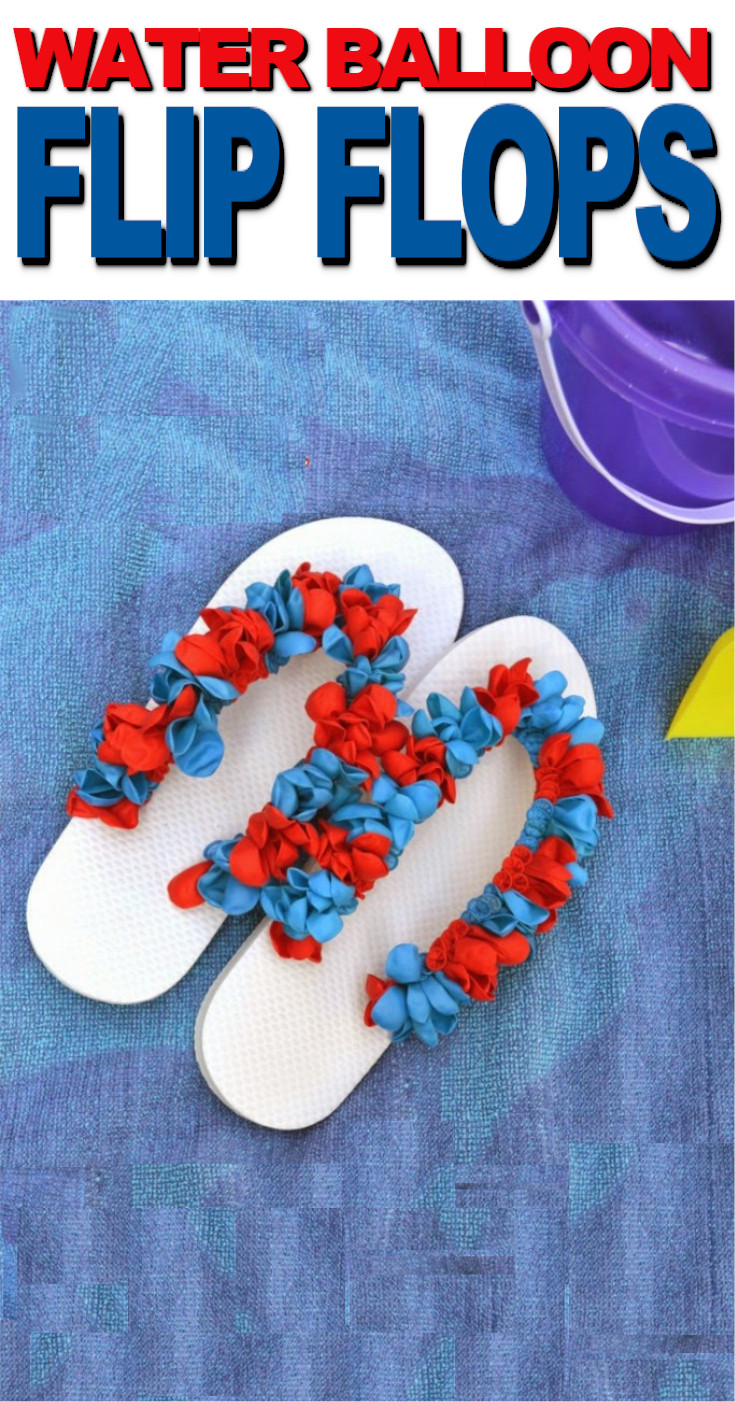
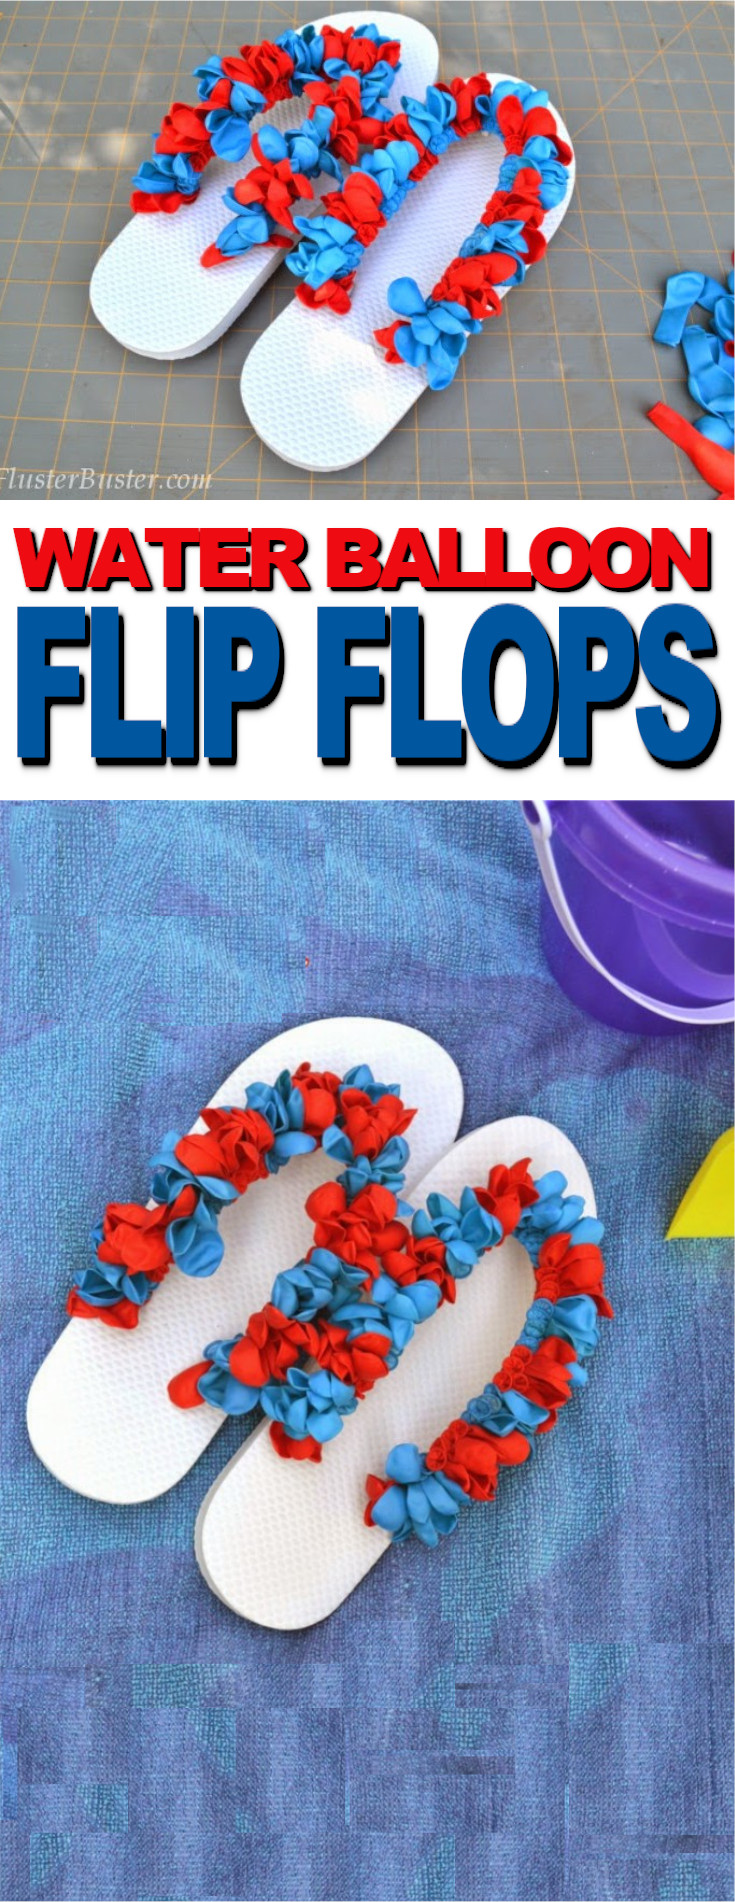
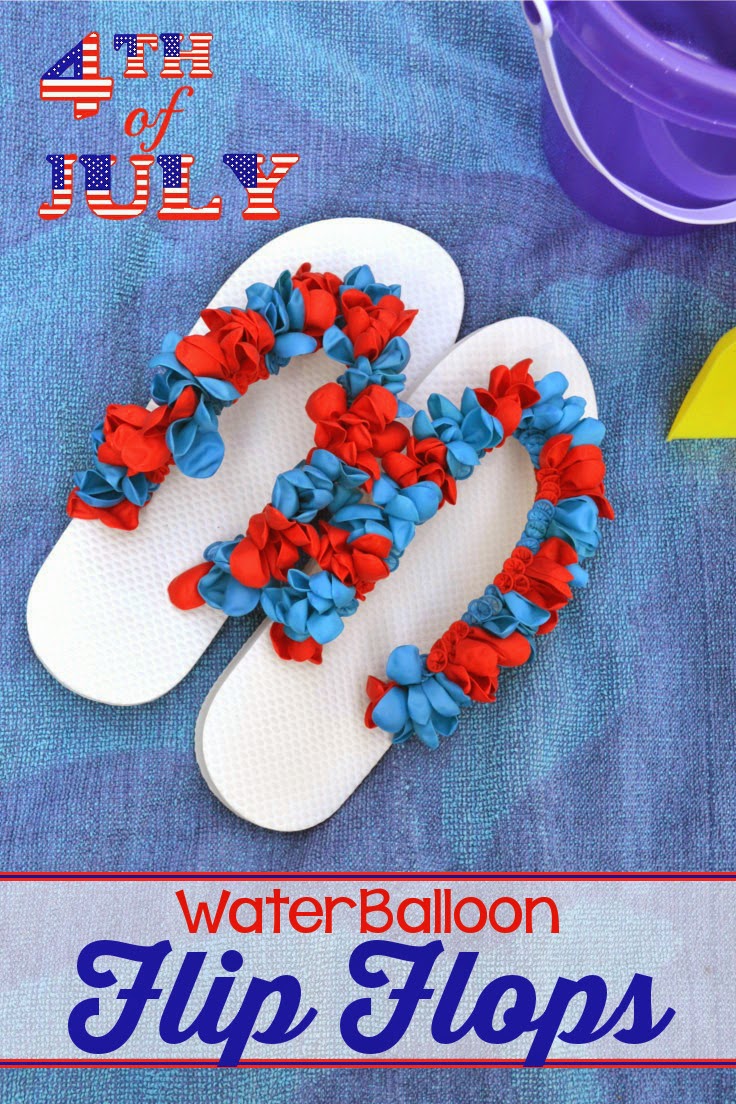
WATER BALLOON FLIP FLOPS
My boys were a little upset that I went digging through their water balloon stash looking for all of the red and blue balloons I could find. I explained what I needed them for and they thought that it was a waste of perfectly good water balloons. I guess that’s what I get for having all boys!
I’ve seen water balloon flip flops all over the web, but I’ve never seen any with a theme, so I thought that I would give it a try with a 4th of July spin. Many of the examples that I’ve seen looked like they were more for a little girl than for a woman. I wanted the balloons to look more like flowers than just a party happening on your feet.
With a little trial and error I figured out a way to make the balloons look more like flowers.
MATERIAL LIST
(may include affiliate links)
◻ 1 pair flip flops
◻ 200+ small water balloons
*I purchased all of the material for this project at the Dollar Tree
HOW TO MAKE WATER BALLOON FLIP FLOPS
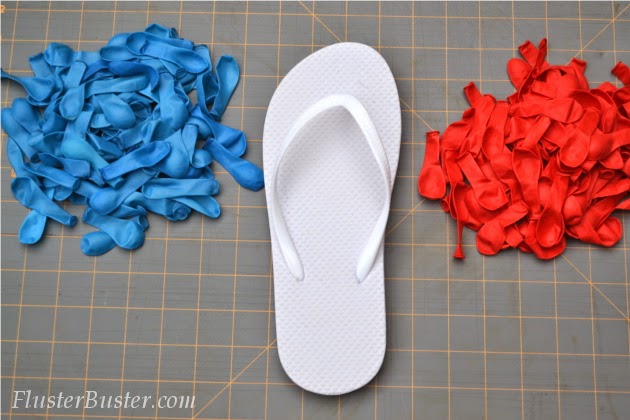
Step 1: Prepare your Work Station
Gather the materials you’ll be using, the flip flops and the water balloons. If you are using different colored balloons, separate the balloons by color it will make the project go faster.
Step 2: Getting Started
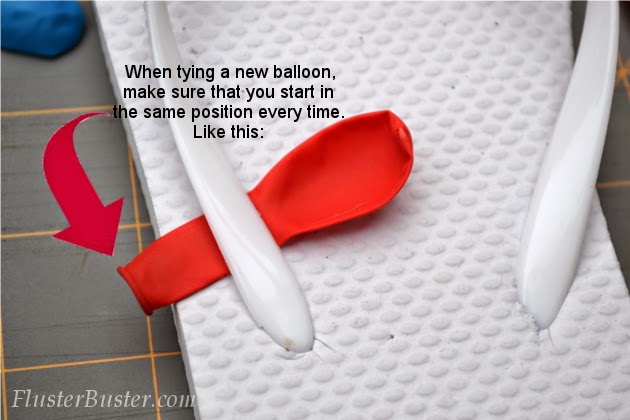
Start at one end of the strap and work your way around. Every balloon will start out in the same direction before tying it.
Step 3: How to Tie the Balloons
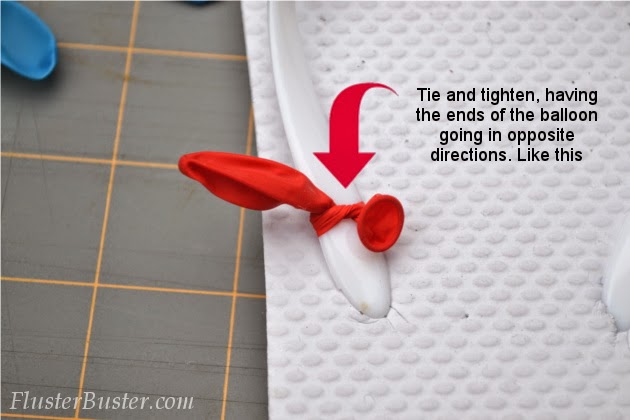
Only tie the balloon once and then pull the ends in opposite directions.
Step 4: Direction
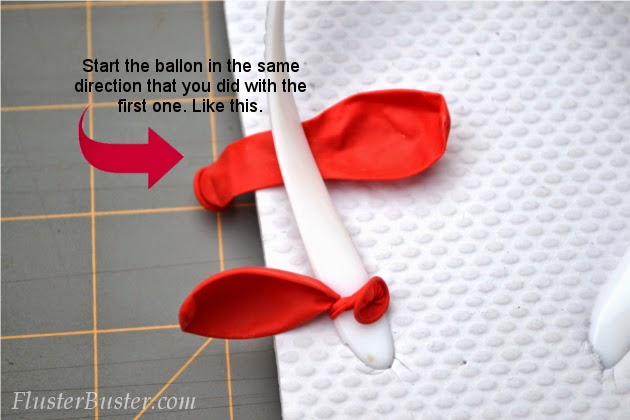
Start the balloon in the same direction that you did with the first one.
Step 5: Tightening the Balloon
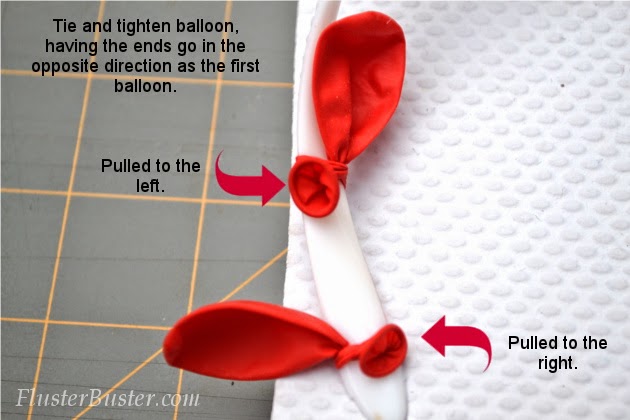
Once you’ve tied the balloon, pull the ends in the opposite direction of the previous balloon. The blow hole goes to the right with the first balloon and to the left with the second balloon. Repeat this pattern for the whole project.
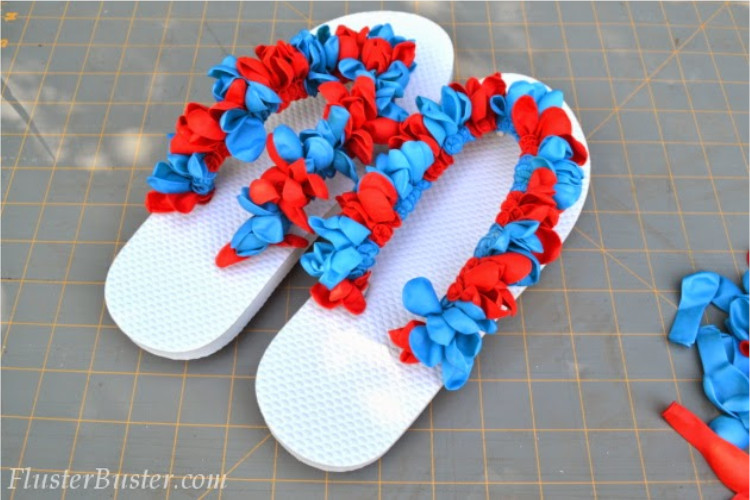
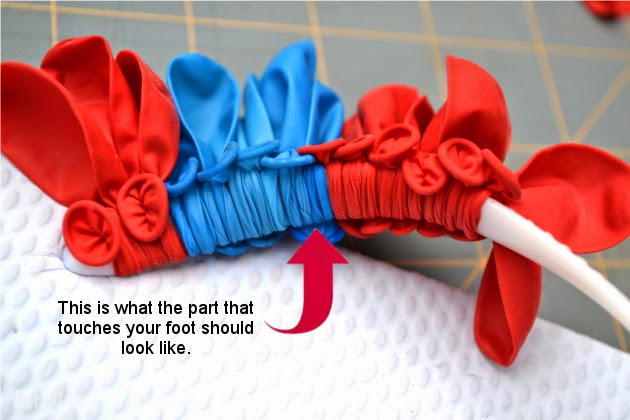
Step 6: The Strap
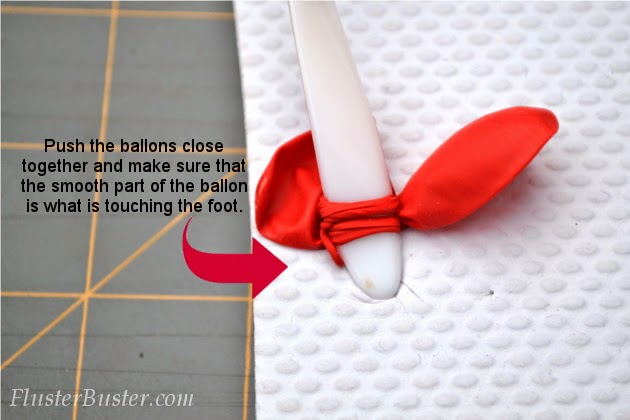
Push the balloons close together, making sure that the smooth part of the balloon is what will be touching the foot. It’s important that you put the smooth part against the foot, if you don’t they will the flip flop uncomfortable to wear.
Step 7: Lining up the Balloons
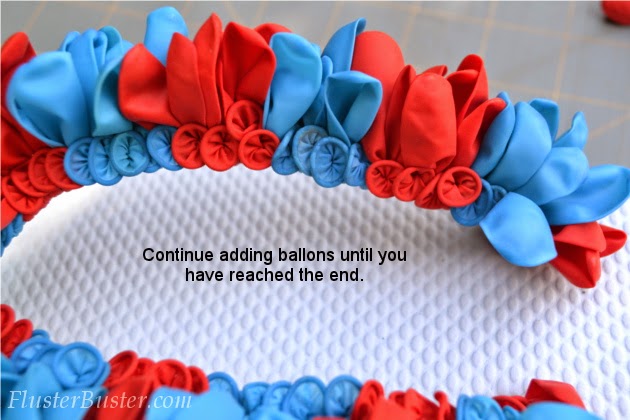
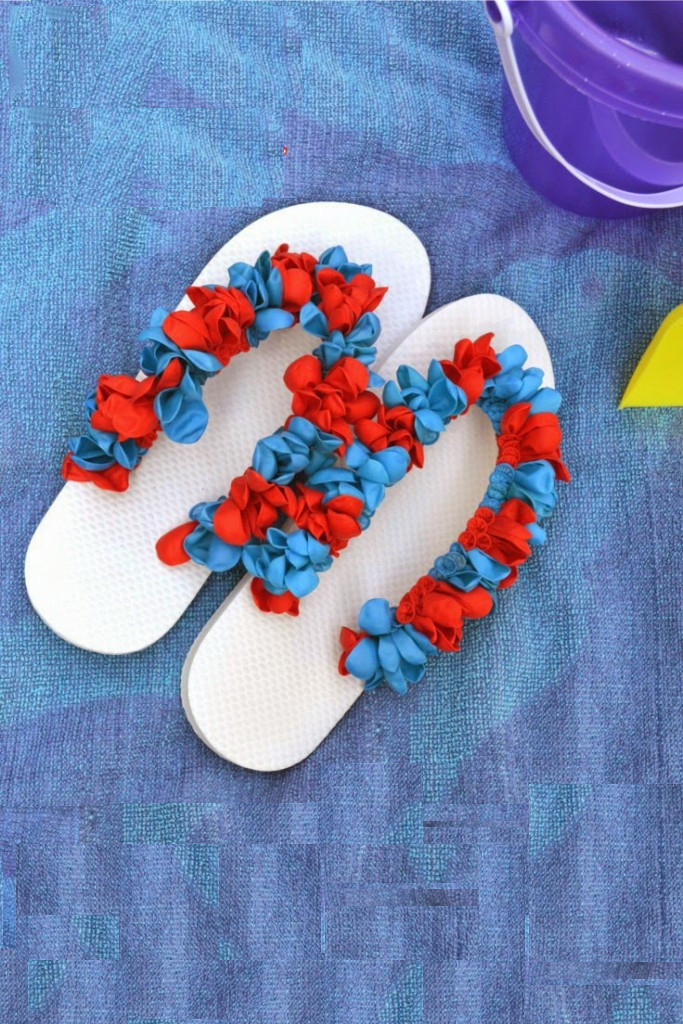
Once you’ve got a few tied on the strap and pushed together, fiddle with the balloons by lining up the blow holes.
I love the way that it looks with the balloons lined up and overlapping, they remind me of a Hawaiian Lei.
![]() What colors did you choose? We’d love to see how it turned out. Snap a pic & tag it on Instagram with @FlusterBuster #waterballoon
What colors did you choose? We’d love to see how it turned out. Snap a pic & tag it on Instagram with @FlusterBuster #waterballoon
-
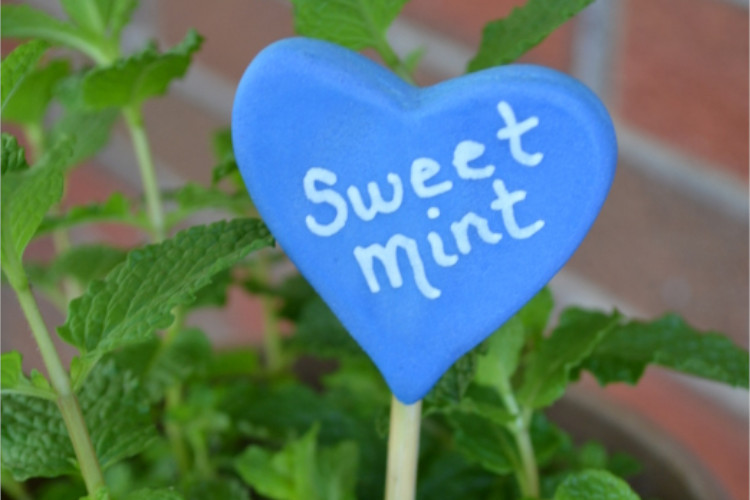
DIY Garden Stakes -
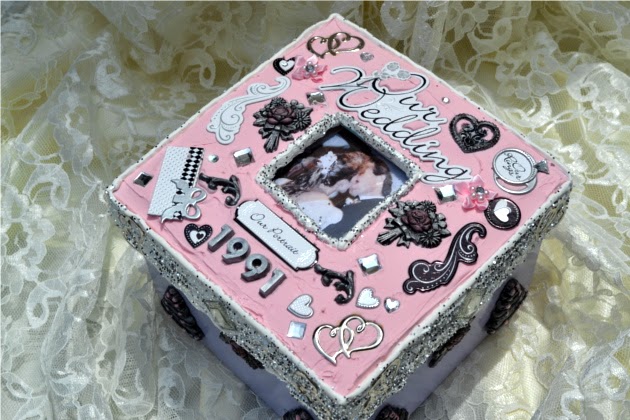
Mod Podge Memory Box -
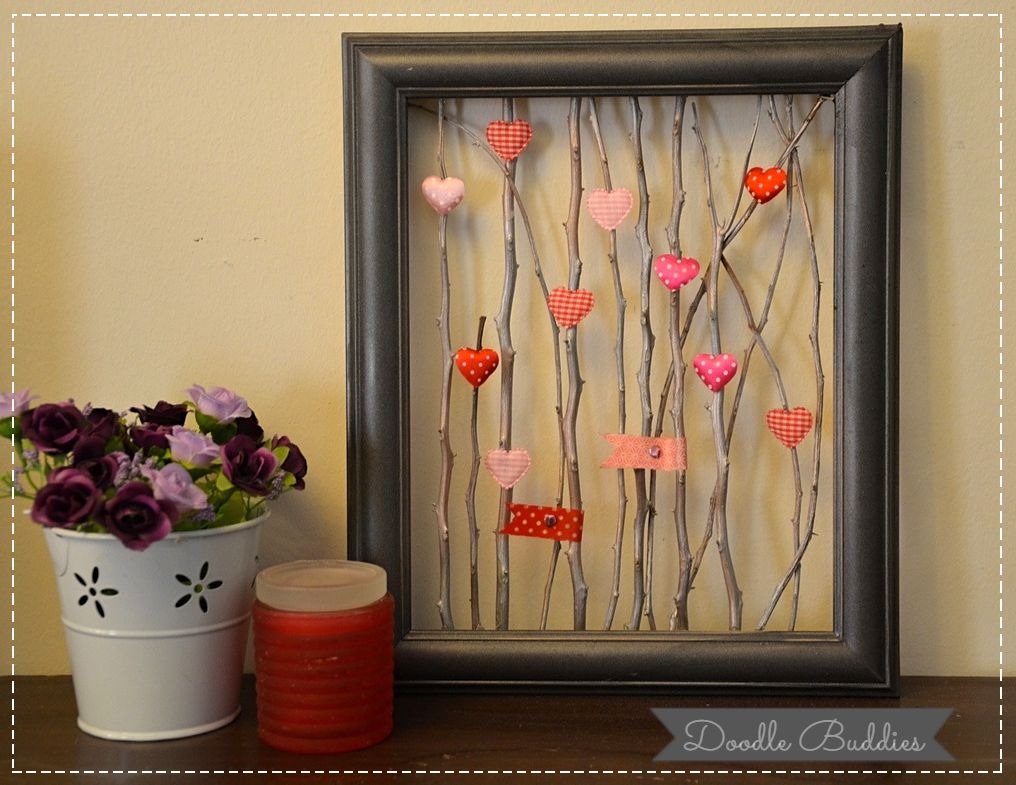
Upcycled Picture Frame -

DIY Cornstarch Salt Clay -
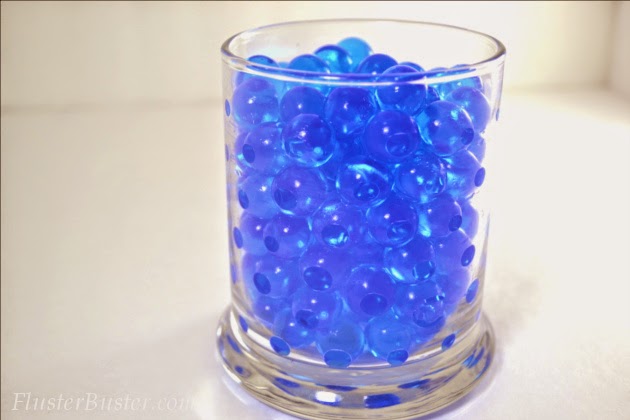
DIY Air Freshener Beads -
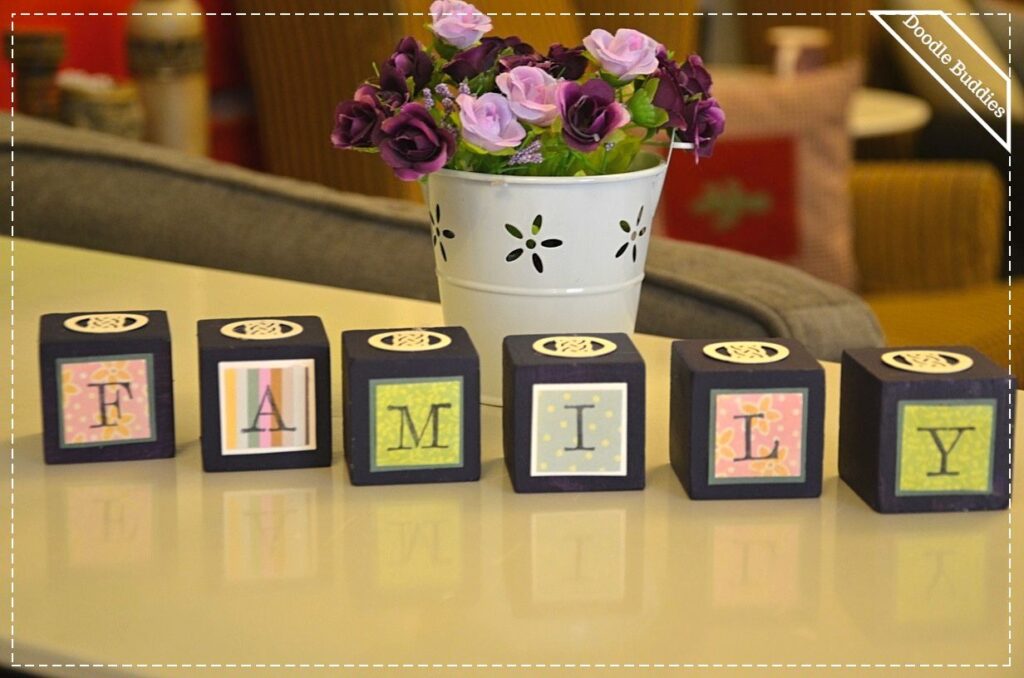
Upcycled Wooden Blocks -
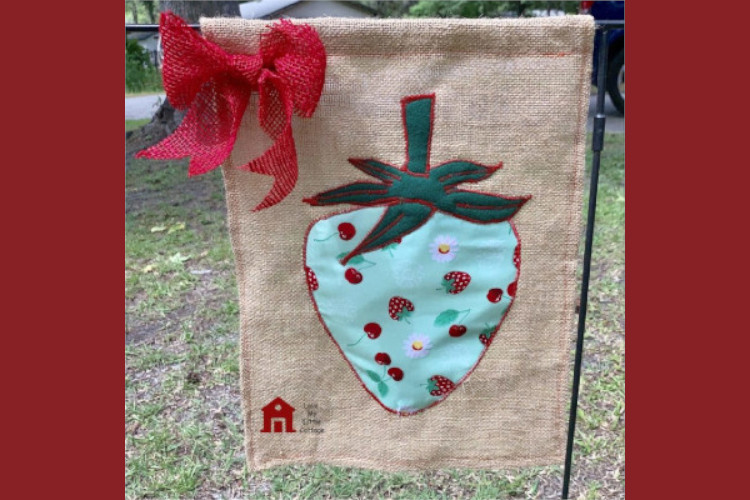
DIY Strawberry Garden Flag -
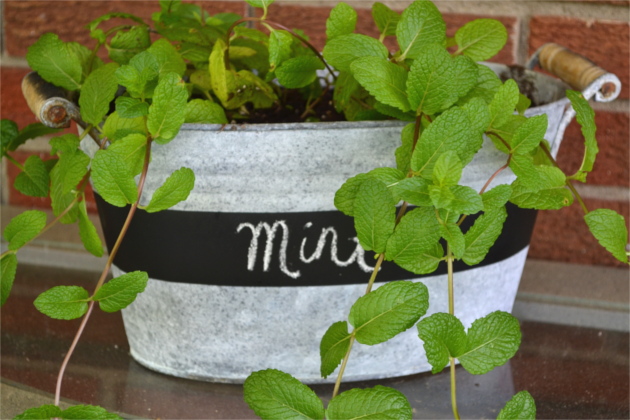
DIY Weathered Galvanized Tin
RECENT POSTS
 |
 |
 |
 |
Wow these are cute Robin!! I didn't jumbos it was that say. At least, you make it look easy:) great tut:)