![]()
![]()
![]()

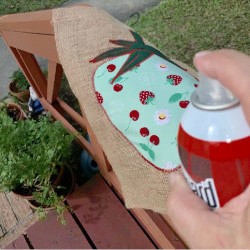
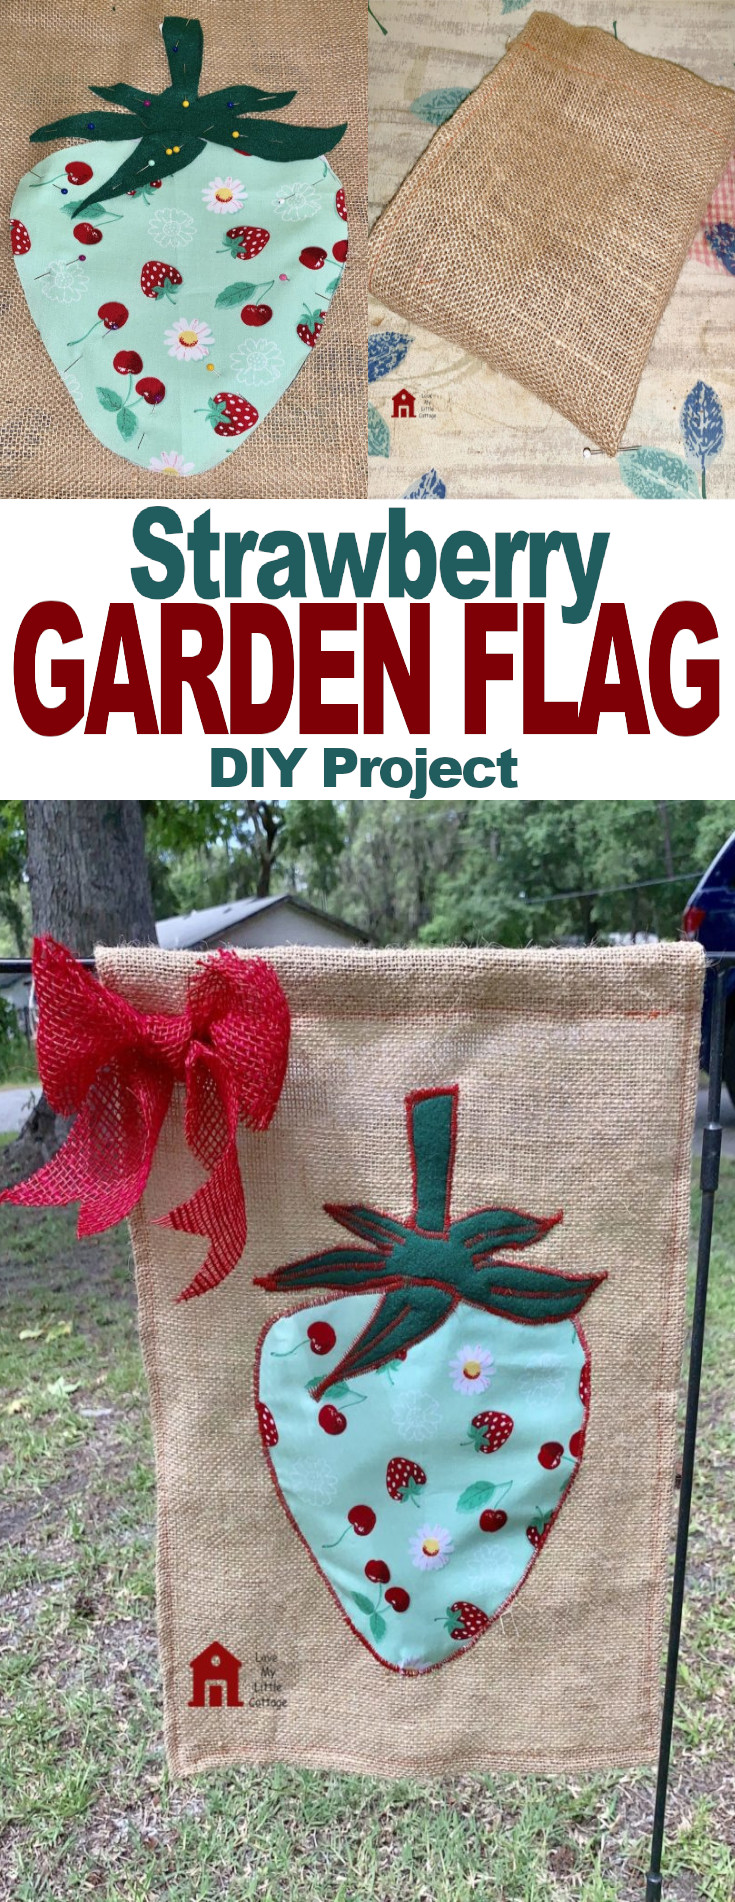
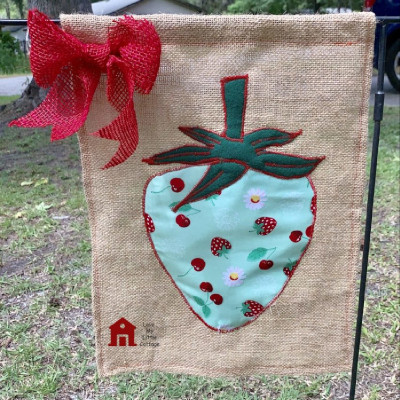
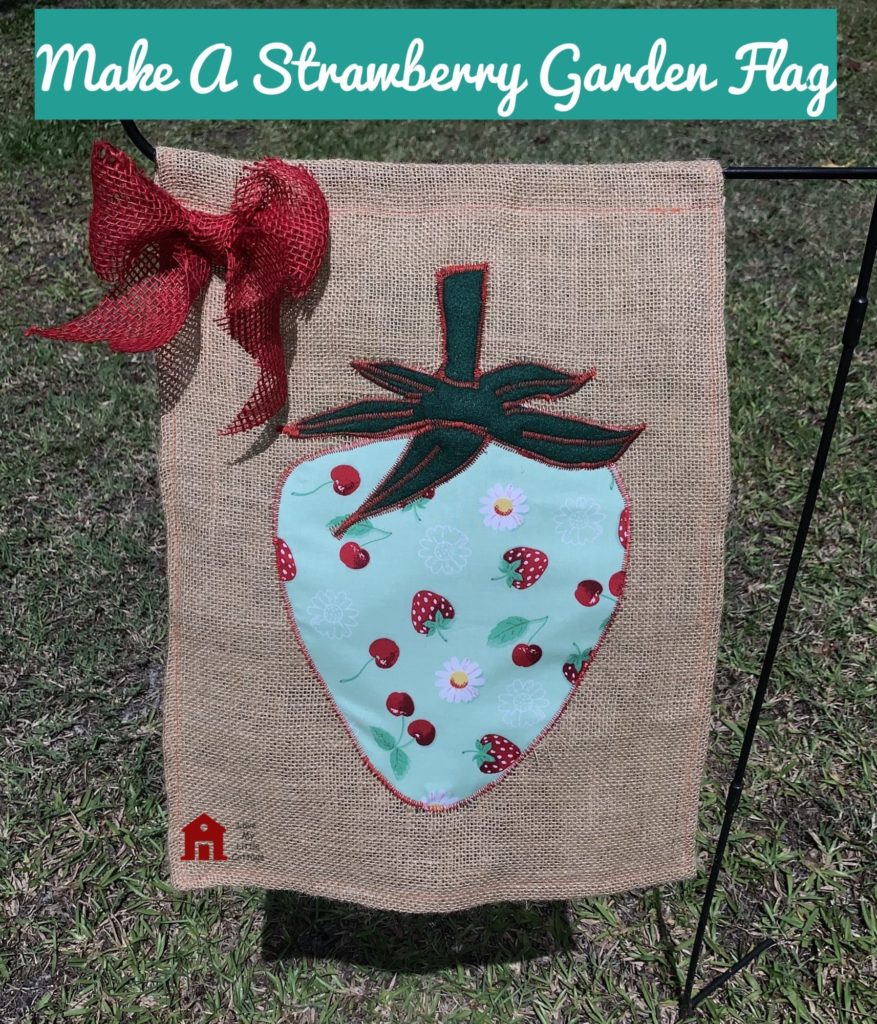
Strawberry Garden Flags are a colorful way to symbolize the beginning of the summer season. Some strawberry print material, a little felt, some burlap, a sewing machine and a few basic sewing supplies is all that you need to pull of this festive DIY project.
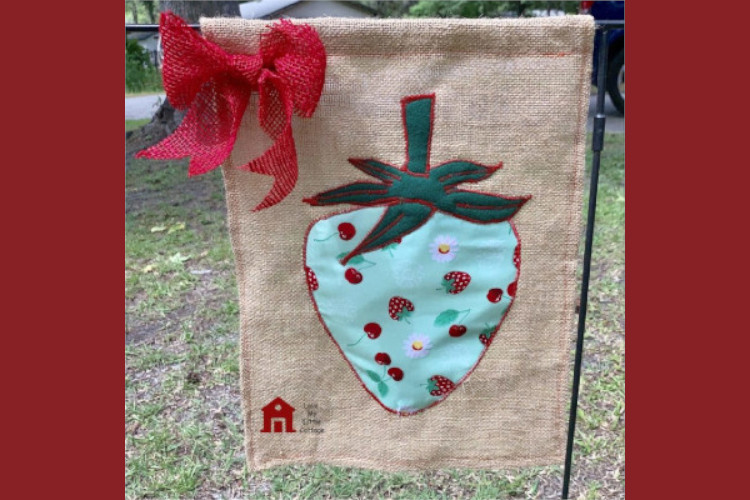
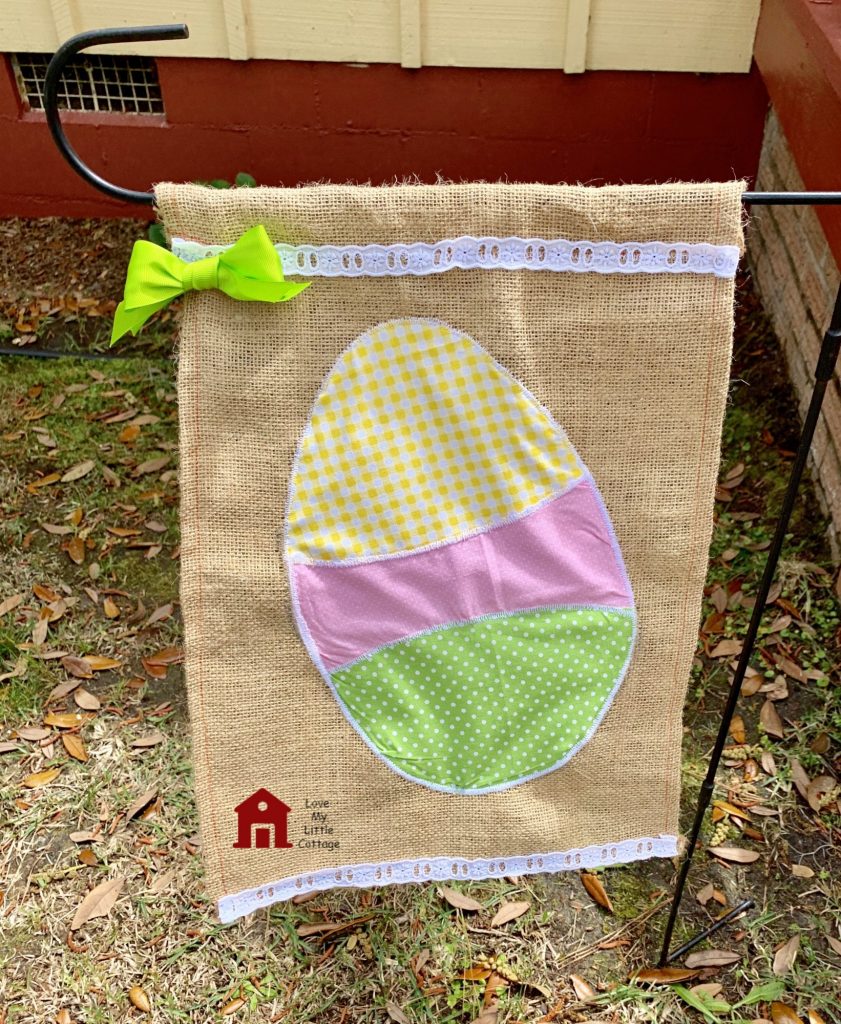
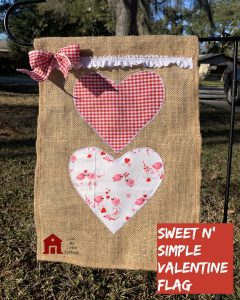
In 2018, I made a bunch of burlap garden flags, and vowed to decorate one for each holiday. I didn’t make the first one, Sweet N’ Simple Valentine Flag, until February 2019. The Easter Egg Garden Flag was the second one to be made. I chose a strawberry for the third garden flag, because strawberries are symbolic of the joy and happiness of summer.
MATERIAL LIST
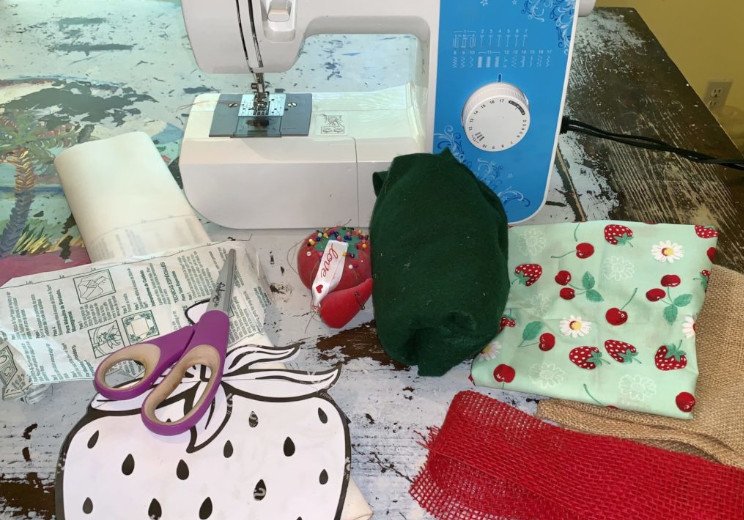
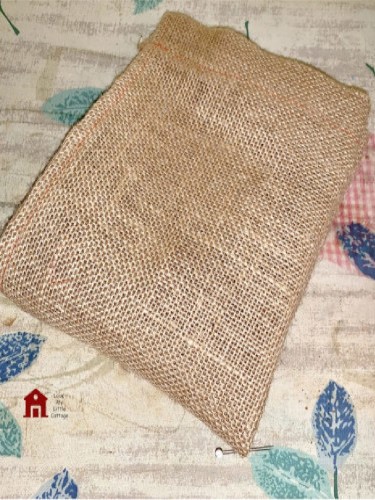
◻ 14″ x 20″ burlap
◻ sewing machine and basic sewing supplies
◻ printable strawberry pattern
◻ strawberry printed cotton material
◻ green felt
◻ interfacing
◻ ink pen
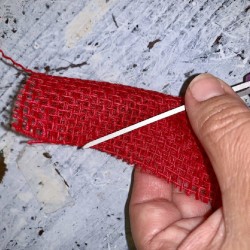
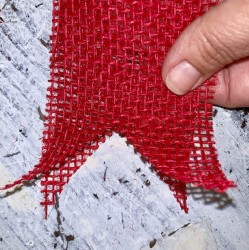
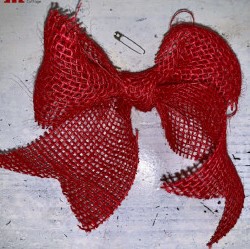
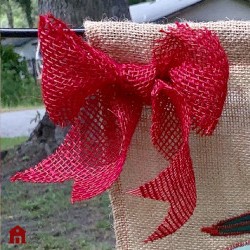
◻ 36″ red mesh ribbon (Dollar Tree)
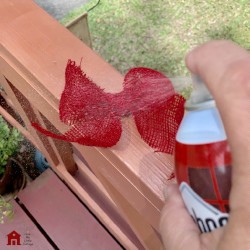
◻ fabric protector spray
◻ safety pin
HOW TO MAKE A STRAWBERRY GARDEN FLAG
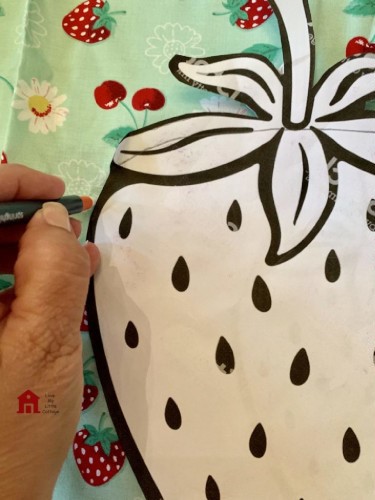
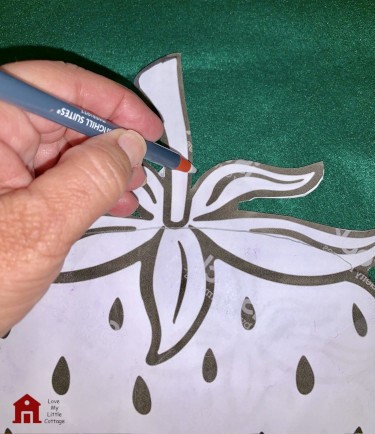
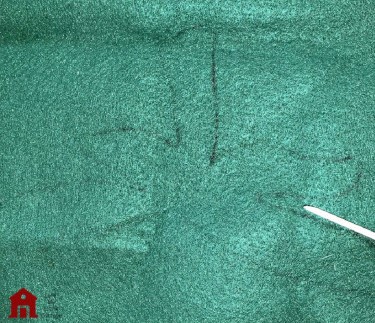
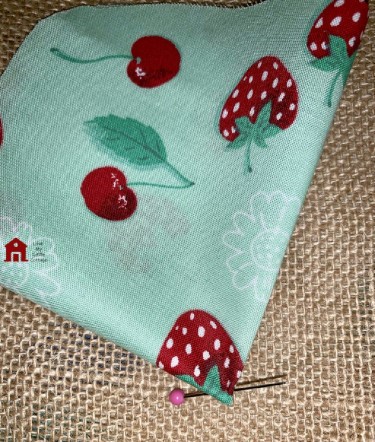
Place the stem pattern on top of the green felt. Trace around the pattern with an ink pen, then cut along the traced ink line.
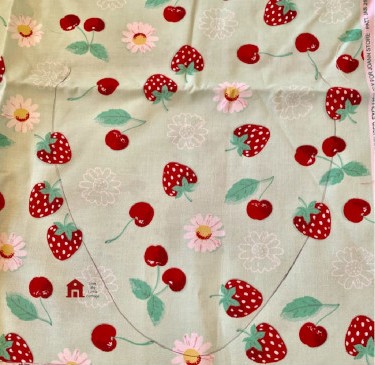
Step 5: Cutting the Interfacing
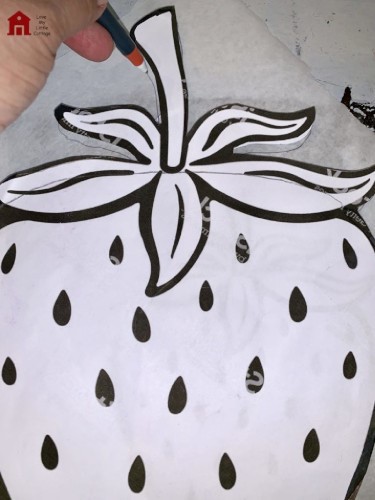
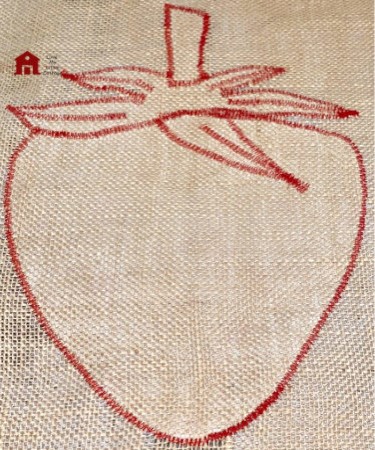
Lay the strawberry pattern over the interfacing. Trace around the pattern with an ink pen, then cut along the traced ink line. This will go between the burlap flag and the strawberry.
I like to use the Pellon interfacing to back my appliqué sewing projects. In this case, it gives the strawberry fabric some body/weight, and makes the flag look and feel more professional. In a nutshell, interfacing stabilizes the fabric for stitching and gives it a nice weight. I didn’t use it with the Easter Egg Garden Flag, and could really tell the difference.
Related: Make A Strawberry Wreath
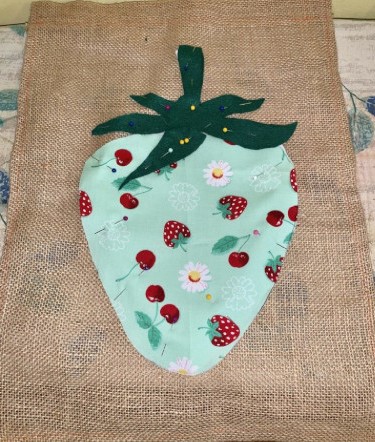
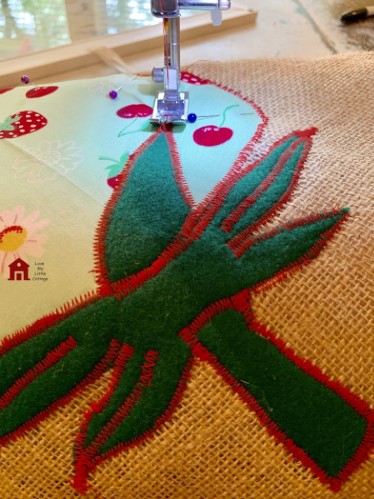
Step 6: Putting it Together


![]() What material did you use for the strawberry? We’d love to see how it turned out. Snap a pic & tag it on Instagram with @FlusterBuster
What material did you use for the strawberry? We’d love to see how it turned out. Snap a pic & tag it on Instagram with @FlusterBuster


If you enjoyed this post, subscribe to Love My Little Cottage and receive every post by email.
MORE INSPIRATION FROM LOVE MY LITTLE COTTAGE
-
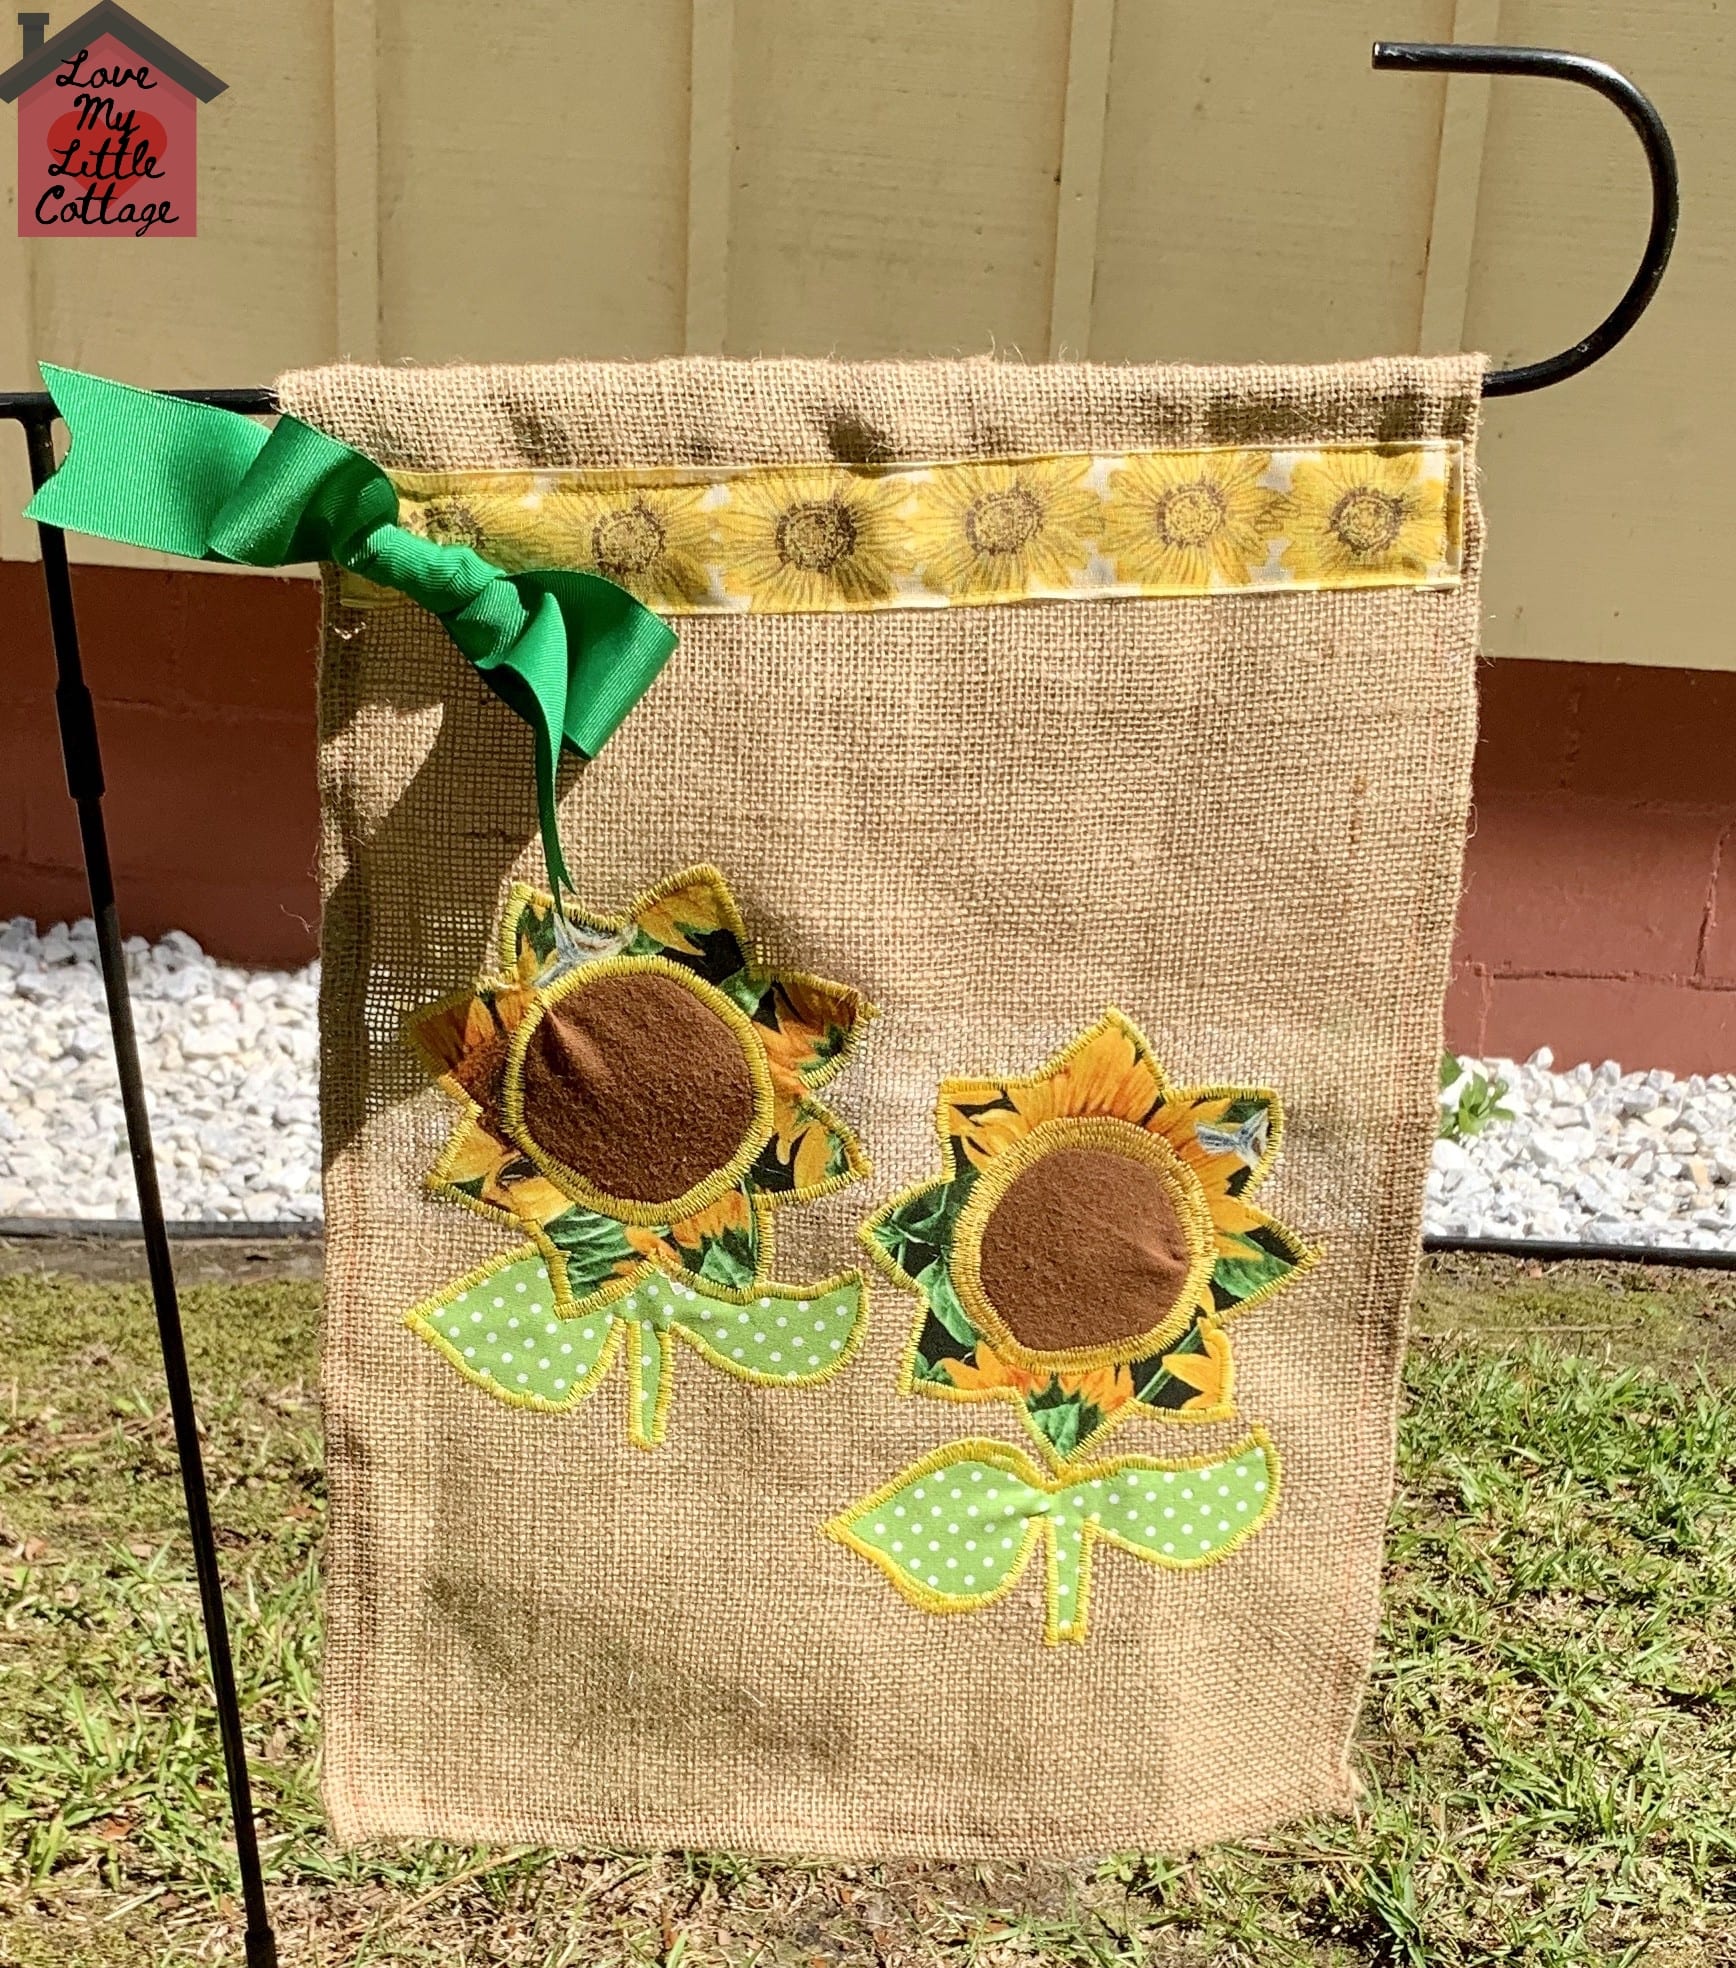
Sunflower Garden Flag -
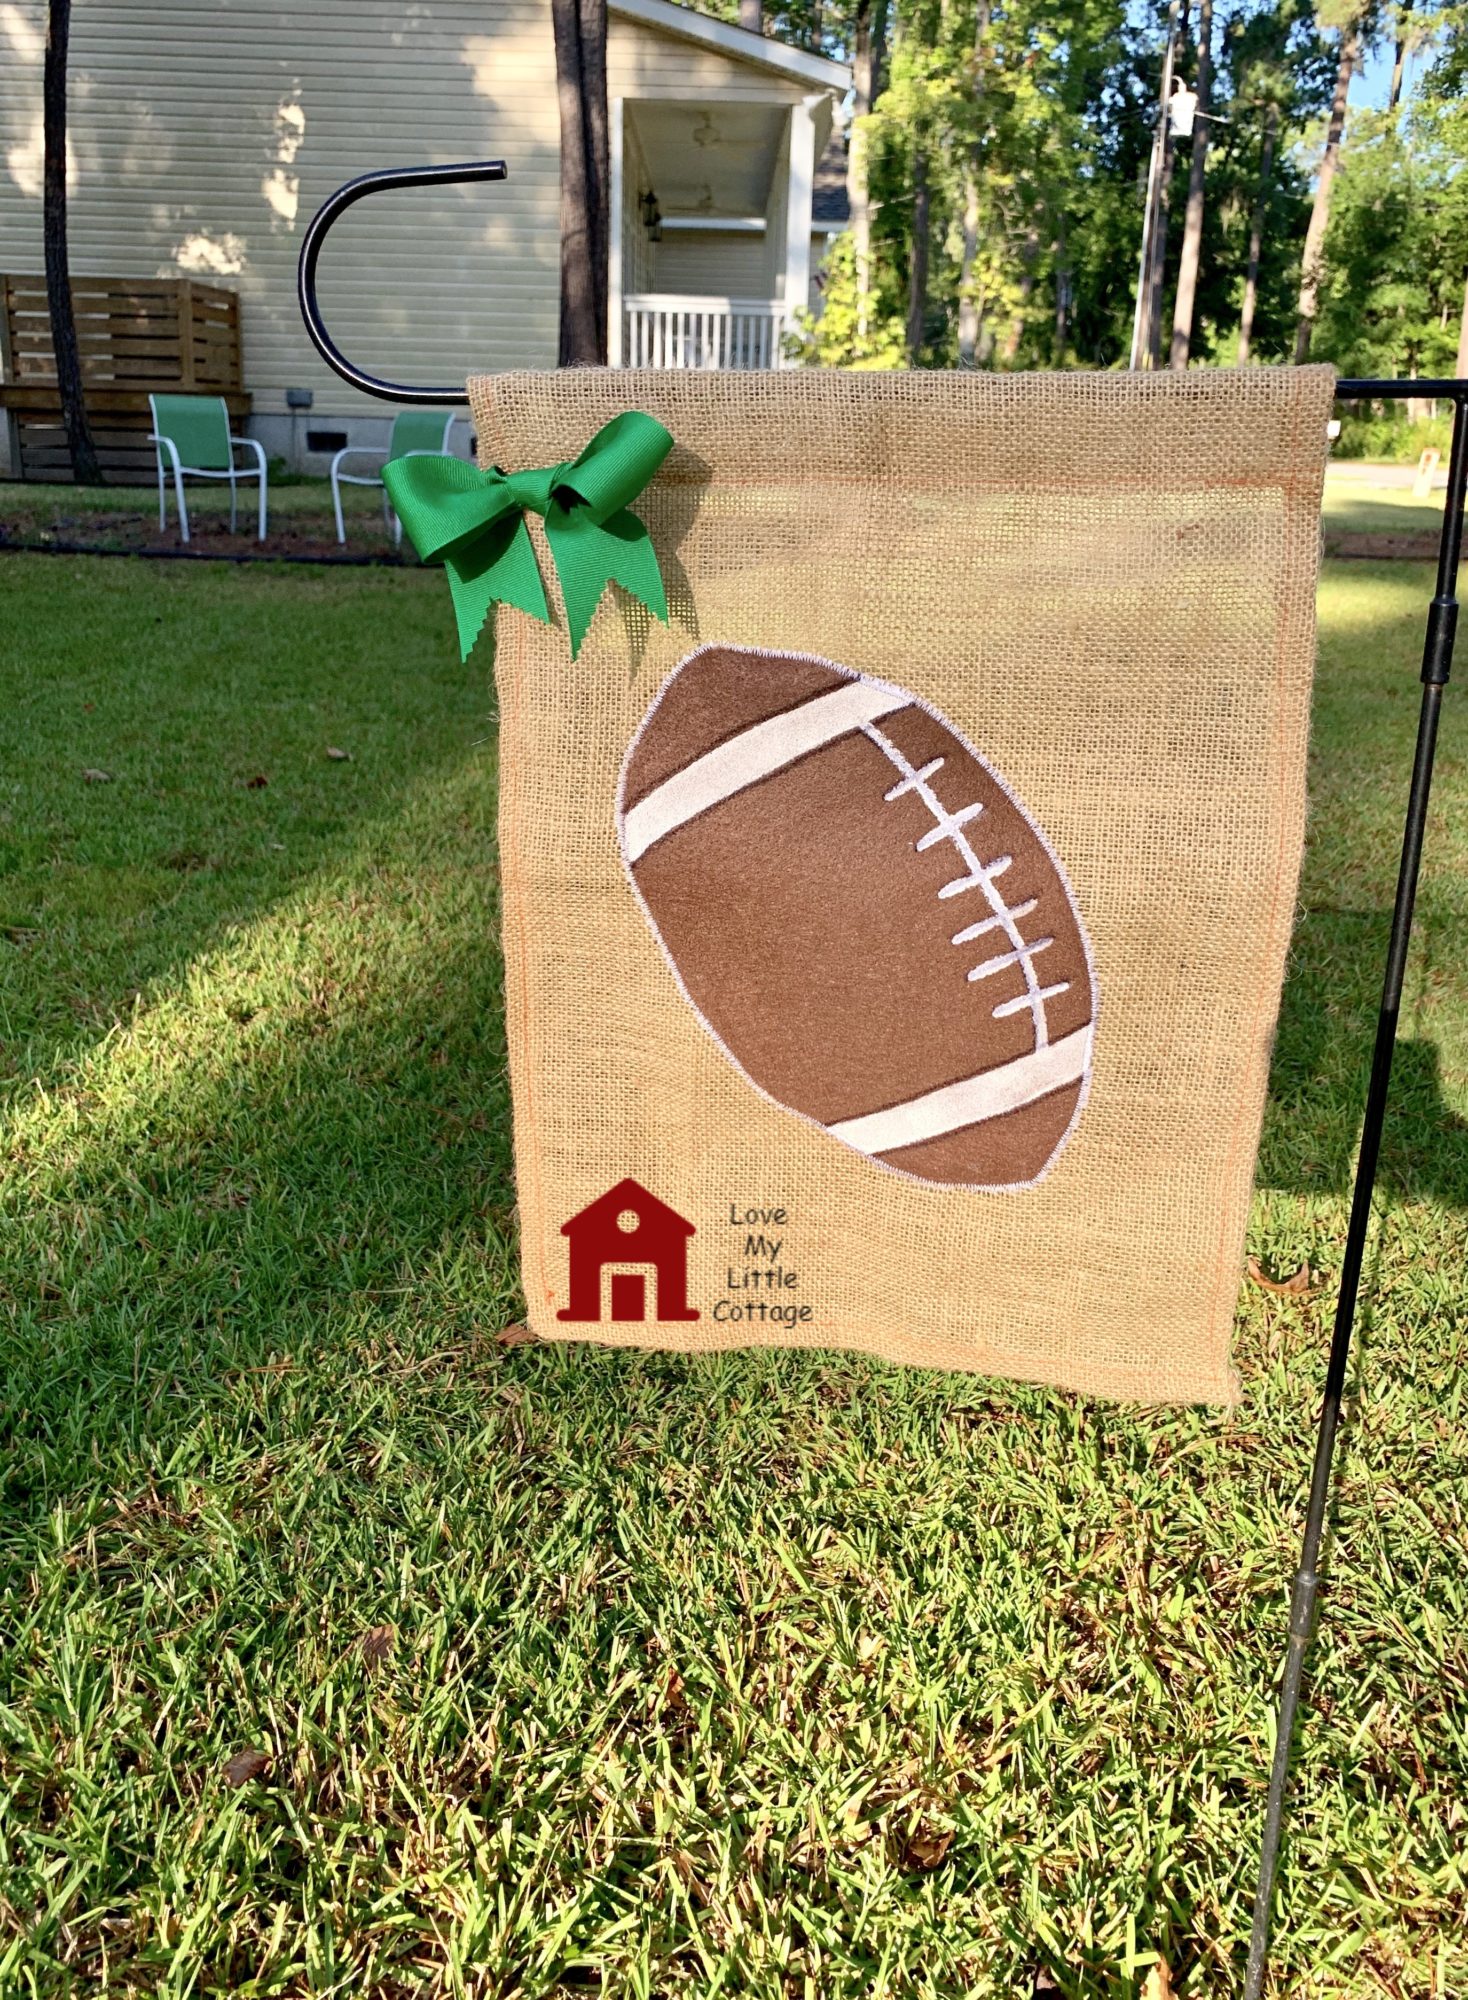
Football Garden Flag -
Easter Garden Flag -
Valentine Garden Flag
RECENT POSTS
 |
 |
 |
 |
What a fun project! And so pretty too!
Happy Tuesday!
Thanks for sharing this with the #DreamTeam
You’re welcome, Kirsty!
So cute, I love that fabric!
Thank you for sharing at The Really crafty Link Party. Pinned!
Thanks, Teresa. I love the Really Crafty Link Party!
This is super cute! You can’t see strawberries and not think of summertime! Thanks for sharing this great tutorial!
Thanks! I love your blog name.
Lovely idea! Thanks for joining the Bloggers Pit Stop – Pit Stop Crew
Thanks, Menaka!
Such a fun looking project. You did great.. It’s a joy to co-host with you this week.
Thanks for hosting at OMHGWW!