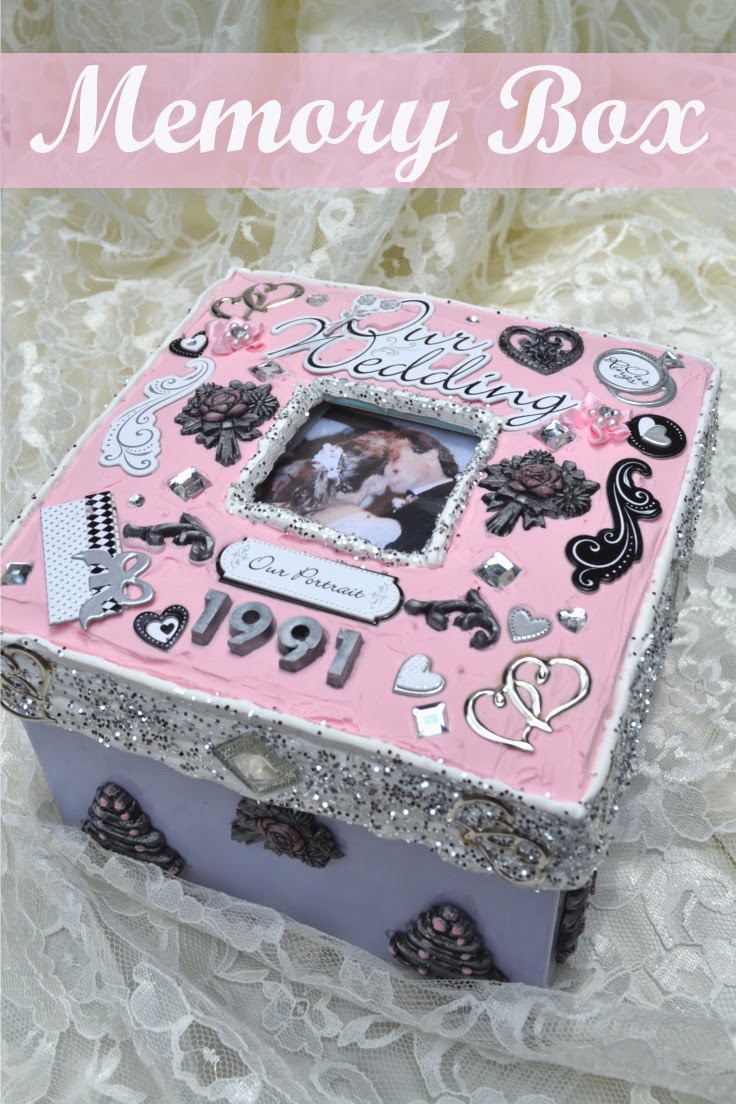
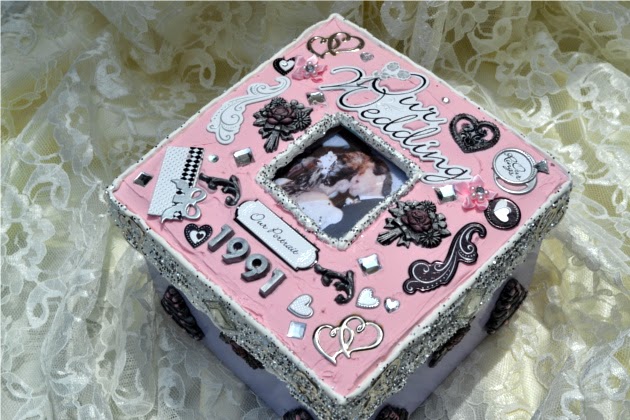
I’m so excited to have the opportunity to share with you this new product…. Mod Podge Collage Clay from Plaid. If that isn’t exciting enough they’re allowing me to share with you some other new Mod Podge products that you can find at Michaels. Take a look at what I was able to create with them, a beautiful Memory Box.
So, what is Mod Podge Collage Clay.
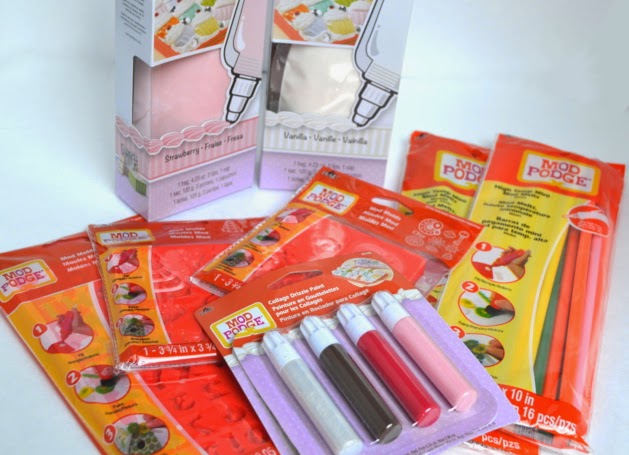
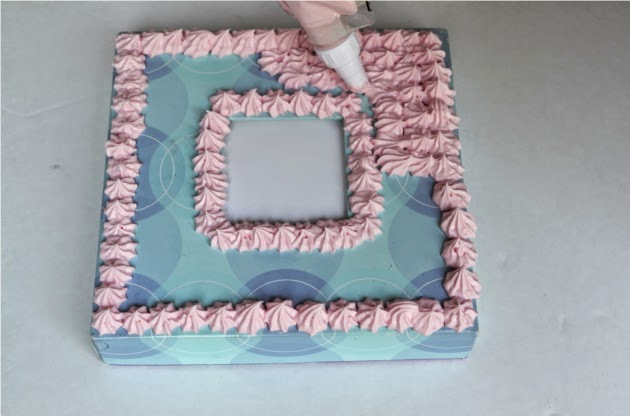
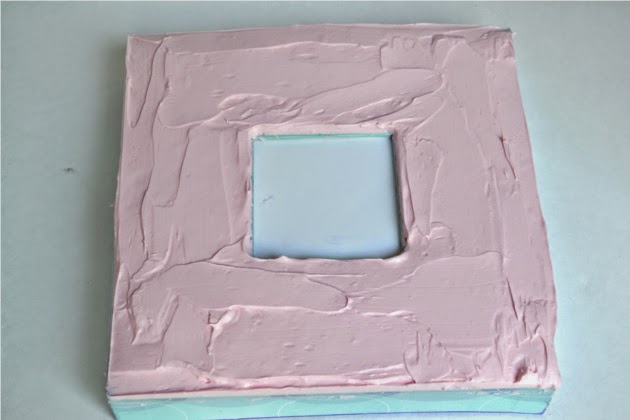
It’s lightweight (you’ll be surprised how light it is), non-toxic whipped clay, it’s similar to the texture of frosting, but I wouldn’t suggest eating it. It can be used for Decoden, 3D Collages, Assemblage Arts, 3D Stenciling and more. It’s available in two colors, Vanilla White and Strawberry Pink.**Collage Clay is not recommended for children ages 12 and under and the product is not edible.
In case you were wondering what Decoden is.
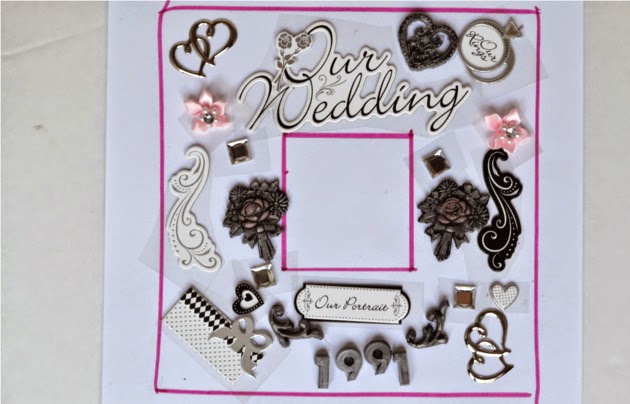
Decoden is a 3D collage art where you decorate just about anything with trinkets (the more the merrier). The clay is used to attach things like Mod Melts, buttons, rhinestones and anything else you can think of
Are you curious what Mod Melts are?
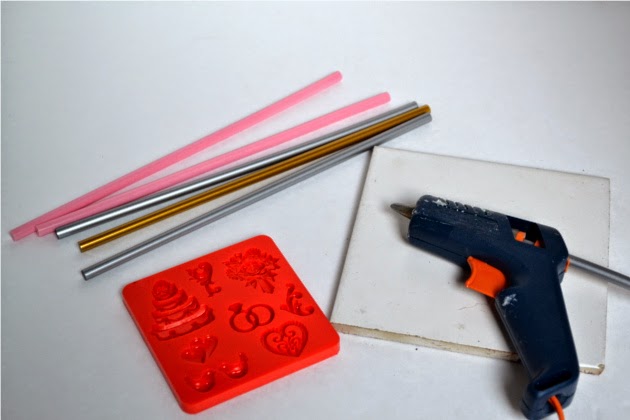
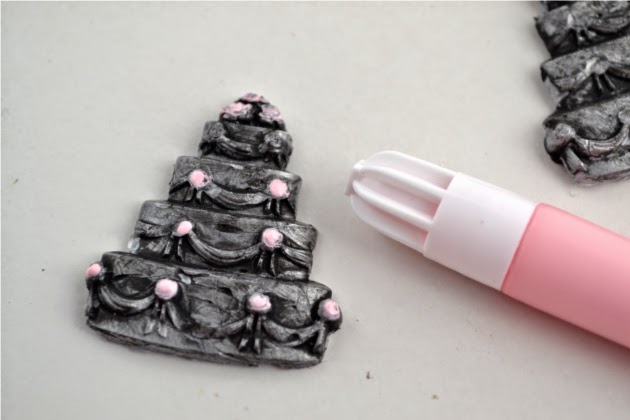
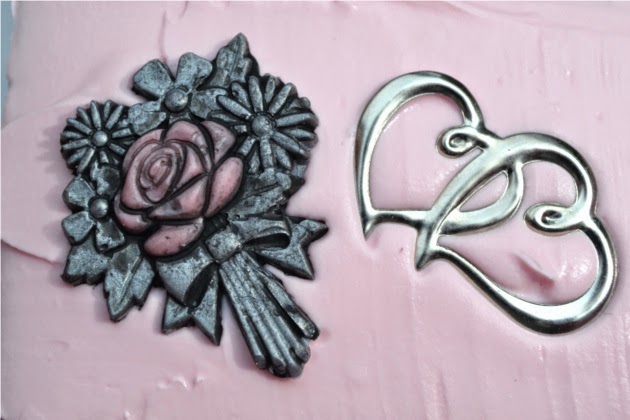
It’s one of the other new Mod Podge products and it’s my favorite of all. You can create your own custom embellishments for craft projects all you need is a high temp mini glue gun and Mod Molds. The best part is that the Mod Melts come in a variety of colors; Glitters, Metallics, Opaques and Neons. I can see this saving me a ton of money on embellishments in the future.
Did you catch the other new product that I mentioned, Mod Molds?
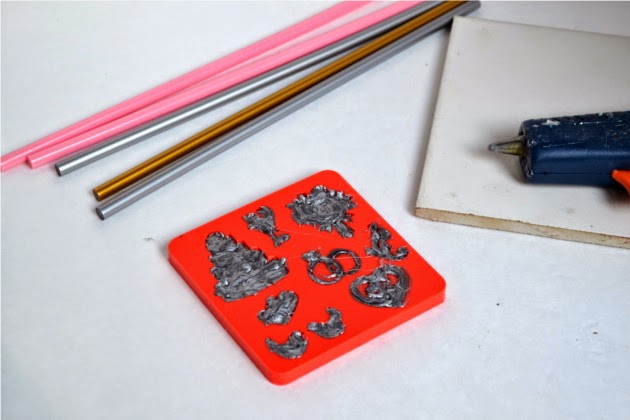
Mod Molds are durable, silicone molds that come in a variety of themes. Using your glue gun you just fill the mold with the Mod Melts and let it cool for 10 minutes before popping them out. You can use them as is or you can take them a step further with Collage Drizzle Paint, craft paints, inks, stains, glazes and even nail polish. *Not recommend for children ages 12 and under, small parts are a choking hazard for children.
Again, another new Mod Podge product, Collage Drizzle Paint.
The Collage Drizzle Paint comes in a small squeezable tube with a writer tip.You just turn the tube upside down, give it a light squeeze and move it in a zig-zag motion over your project. It looks amazing when applied to wet Mod Podge Collage Clay, especially before you add your embellishments.
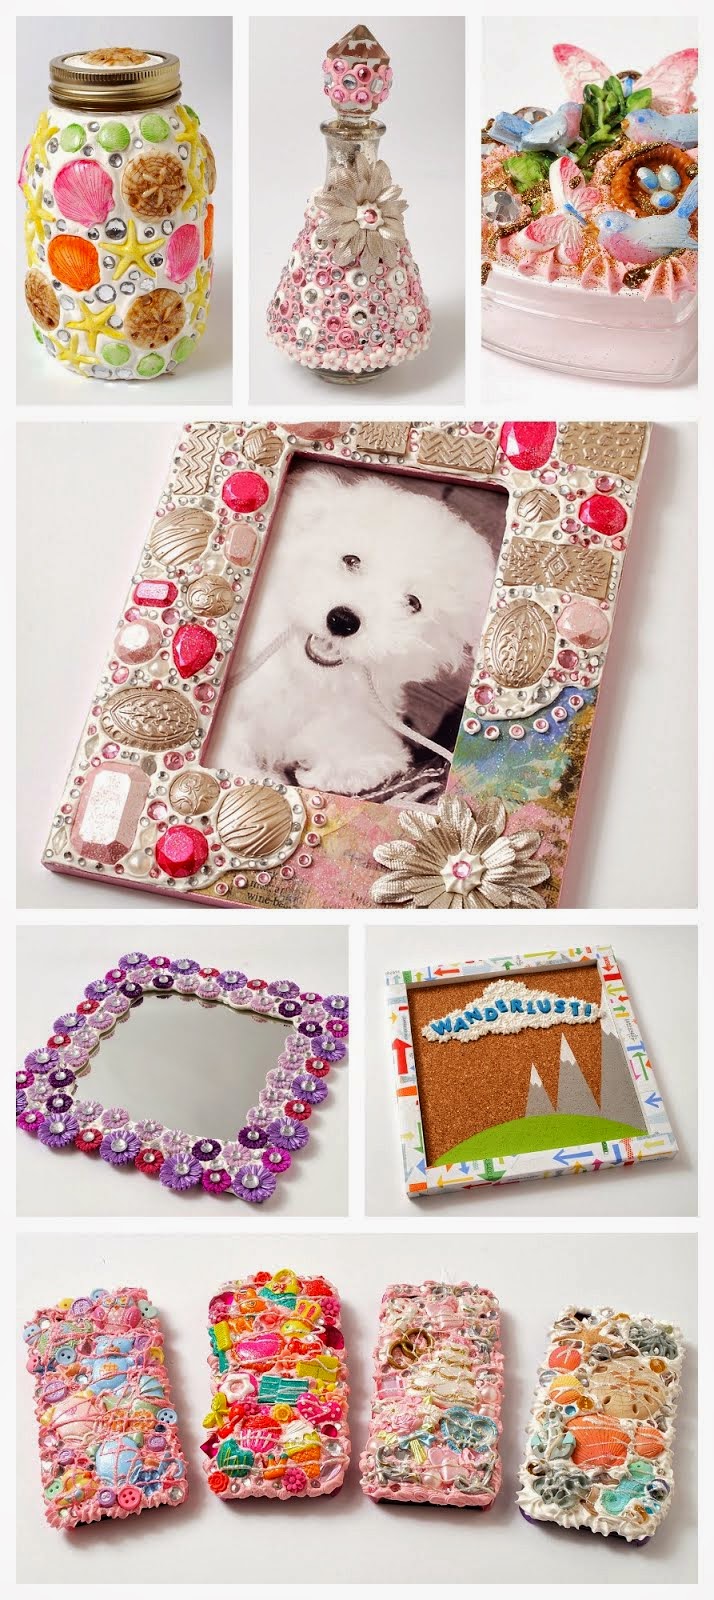
I was so excited when I received these new Mod Podge products in the mail, but it wasn’t until I actually used them that I got really excited. I debated for awhile on what I wanted to create with them. I saw a few examples like cell phone covers, picture frames and mason jars, but I wanted to do something different and most importantly something that I needed. After making a long list of different things I could make I finally settled on a memory box.
Mod Podge Collage Clay
When I was done embellishing the top of the lid, I set it aside to dry overnight. The next day I added some Vanilla White Mod Podge Collage Clay around the picture and on the sides, along with a few embellishments and some silver glitter. I then let it sit for about 4 days before I started showing it off.
All of these Mod Podge products were really fun to work with and I was amazed at how easy they were to use. I’m hooked, I’m going to Decoden EVERYTHING now.
Project Instructions | Video Tutorial
Here are some more fun projects from my fellow bloggers using the
New Mod Podge products:
Enter to Win your own Mod Podge Decoden Dreams Collection
.
This is a sponsored post for Plaid Crafts/Mod Podge as part of a campaign for Blue Print Social
Learn more about Plaid Crafts:
Plaid Palette Blog | Plaid Newsletter | Pintrest | Facebook | Instagram | Twitter | YouTube | Google+
Super sweet idea to do a wedding memory box! Thanks!