Upcycled Puzzle Blocks – A simple and clever way to upcycle children’s wooden building blocks. A little paint, a simple tutorial and a few embellishments is all you need for this fun diy project.


Hello friends,
Thank you much for the response we received from my previous post of Twigs and a broken frame, which was shared here on Fluster Buster. We really appreciate all your comments and kind words. 😊
Today, we are sharing a fun and easy way to upcycle wooden puzzle blocks.
Nearly every home which has children, would have these puzzle blocks. And more than half of them would be struggling to keep all of them intact. They do tend to ‘hide’ away after play is over 😉 I have a simple solution for what to do, when you have a bunch of missing puzzles in a set.
Materials Needed
- Wooden puzzle blocks
- Acrylic paint
- Embellishments
- Modge Podge
Pictorial Instructions
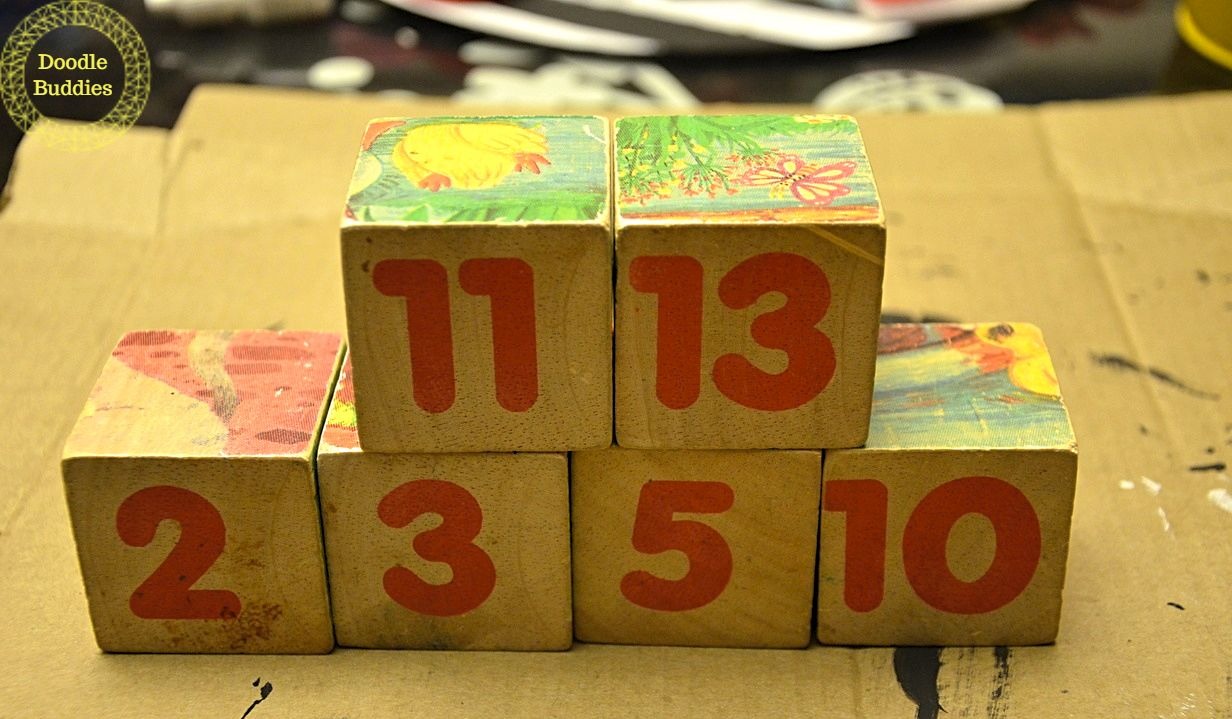
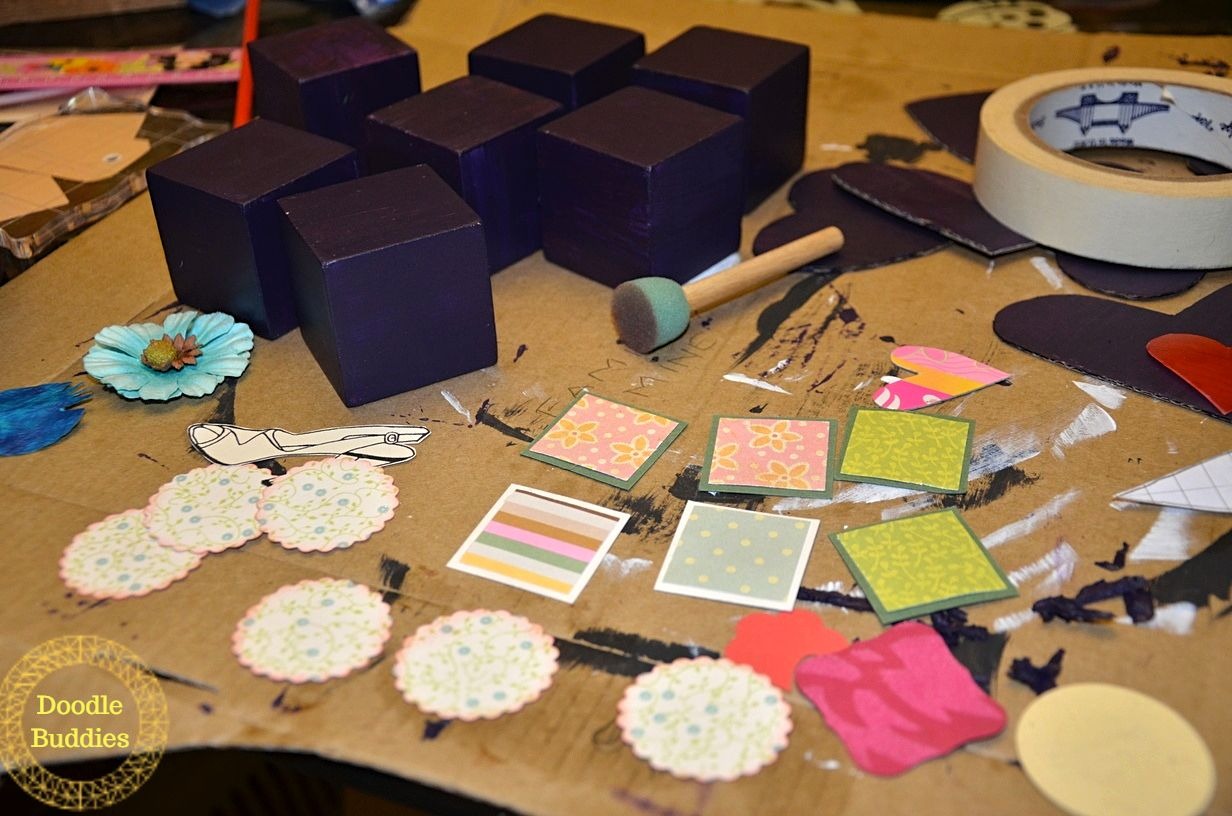
I gently, wiped these blocks with a slightly damp rag.

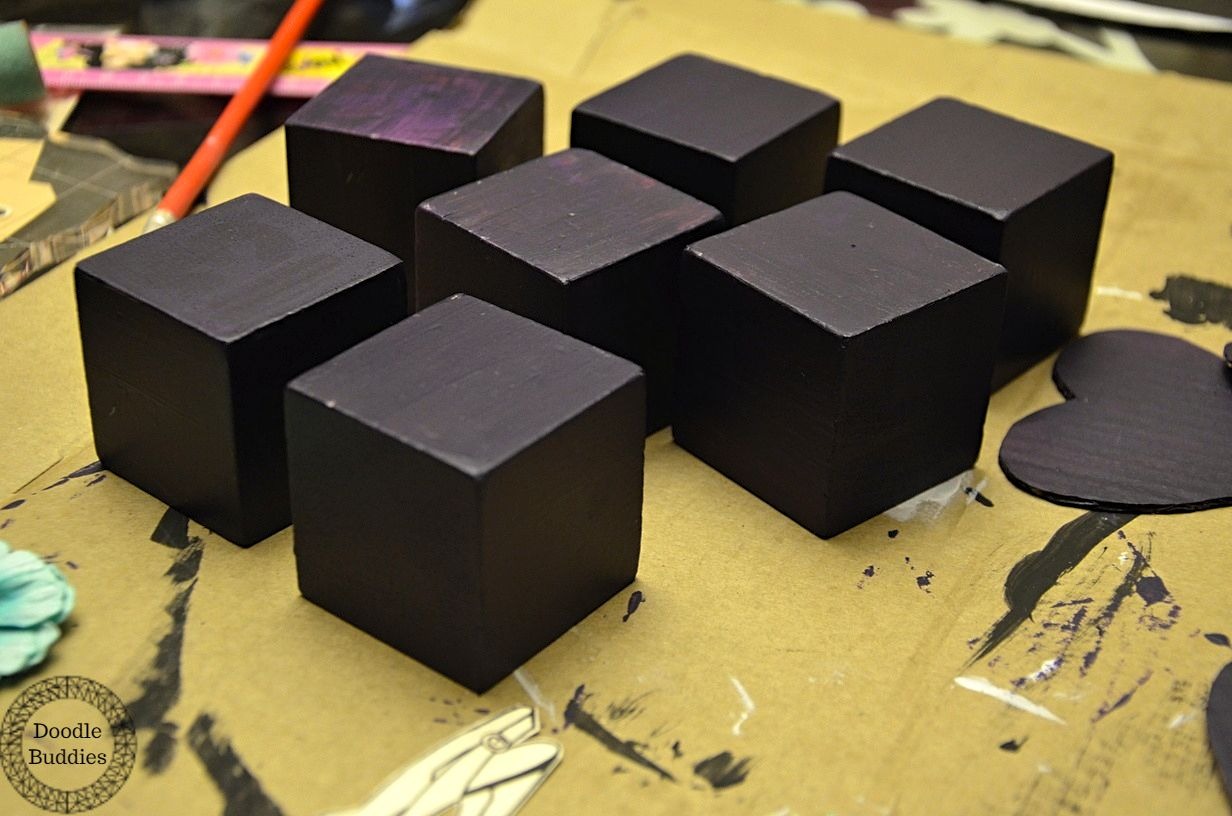
Then applied two coats of indigo acrylic paint, on all sides of the blocks.
I love to upcycle, and every aspect of my crafting adventure is touched by recycling or reusing products. For example, I find these egg trays are very handy, when storing tiny, single and assorted embellishments.
When the die cut machine is in progress, I like to cut out a bunch of flowers, which I then store in these egg trays like this:

I found some die cuts that fit perfectly on the squares of the blocks. Once I gathered all the embellishments that I wanted to adhere on the blocks, I distressed the edges of all the embellishments and cut outs.
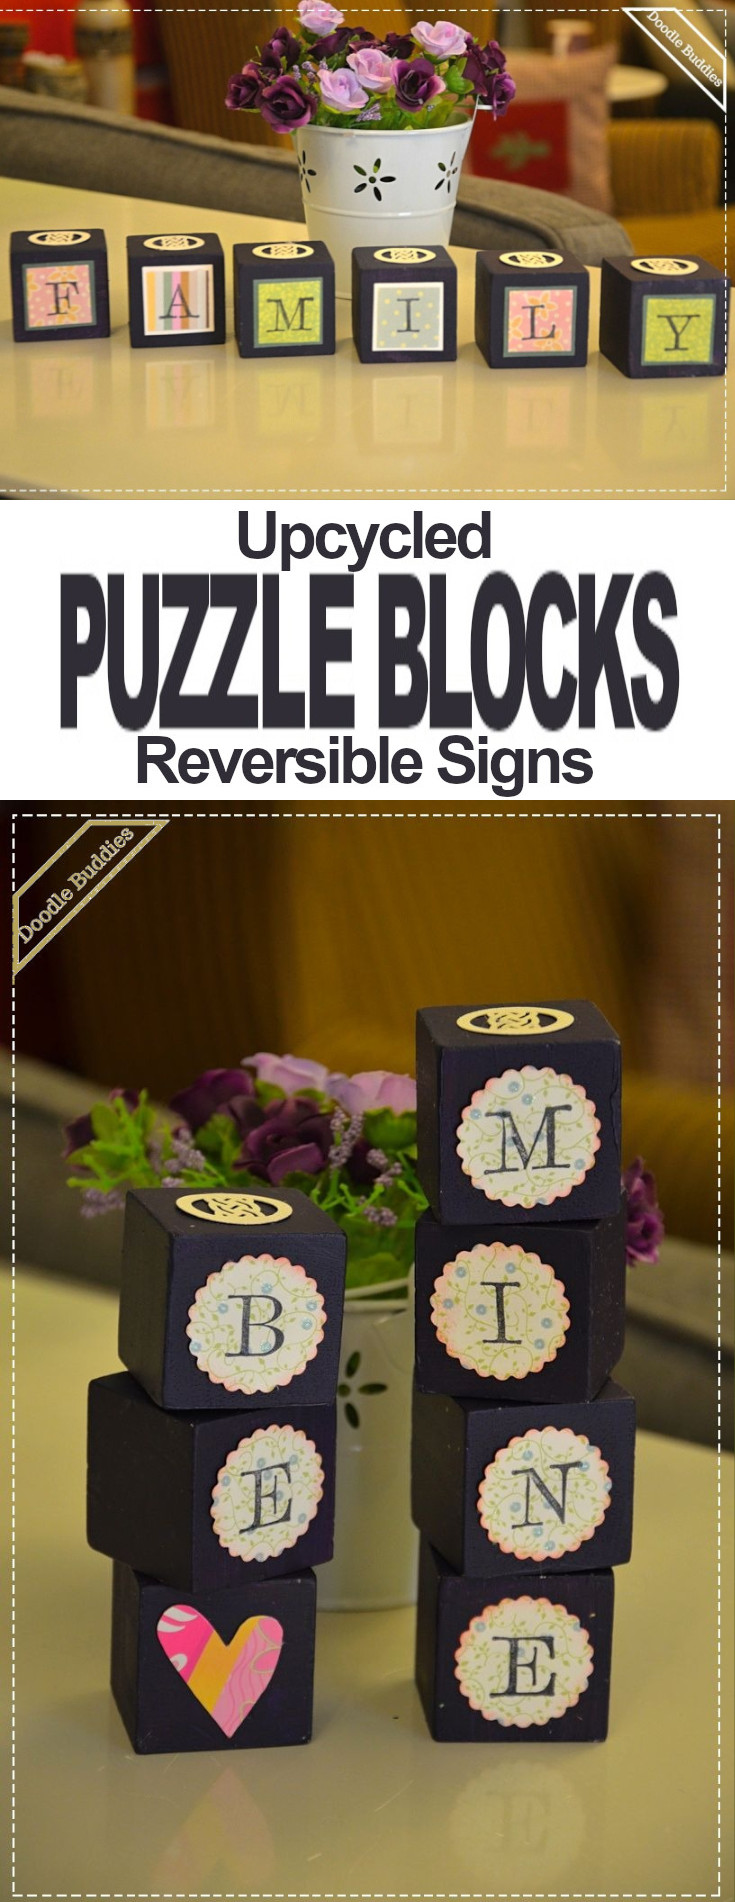
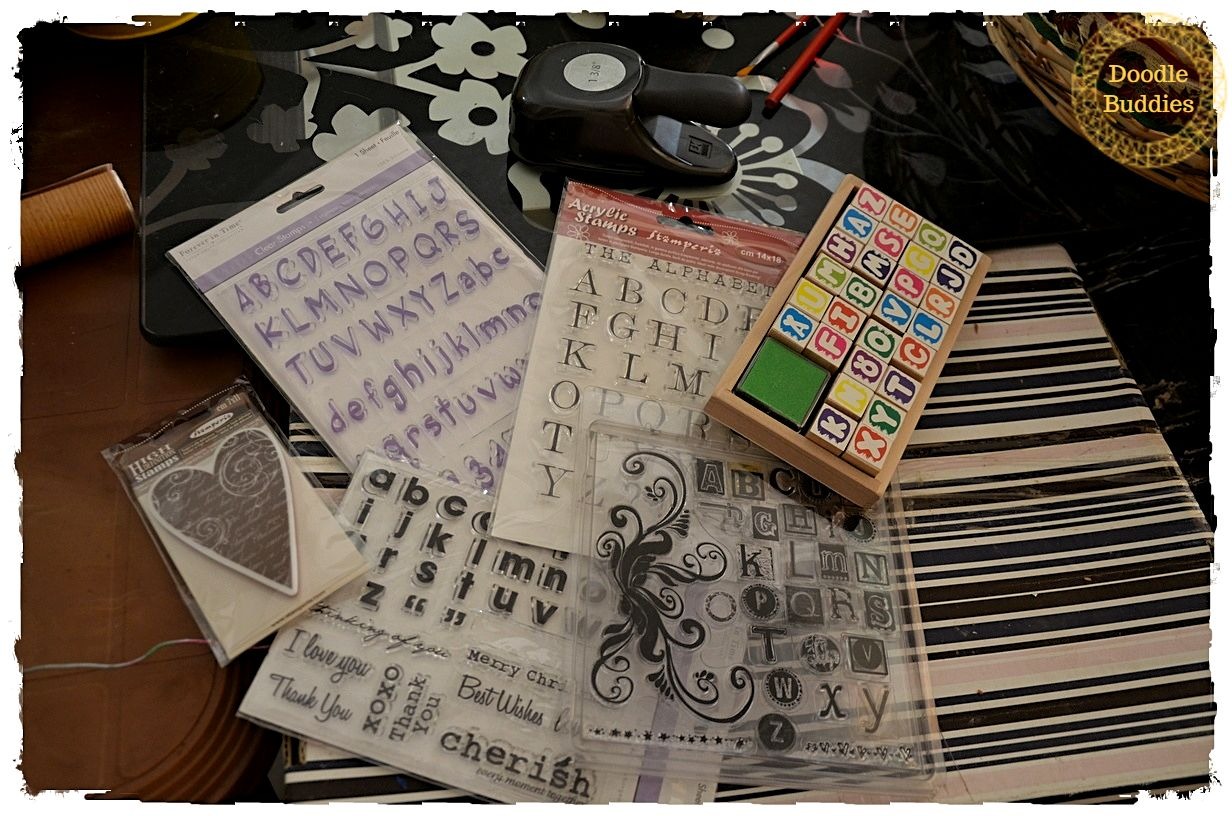
I love rubber stamping. I distressed the edges of the die cuts and stamped the letters which spelled FAMILY on one side and BE MINE on the other side. And finally all of the embellishments/die cuts are adorned on all sides of the blocks.
I would recommend to seal the blocks with some Modge Podge.

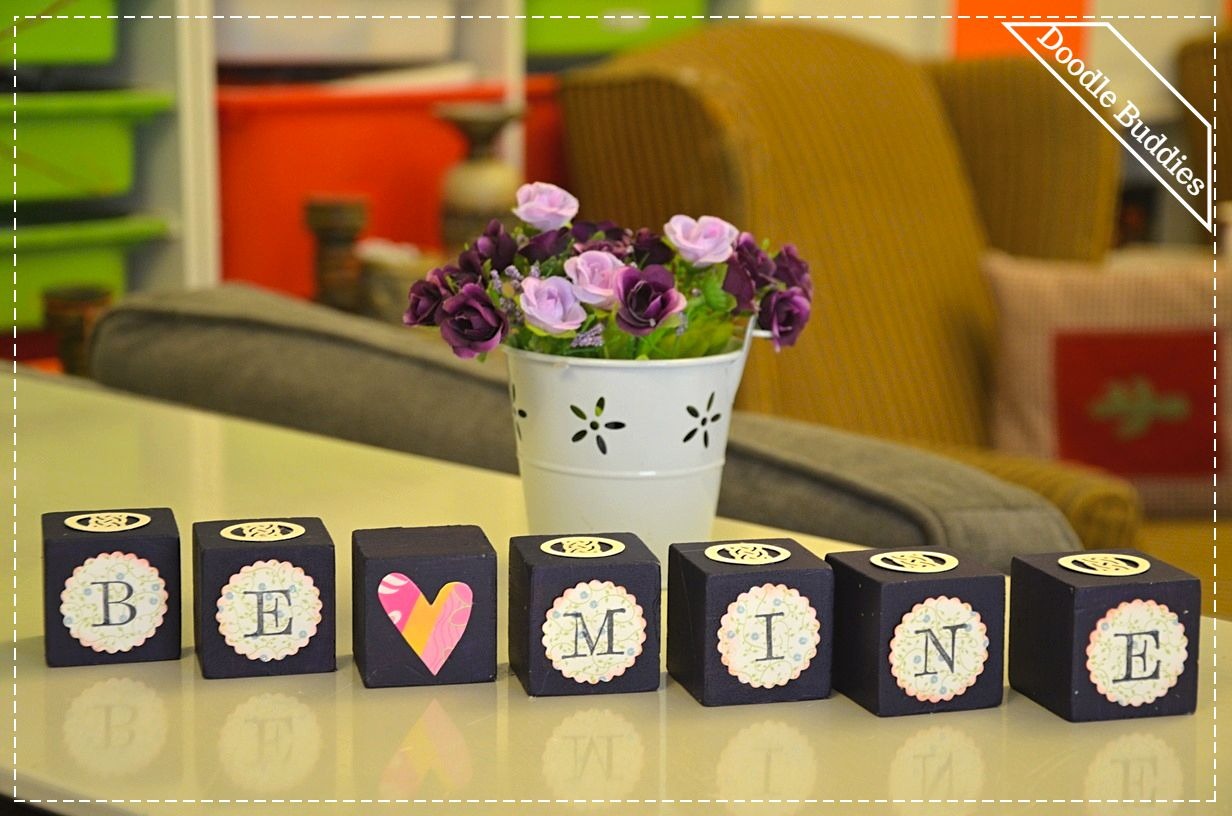


These blocks add a charm to the home decor and also serve as an excellent diy gift for a friend, or mothers day! Infact, it makes an excellent craft to try out with youngsters.
I hope you liked this upcycle idea and might consider attempting something similar. Follow me at Doodle Buddies for more fun crafts.
 Naush is an eco-friendly visual artist and upcycle crafter known for the use of unconventional materials in her artwork, including the use of wire, wood, cardboard, cement, fabric, plastic and paper. In 2008 she created Doodle Buddies as a way to document the things that she designed and felt passionately about.
![]()


Disclosure: Some of the links in this post are affiliate links. If you click on the link and purchase the item, I will receive a commission. I only recommend products or services that I personally believe will add value to my readers. All opinions stated are strictly my own. Read our full disclosure policy for more information.
How fun! I love projects like this. I need to get it together, and do a craft! Way to go. They look cute!
What a great idea!! I love the fact you can make them multi-sided. What a good way to get new from holiday decorations. Thanks for sharing.
I love these, so pretty and waste saving #dreamteam
Thank you Bryony, I love seeing things being used instead of thrown away!
These came out amazing and I love that you can reverse them to create different sayings – great idea! Thanks for sharing it with us at #OMHGWW!
What a great idea:) I’ve seen some adorable vintage wooden blocks that would be perfect for this project, even saving some of their original art work to incorporate into the designs.
Cheers for the weds blog hop share!
Saving some of the original artwork is a great idea!
Simple, yet impressive! Thank you for the tutorial. I’ll be showing this to my daughter, it’s just the type of project she’ll enjoy!
And thank you for sharing at this week’s Encouraging Hearts & Home Blog Hop.
It’s a lovely idea, thank you for sharing at The Really Crafty Link Party. Pinned!
Looks like a great fun craft to make. Found you on Bloggers Pit Stop Link party
What an adorable idea! I love this!!! #trafficjam
Looks like a fun project! #DreamTeam
I love it, they turned out great!
This is such a neat idea, Robin! These turned out great! Thanks for linking up with us this week! xoxo