
You can officially call me a dumpster diver! I was driving
the kids to school this morning and noticed that it was trash day. Everyone in
our new neighborhood had neatly placed their garbage near the curb for pick up.
When what to my wondering eyes did appear, not one, but two tension rods for
shower curtains, which I need desperately. I immediately jumped out of the car,
well I did stop first, to inspect my find. They both worked perfectly, however
they were both slightly rusted and covered in soap scum and one of them was
missing the end caps. So I grabbed them both and put them in my car as the kids
scrunched down in their seats out of embarrassment.
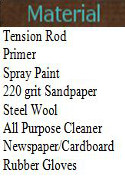
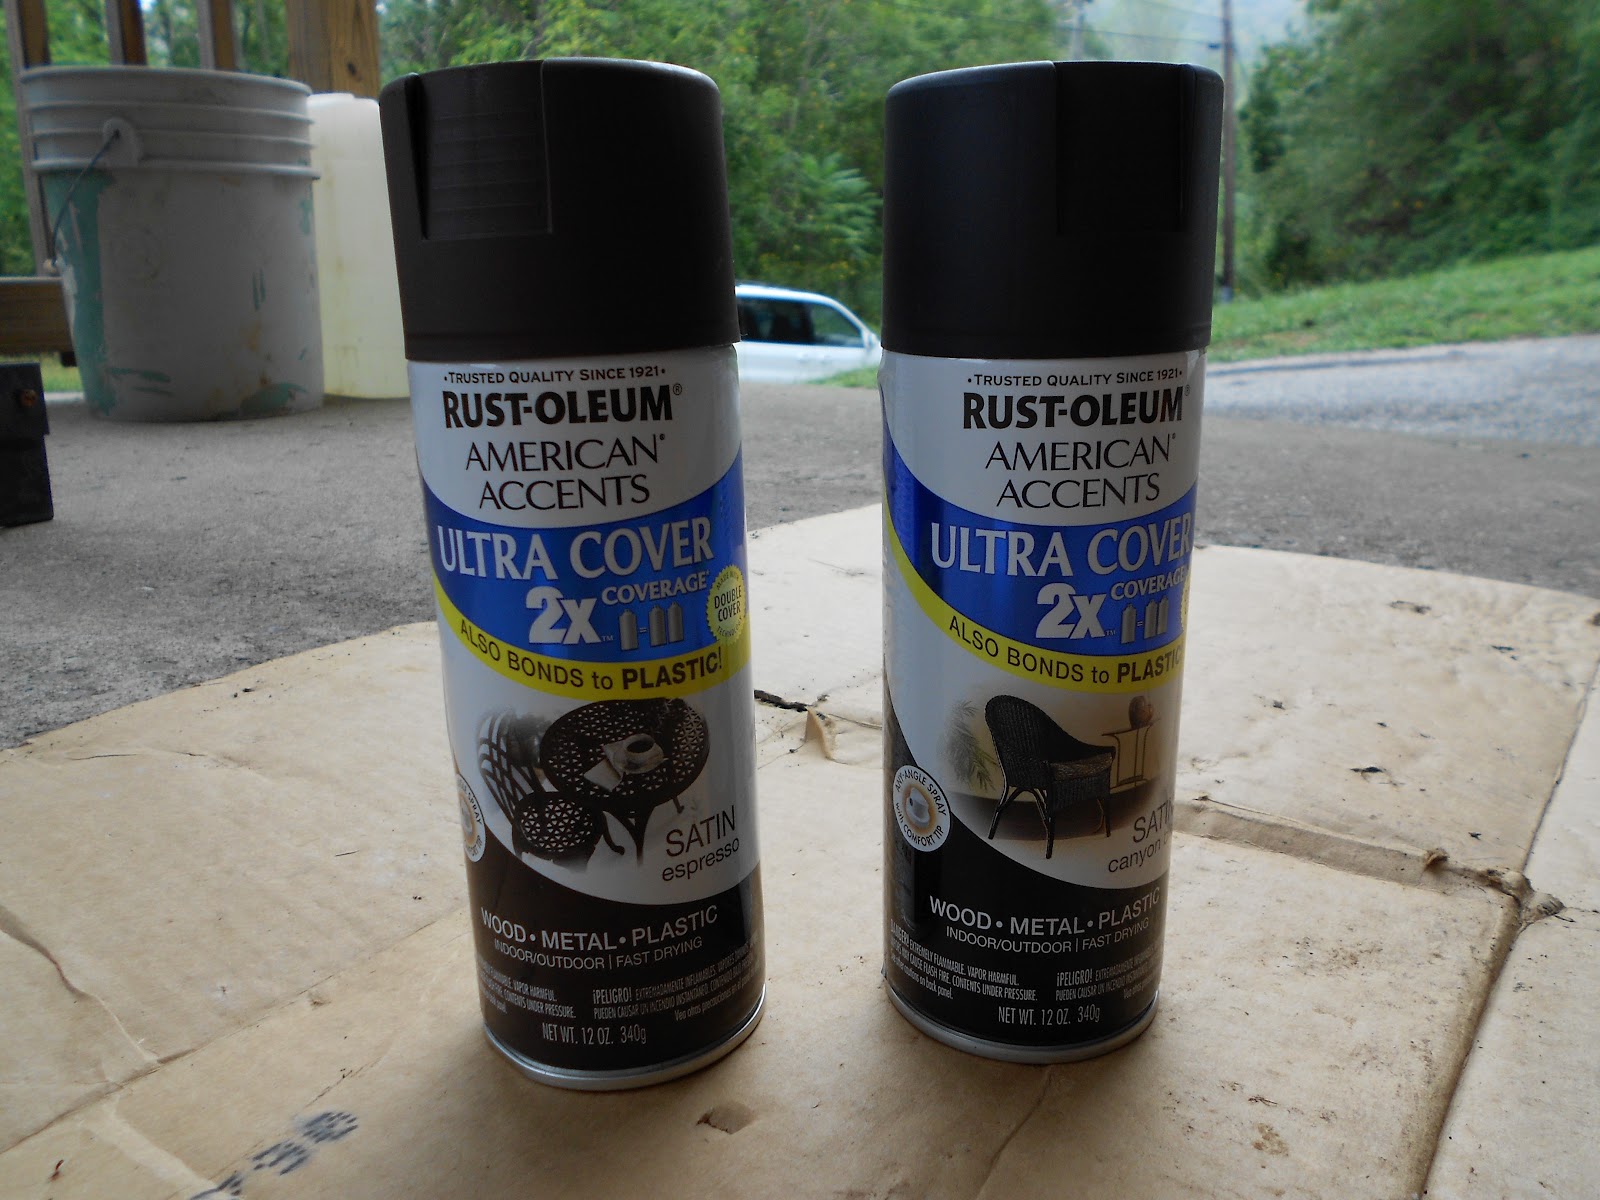
to Kmart to buy Rustoleum (my preferred brand) spray paint and primer, as well as end caps. I
picked up gray primer and black satin finish spray paint. I also
priced similar tension rods and they were $15.99 each, ouch! I was unable to
find the end caps there, so I decided to head over to Ace “The helpful hardwareplace”. They helped me find something that would work, rubber tips used on the
end of walking canes. They fit perfectly and were in the color that I needed,
black.
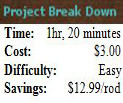
Tension Rod Makeover (Shower Curtain Rod)
the tension rod to remove any rust or rough spots.
Step 2:
Run the sandpaper over the rod to scuff up the finish. This is so that the primer adheres to the surface.
rinse and dry. I used my Homemade All-Purpose Cleaner to remove any remaining dirt or soap scum.

newspaper or cardboard in a well ventilated area.
to rattle (about 1 minute).
inches away from the rod and spray a light coat in a steady back and forth
motion. Don’t spray a heavy coat because it may run and you will have to start over.
lightly prime the other side.

Once it’s dry you can replace the end caps, install and hang your shower curtains.
plastic rings, I came up with another new project – decorating them (coming
soon). This was a really easy project and I’m pretty proud of how it turned out and even more proud of the amount of money I saved.

Saw this posted at Oldie but a Goodie #1. This is a great idea! Yours looks so sharp!
How did this hold up with constant movement of shower curtain hooks over the paint? I want to paint ours black but I’m concerned of paint chipping off. Thanks!
It held up for about a year before I had to do a little touch up painting. I suggest using a primer before painting, it will last a lot longer.
thanks. I want to do the same thing to two of my rods but was not sure how long the paint would hold up with constant use.
After your final coat of paint I would spray a few coats of clear coat. That would protect the paint’s finish against the shower curtain rings moving back and forth.