Is your water bill higher than normal? It may be due to a leak in your toilet. Leaky toilets are the most common cause of high water bills. A lot of times you are not even aware that it’s leaking until you get the bill and by that time it may have cost you hundreds of dollars. Now add the cost of a plumber and it can become a very expensive problem. Believe it or not most toilet repairs are pretty easy and you can fix them yourself, you just need to know what to do.

Here are some signs of a leaky toilet:
- Sounds coming from the toilet when it’s not being used.
- If you hear the water turn on without touching the handle.
- If you see water trickling down the sides of the bowl.
- If you have to jiggle the handle.
- If you have to hold the handle down for the tank to empty.
These are the obvious signs of a leaky toilet. It is the silent leak that is the most costly because you are unaware of it until the bill arrives. However, there is a simple test that you can do to catch this thief before it takes all of your money. If the test shows that there is a leak then there is a second test that you can do to find out what part is responsible so that you can fix it.
Test #1 – Checking for leaks
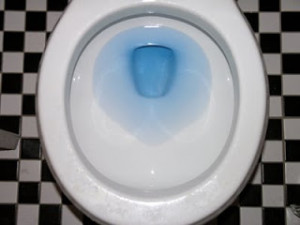
Some water companies will supply you with dye tablets that you drop into your tank. To me this is a waste of time and gas to go pick them up. Food coloring, Kool-aid packets or even instant coffee will do the same thing. All you have to do is add the coloring to the tank (not the bowl) of the toilet, be sure to add enough to make the water dark. Don’t use the toilet for about 30 minutes. After 30 minutes check the bowl, if you find colored water, then you have a leak.
Test #2 – Where is the leak coming from
Grab a pencil and draw a small line on the inside of the tank at the waterline. Now turn off the water to the toilet (valve under the <toilet). Again, don’t use the toilet for another 30 minutes. After 30 minutes check where the waterline is compared to your pencil mark.
At the pencil mark – The leak is at the fill valve (the part on the left side of the tank).
Below the pencil mark – The leak is at the flush valve (the part in the center of the tank).
I would suggest doing this test on all of your toilets and then repeating it every six months or when you see a spike in your water bill. Leaks usually start out small costing very little at first, but those costs can skyrocket as the leak becomes bigger.
Leave a Reply