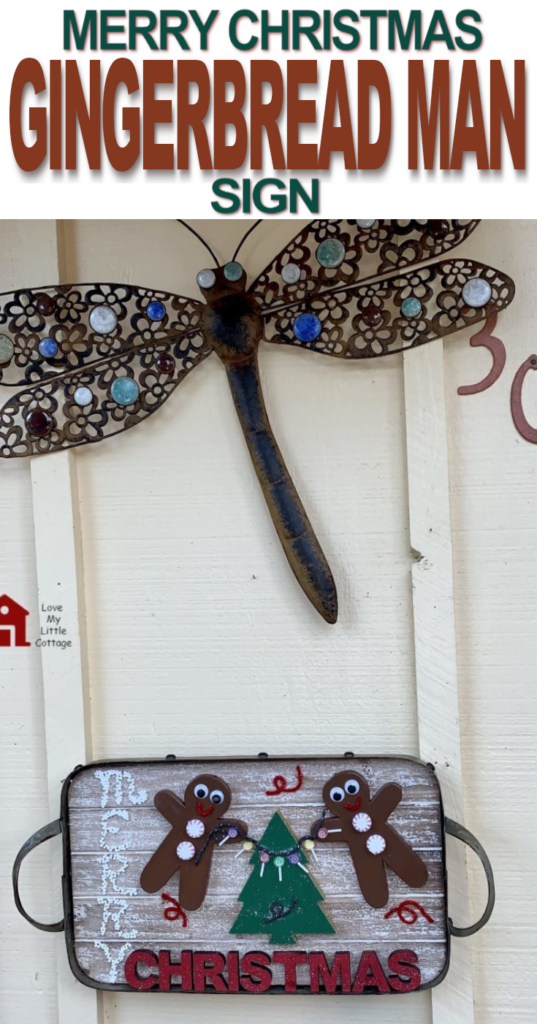
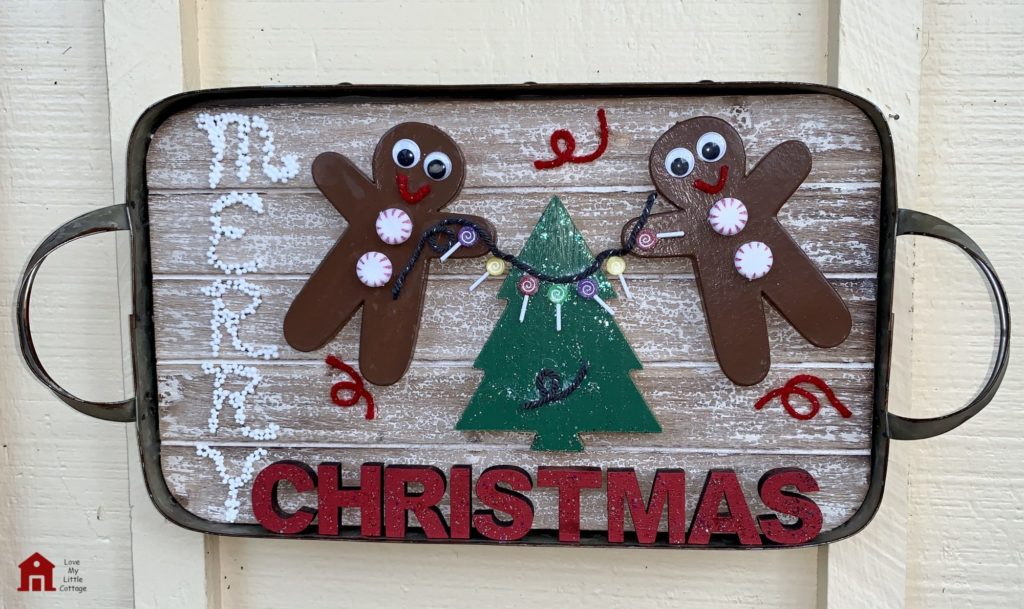
This Gingerbread Man Sign is a fun DIY project that anyone can make. You don’t have to have mad craft skills or be a skilled painter, just a desire to make something with your own hands. It is one of those projects that is fun to make and simple enough that you can get the kids involved.

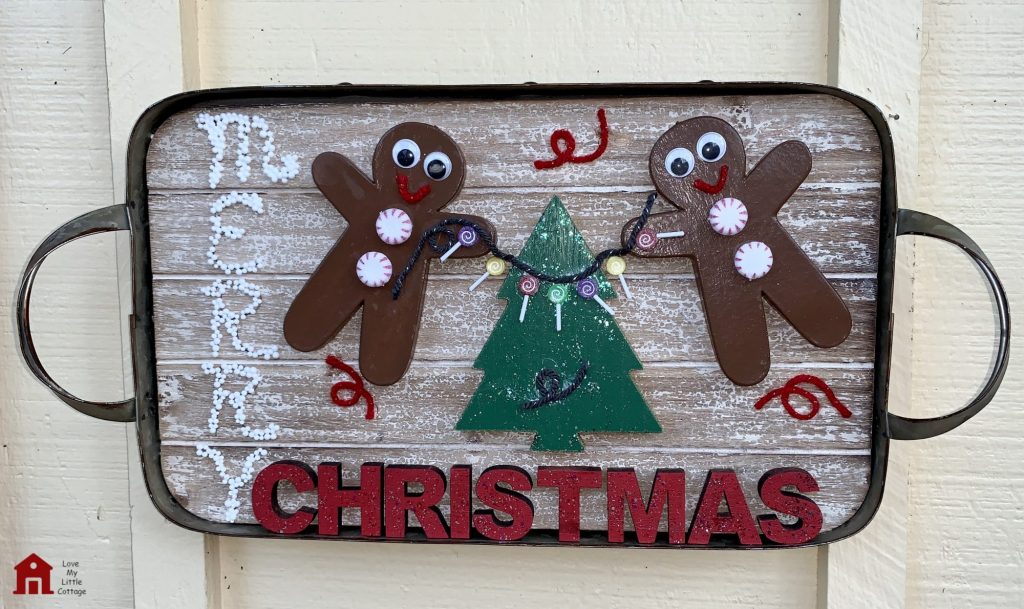
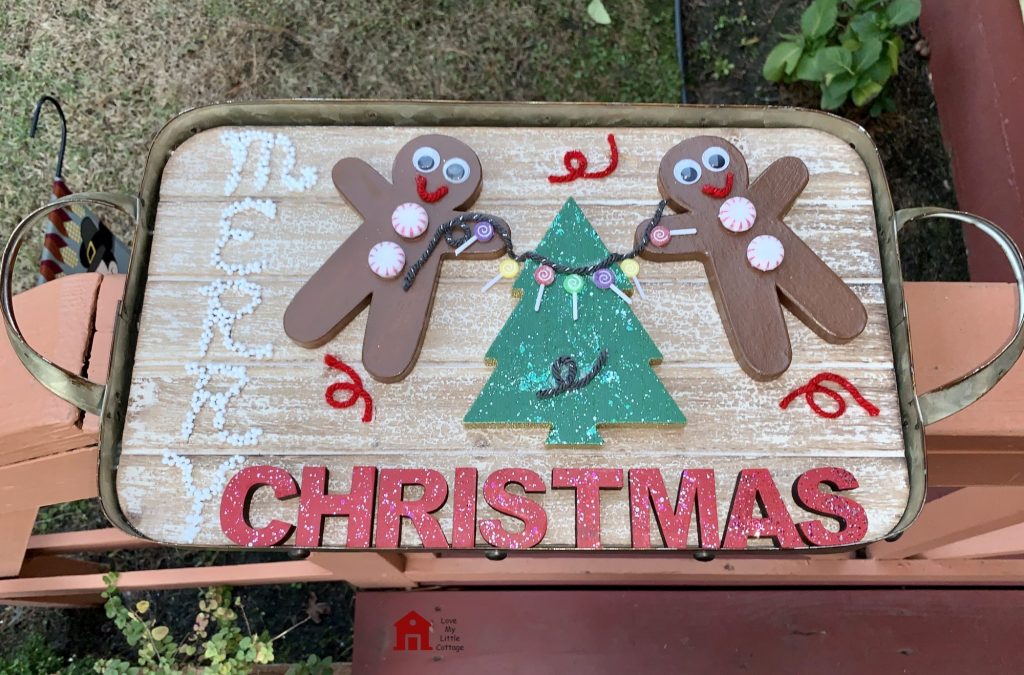
Anyone can make this 3D DIY Merry Christmas Gingerbread Man Sign. The glitter paints were sponsored by DecoArt Inc., and the remaining supplies were purchased at Hobby Lobby for around $20. While many of my projects require specialized painting skills, this one does NOT. Before I went to Hobby Lobby, I had a hazy idea of a tactile, fun-to-make Merry Christmas sign, featuring a couple of gingerbread people decking the halls for Christmas. My favorite craft store (along with Michaels Craft Store) did not disappoint!
MATERIALS NEEDED
HOW TO MAKE THE GINGERBREAD MAN SIGN
Step 1
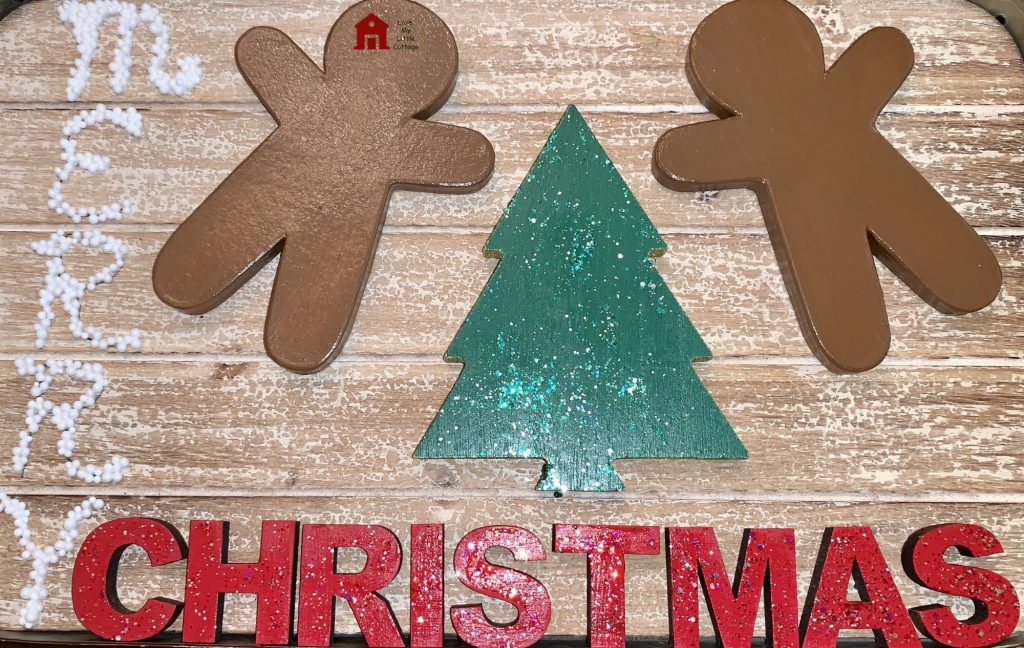
Paint the paper mache gingerbread men with several coats of Burnt Sienna. Set them aside to dry. Remove the ornament hangers.

Step 2
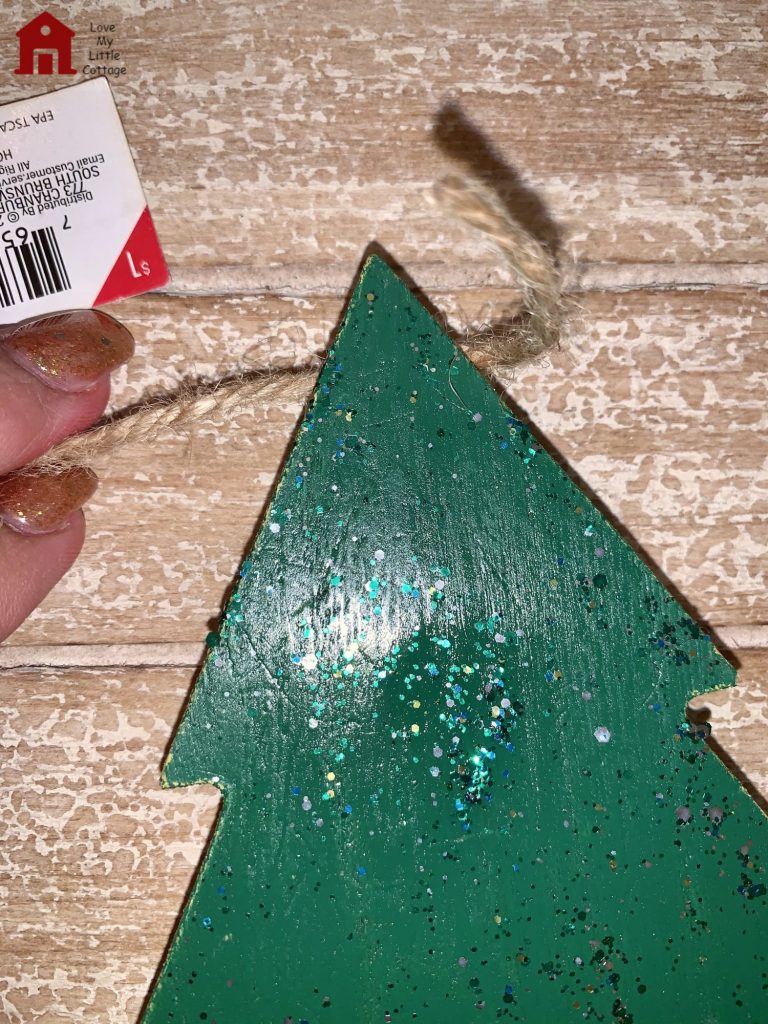
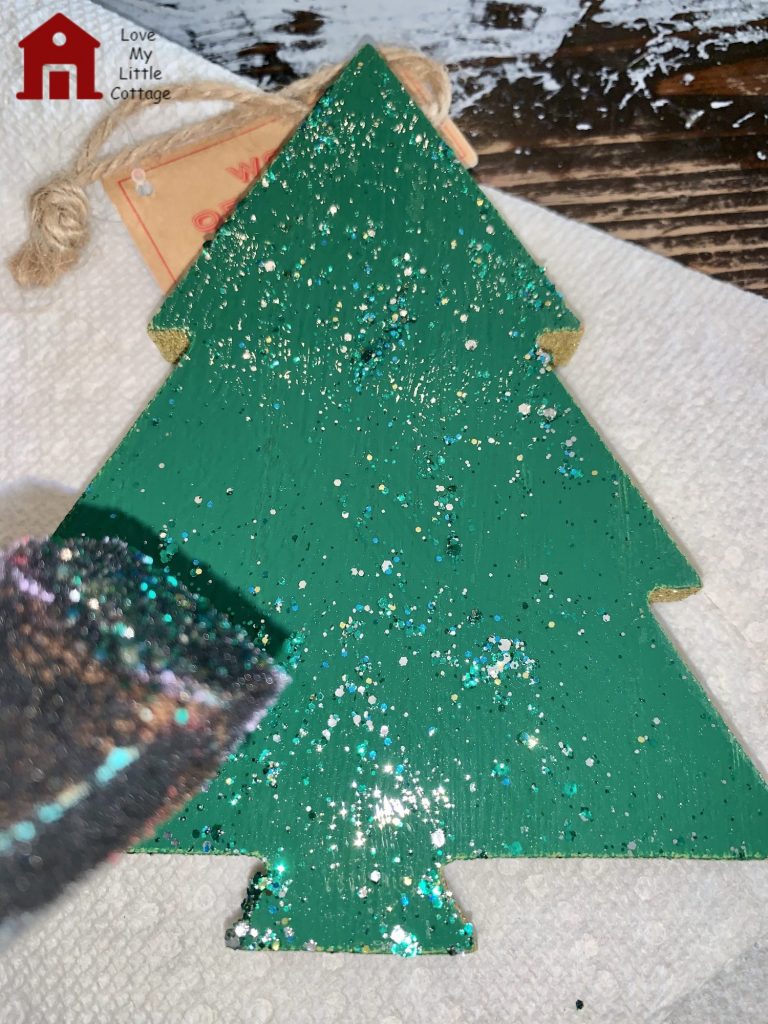
Since my wooden Christmas tree was already painted green, I simply painted on a coat of Aurora Borealis Green Galaxy Glitter. Set it aside to dry. Don’t forget to remove the ornament hanger.
Step 3
Paint the “Christmas” letters Santa Red. The letters will take a few coats of paint. After each coat of red, I wiped off the excess paint on the sides of the letters with a baby wipe. A wet paper towel works just as well.

Step 4
While the letters are drying, write “Merry” in cursive letters (with a pencil, so you can erase if you mess up) down the left side of the tray. If you’re feeling confident, skip the pencil and go straight to the glue. My handwriting is not that great, so I have to practice with a pencil several times before I get things right.

Step 5
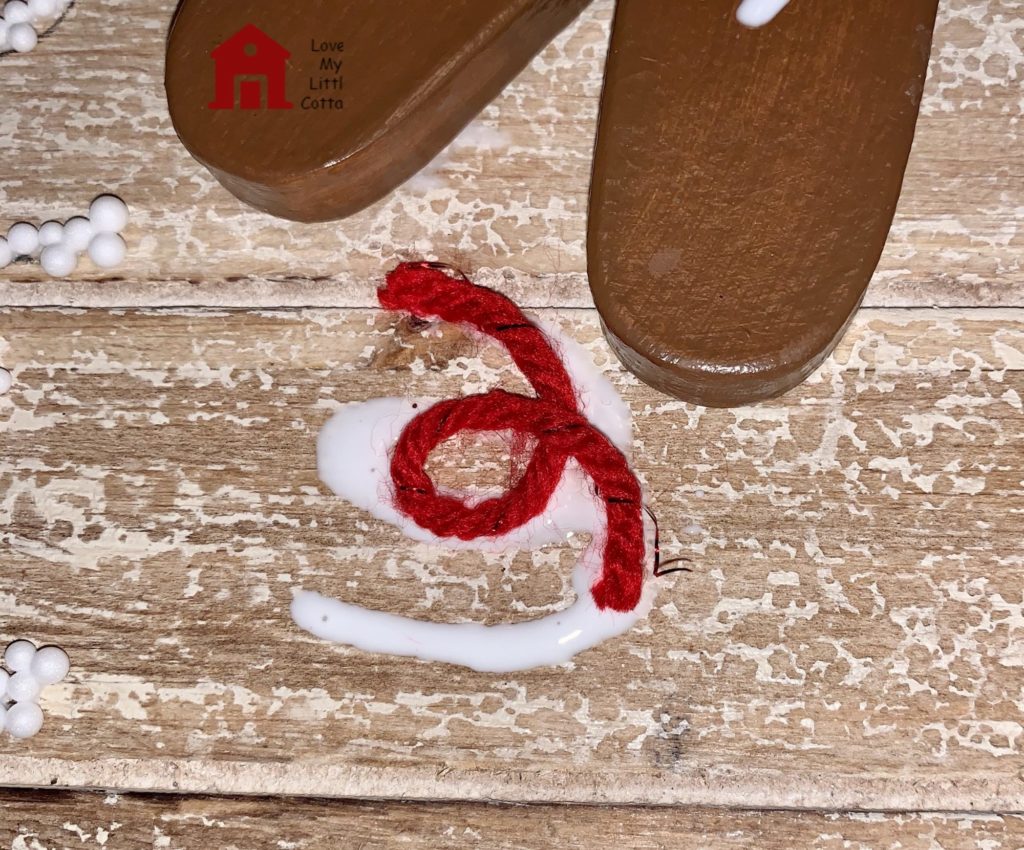
“Write” over the letters with Elmers Glue All. I used Elmers Glue All instead of hot glue for this project because the sign will be hung outside. In the winter, things that have been hot-glued tend to fall off in the cold weather.

Step 6
Pour the styrofoam snow over the glue. Allow it to set a few minutes, then turn it upside down to remove the excess snow. Make sure you do this over a trash can.

Step 7
Apply Red Nebula Galaxy Glitter to the “Christmas” letters. Make sure everything is dry before proceeding to the next step.

Step 8
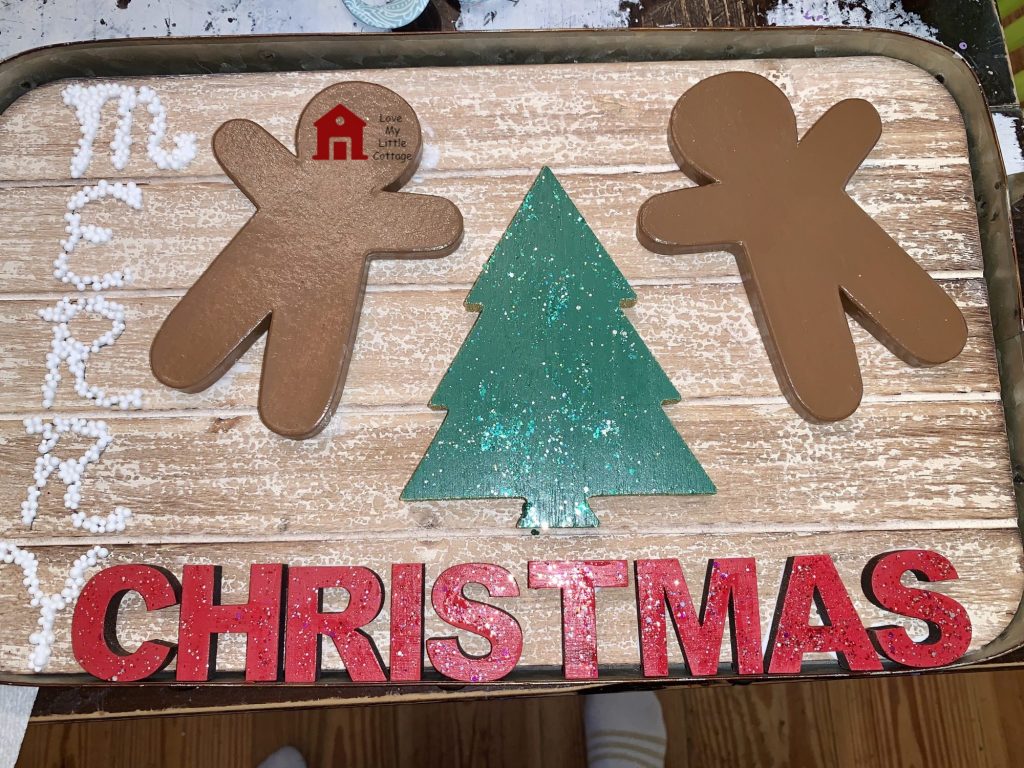
Arrange everything on your tray before gluing. Once you’re satisfied with your design, remove pieces one at a time and adhere with Elmers Glue All. Allow everything to dry before adding embellishments. You can use a hair dryer to speed the drying process if desired.
Step 9
Use Elmers Glue All to attach the peppermints, lollipops, and wiggle eyes. Allow things to dry.

Step 10
Add a string of glue above the lollipops before placing the yarn “light string.”

Step 11
Place the gray yarn light string, then add a few gray and red yarn squiggles in random places.
Step 12
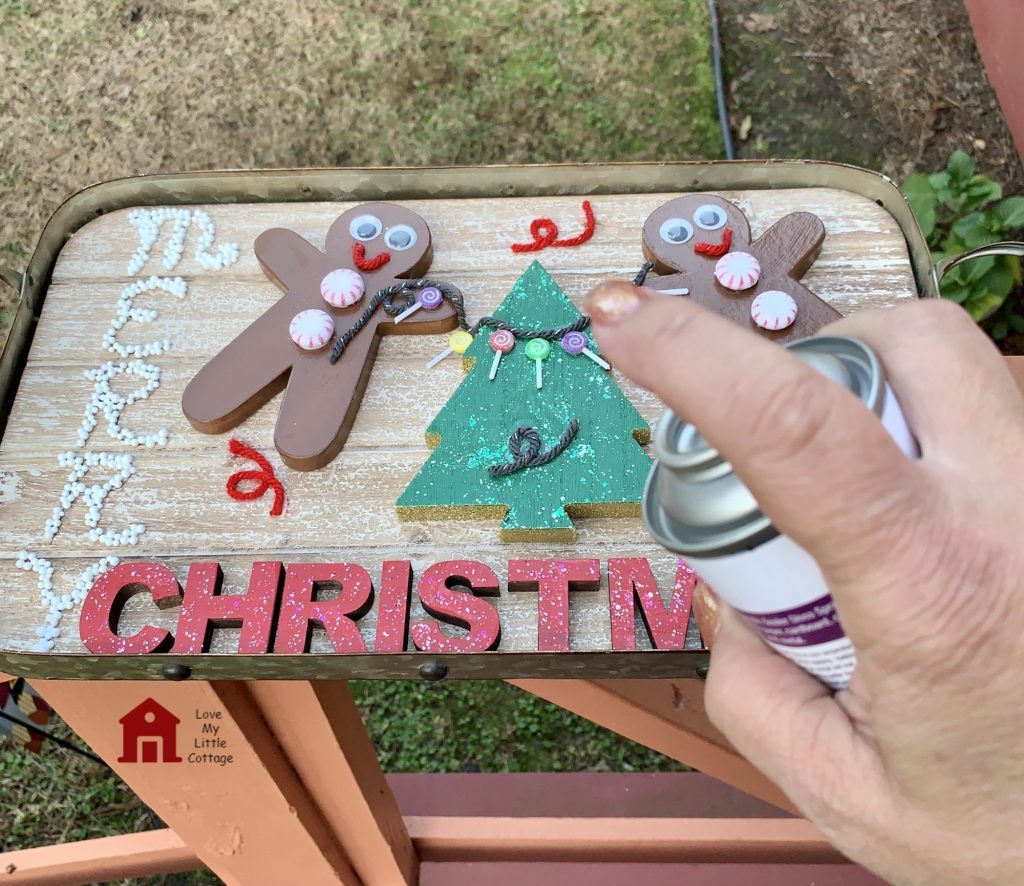
After the glue dries, take the tray outside and spray it with acrylic gloss spray. This step is especially important for an outdoor sign. I use my seasonal/holiday signs year after year. They last a long time because they’re protected with the acrylic gloss spray (which acts as a sealer), and are only outside for the duration of that particular season or holiday.
You’re all done! I hope you enjoyed my DIY Merry Christmas Gingerbread Man Sign.
 Passionate about all things domestic, as a Christian wife and homeschooling mother of 5 children, I am especially interested in encouraging stay-at-home moms, one-income families, and cottage dwellers of all kinds. I love DIY proj
ects, sewing, decorating, cooking, and collecting and selling vintage dishes. Read More…
If you enjoyed this post, subscribe to Love My Little Cottage and receive every post by email.
Merry Christmas!
Kristie
_______________
MORE CHRISTMAS POSTS FROM LOVE MY LITTLE COTTAGE
- Sand Fiddler Crab Coastal Christmas Tree Ornament
- Shell Angel Christmas Tree Topper
- Hand Painted Coastal Christmas Cutting Board
- Christmas in July Coastal Sand Ornaments
- Snowy Cabin Christmas Tablescape
- Sparkling Christmas Punch
_______________
RECENT POSTS
 |
 |
 |
 |
 |
 |
_______________
CATEGORIES
Disclosure: Some of the links in this post are affiliate links. If you click on the link and purchase the item, I will receive a commission. I only recommend products or services that I personally believe will add value to my readers. All opinions stated are strictly my own. Read our full disclosure policy for more information.


So cute! Thank you for sharing at The Really Crafty Link Party. Pinned.
Thanks for hosting, Teresa!
That’s really cute. You can’t go wrong with Gingerbread men can you?
No, gingerbread always bring holiday cheer.
Great Christmas project! Thank you for sharing at Party In Your PJ’s.
Thanks for hosting, Ann!
Well…that looks easy enough! Might be a good project for little hands to try while Mom finishes up holiday baking!
I enjoy craft projects, and miss when my boys did too!
Glad you found a creative way to decorate your door!
Thanks for sharing at the homestead Blog Hop!
I love simple crafts like this too!
It was easy! Too bad I didn’t let the kids help. I was having too much fun with it myself. 😉
Absolutely adorable, Kristie! Love it 🙂
Thanks, Sharon!
Oh, that’s adorable. I love how it turned out and I bet the little ones would really enjoy putting something like this together.
Yes, it would be great for kids.