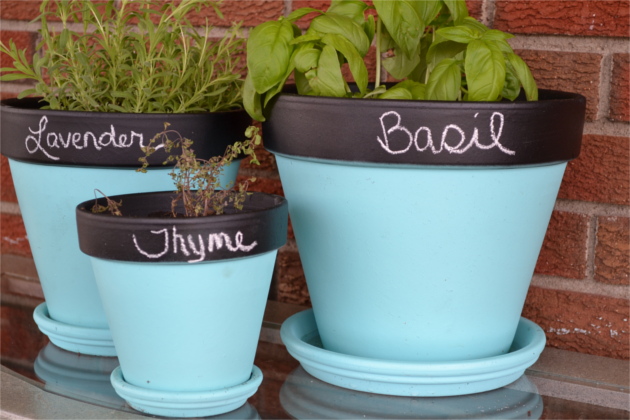
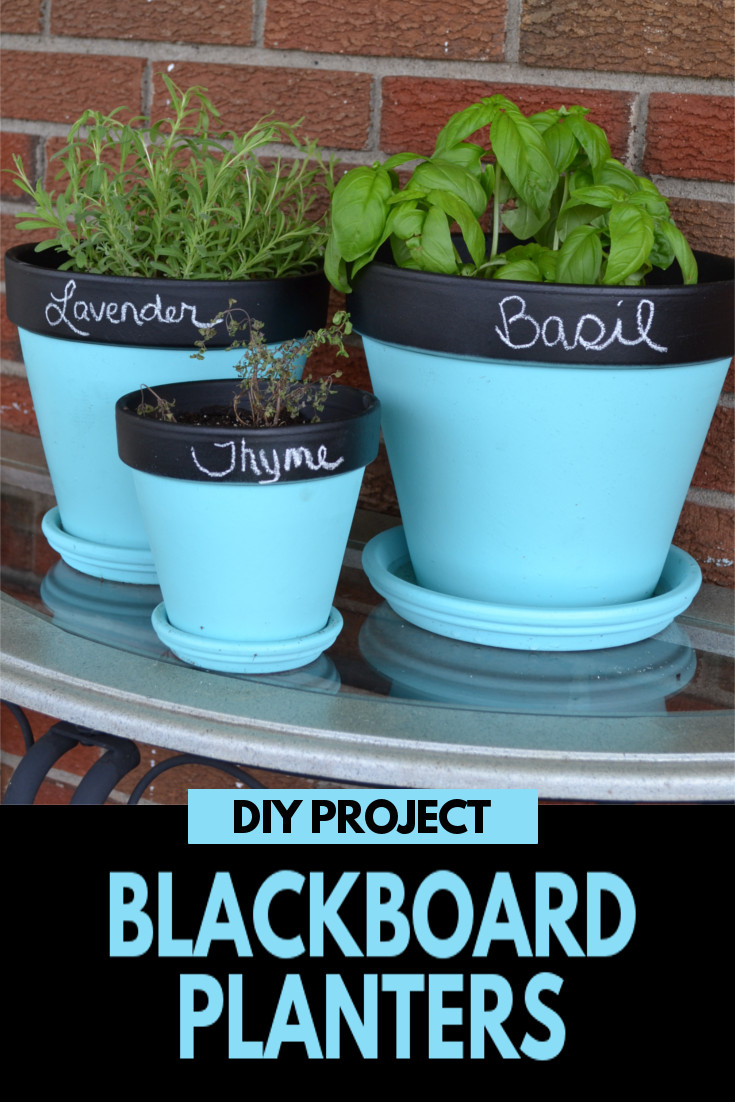
Spring means gardening and I found a really creative (and inexpensive) way to display my favorite herbs. This cute DIY project is super simple and a fun way to display your favorite herbs, flowers or plants.
Do you ever talk to your plants?
When I was young I had this friend whose mother used to talk to her plants, she swore it was because of her talking to them that they turned out so healthy and beautiful.
Each one of her plants had it’s own name, which she had clearly displayed on the planter. When she would talk to her plants she would call each one by it’s given name.
The only name that I can clearly remember was Charlie, which was given to a huge creeping charlie plant. I don’t know if talking to your plants really does anything for them, but she swore that it did.
![]()
![]()
![]()
When I was creating these DIY Blackboard Planters the thought of my friends mother never popped into my head. It wasn’t until I began to write the types/names of the plants on the planters that it all came back to me. Now, every time I look at my planters I can’t help but smile, they remind me of the crazy lady who used to talk to her plants.
DIY CHALKBOARD PLANTER PROJECT
PREPPING FOR THE PROJECT
First, if you want to have as little prep work as possible, use new terra cotta pots and saucers. You can use used terra cotta pots, however you’ll want to make sure that they are clean and completely dry.
PRIMING THE POTS AND SAUCERS
Next you’ll want to place your pots and saucers on some cardboard or newspaper. Then, spray them with a thin even layer of primer. After allowing the primer to dry for 15-20 minutes apply a second, thin even layer and allow them to dry completely. The primer helps to keep the moisture of the soil from bleeding through.
PAINTING THE POTS AND SAUCERS
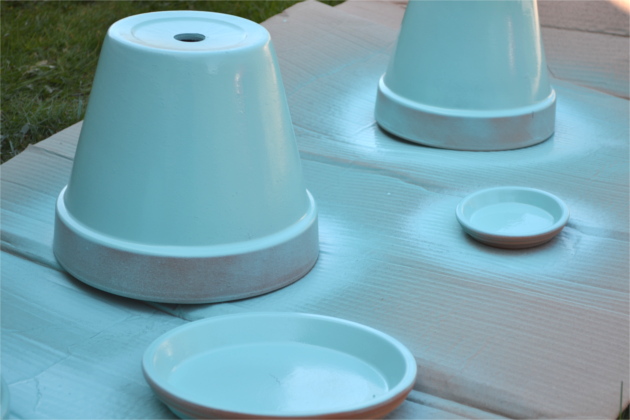
When the primer is completely dry, you’ll spray the pots and saucers using several thin coats of your favorite color of Rustoleum Ultra Cover paint. For the best coverage, allow the paint to dry completely between coats. Because you’ll be painting the rim, of the pots, with blackboard paint, it is not necessary to paint the it.
PREPPING THE POTS FOR THE CHALK PAINT
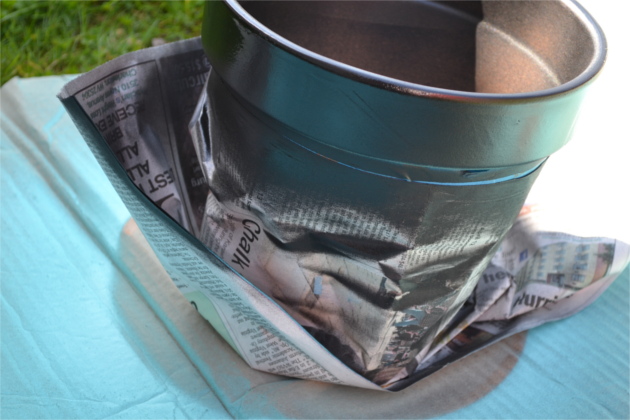
Since you are going to be taping off the rim of the pot for this step, it’s a good idea to allow them to dry over night. Applying the tape to paint that hasn’t set could cause it to damage your paint.
Now you can use painters tape and newspaper to cover the area that you painted, leaving the rim and the interior of the pot exposed.
PAINTING THE RIMS WITH CHALK PAINT
As soon as you’ve covered the pots with paper, spray the outside and the inside rims with Rustoleum Chalked spray paint. Spray using several thin coats, allowing them to dry between coats.
Finally, do any necessary touch ups before removing the tape and newspaper.
Update: This post has been restyled to make it easier to read. Enjoy!
RELATED PRODUCTS
![]() What color paint did you use? We’d love to see how it turned out. Snap a pic & tag it on Instagram with @FlusterBuster
What color paint did you use? We’d love to see how it turned out. Snap a pic & tag it on Instagram with @FlusterBuster
RECENT POSTS
 |
 |
 |
 |
These are so cute!!! Thanks for sharing at wonderful Wednesday Blog Hop!!!
~Emily @ LeCultivateur.com
That is such a beautiful shade of blue!!
Thank you, I really love that color too, it’s so cheerful!
I love this idea! I might even copy the color you used. It`s a really nice color!
I’m in live with the color! Thanks for sharing Robin!