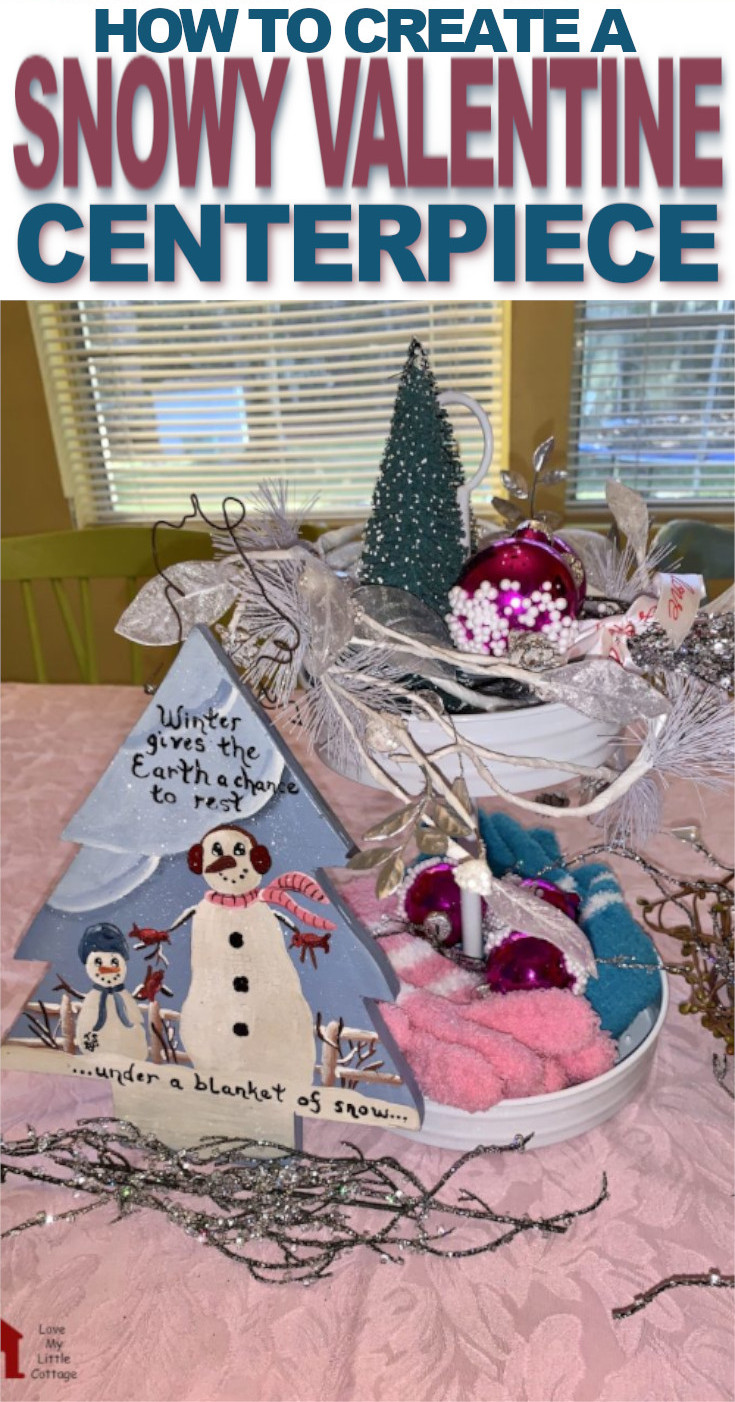
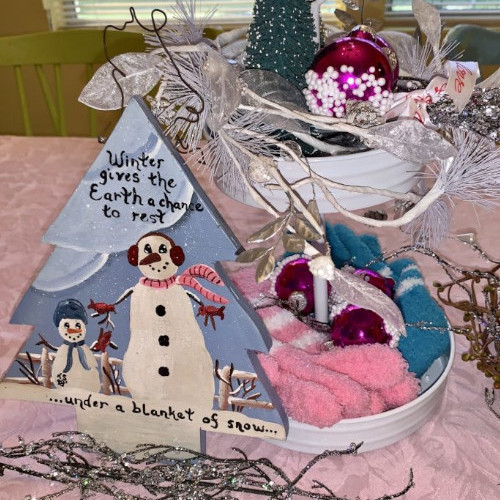
DIY Snowy Valentine Centerpiece made with all the colors associated with Valentines along with some unexpected and playful winter items. All displayed in a rustic two-tiered metal tray that looks beautiful placed in the middle of your tablescape.
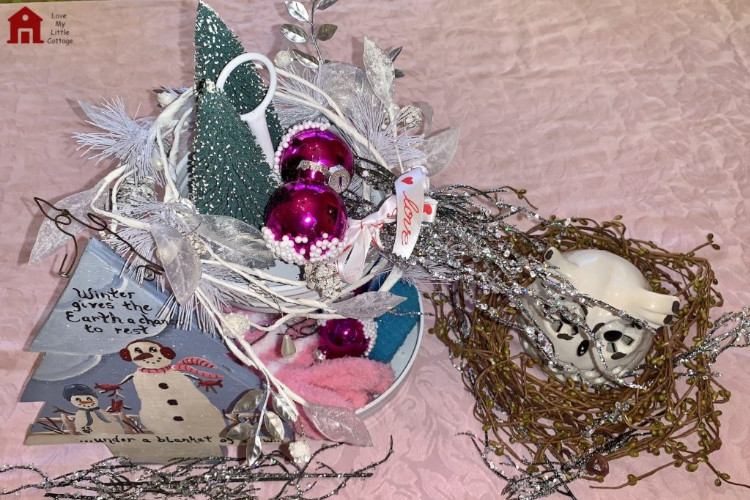
One of the most important parts of a tablescape is the centerpiece. It sets the tone for the entire meal. I like to leave my tablescapes out for a week, or even two. The plates and utensils that we’ve used go into the dishwasher after each dinner, then I put them back the next day. The centerpiece remains stationary, for all to enjoy.
I wanted my Snowy Valentine Centerpiece to be fun, colorful, and full of snow and ice. It’s been so warm in the Deep South this winter. We’ve only used our fireplace three times. I’ve been creating my own winter, and Mother Nature hasn’t been helping at all.
How to Make a Snowy Valentine Centerpiece
Materials:

Instructions:


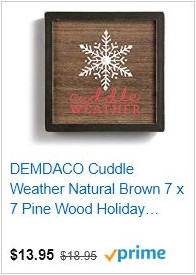
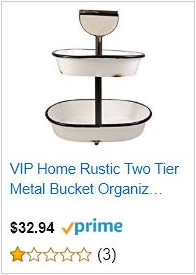
Related Products


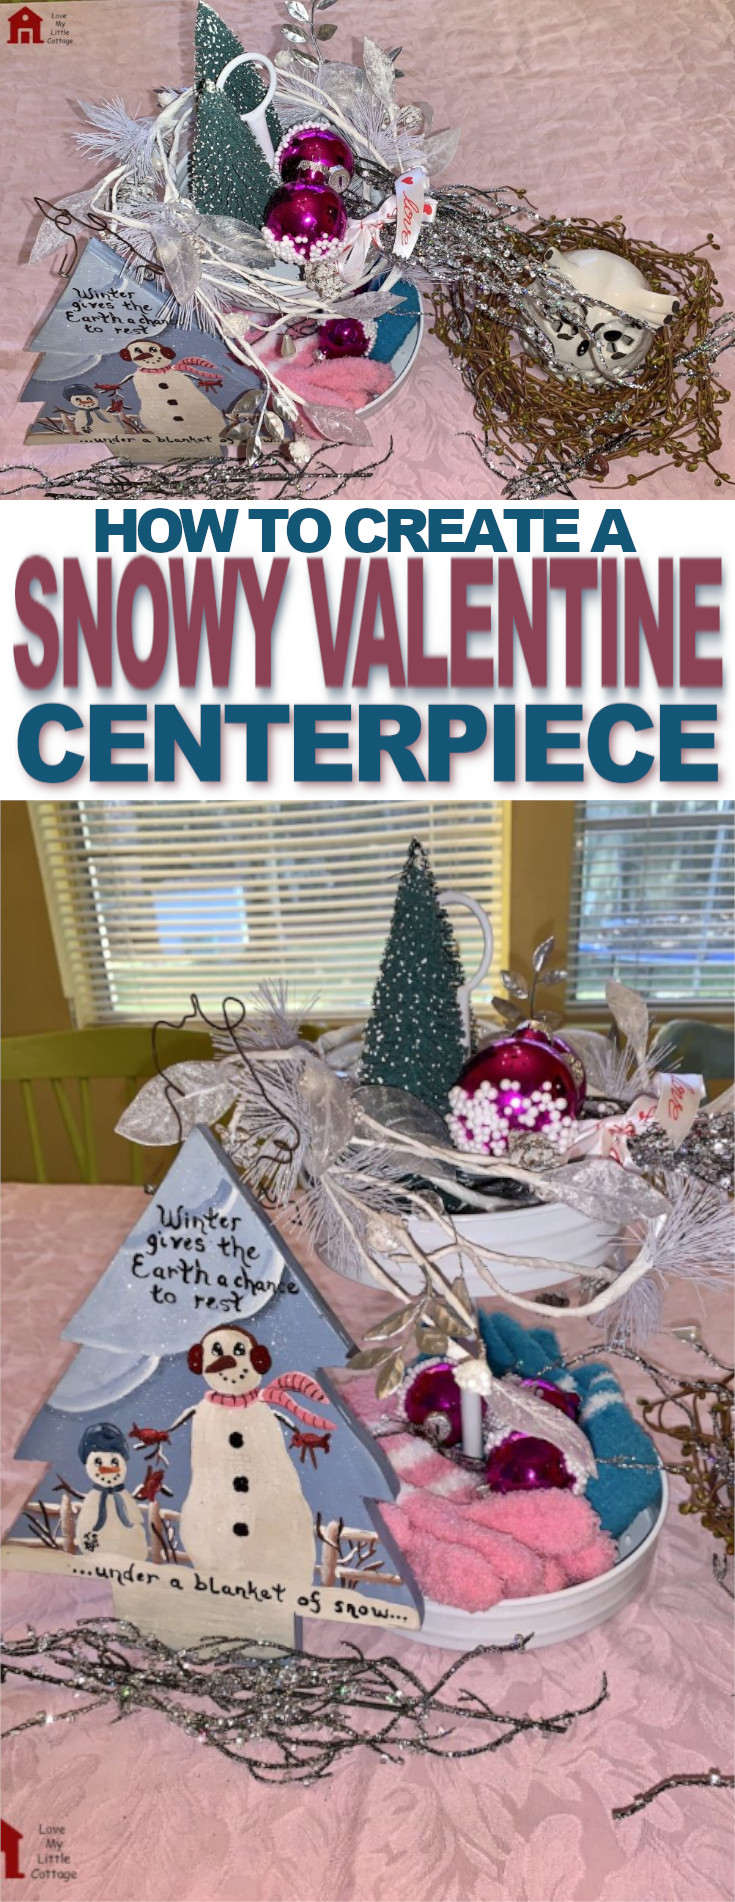
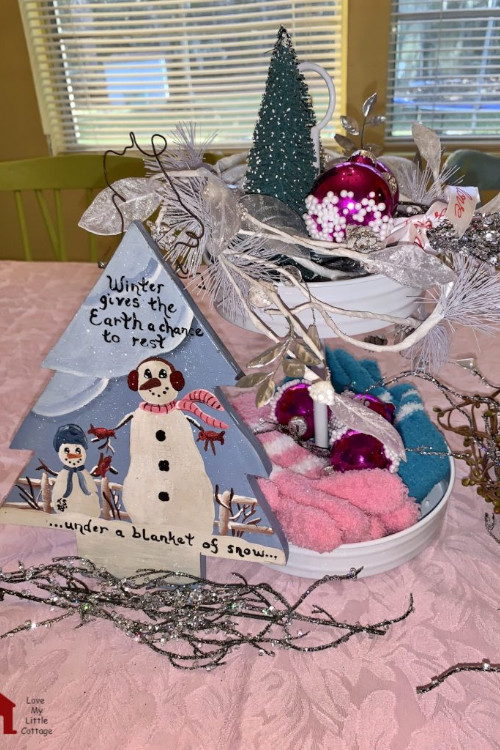
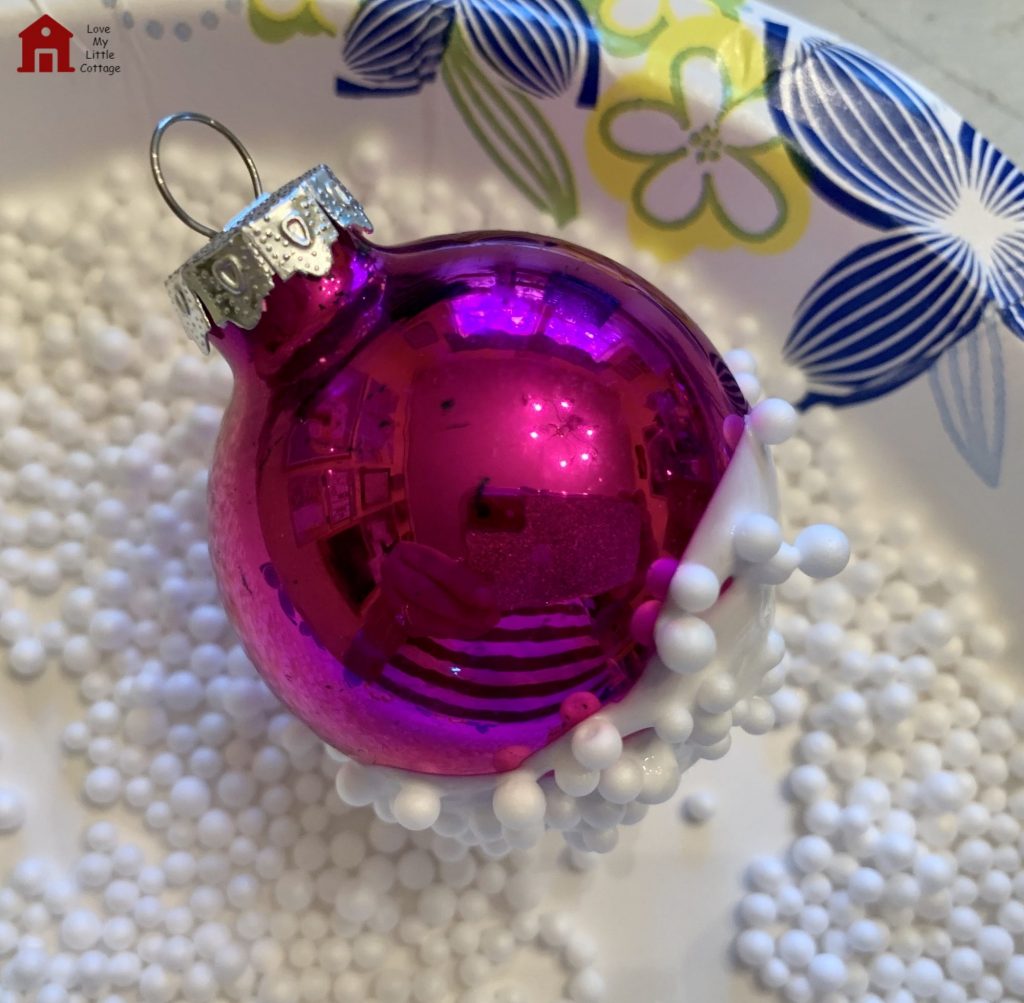
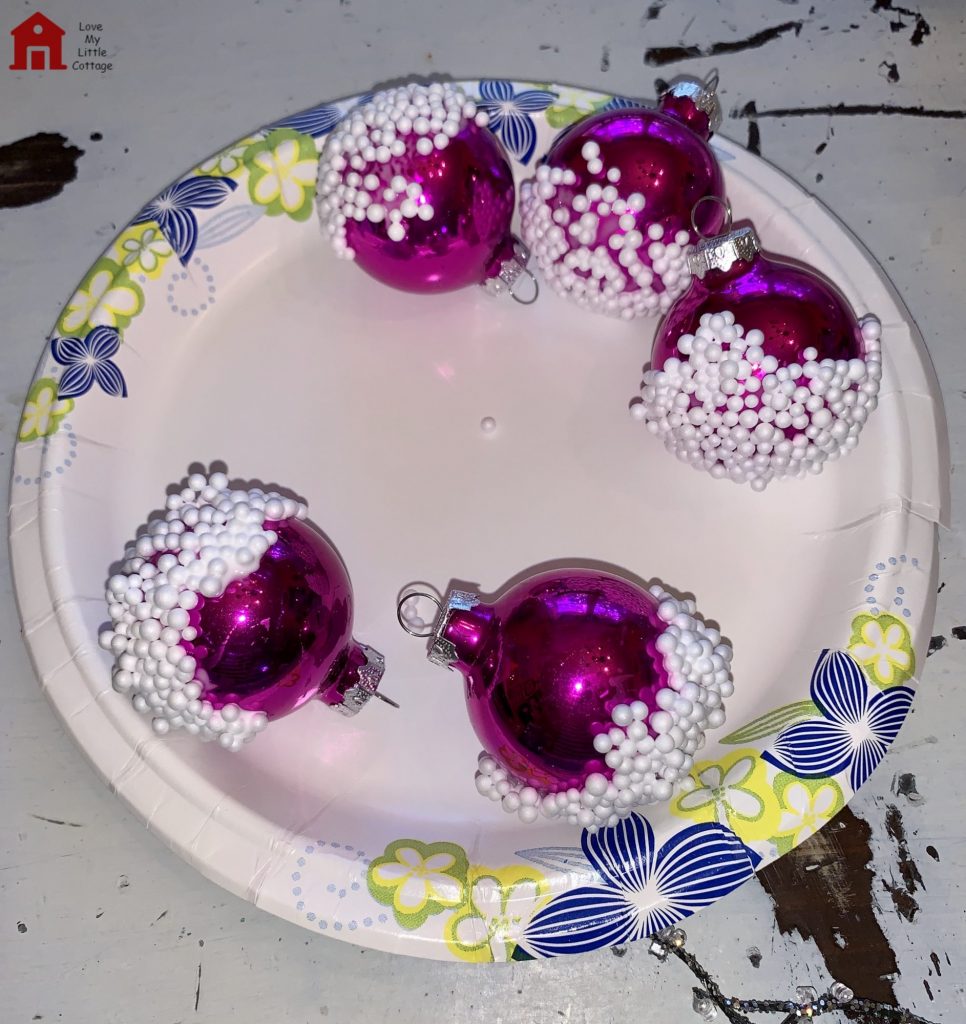
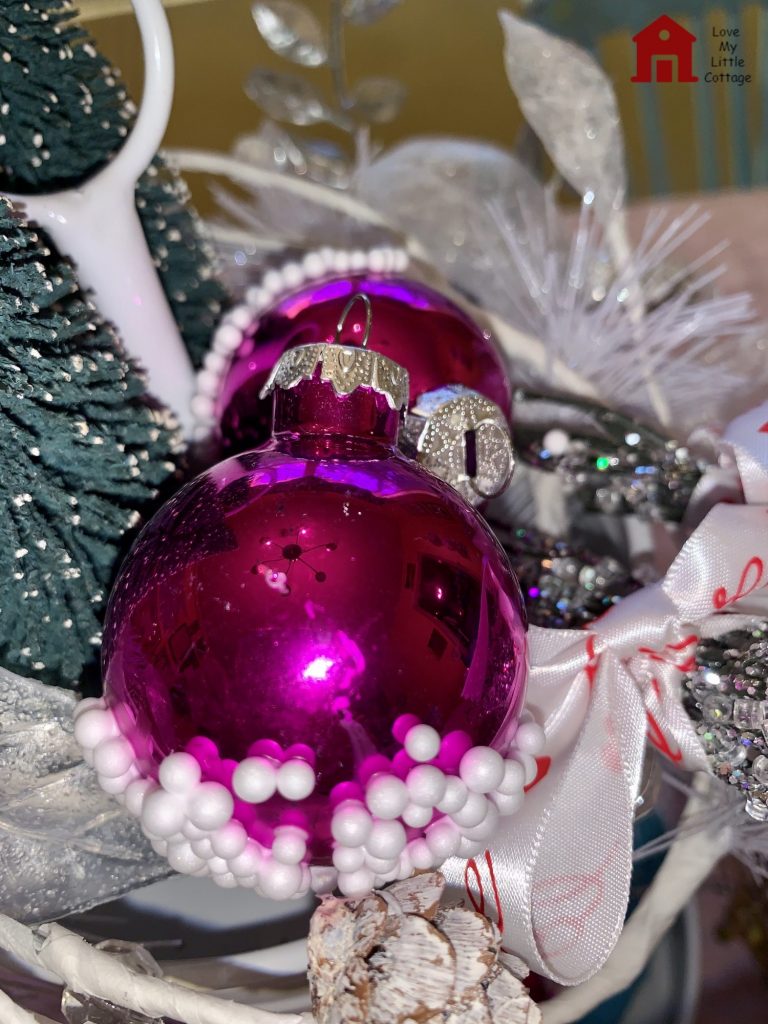
This is so pretty! I love the snow dipped ornaments. How creative!
Thanks, Michelle!